How it works
The AI interprets your text prompt to modify the entire image or specific elements it identifies. Simply describe what you want to change and the AI determines which areas to modify based on your description.Steps
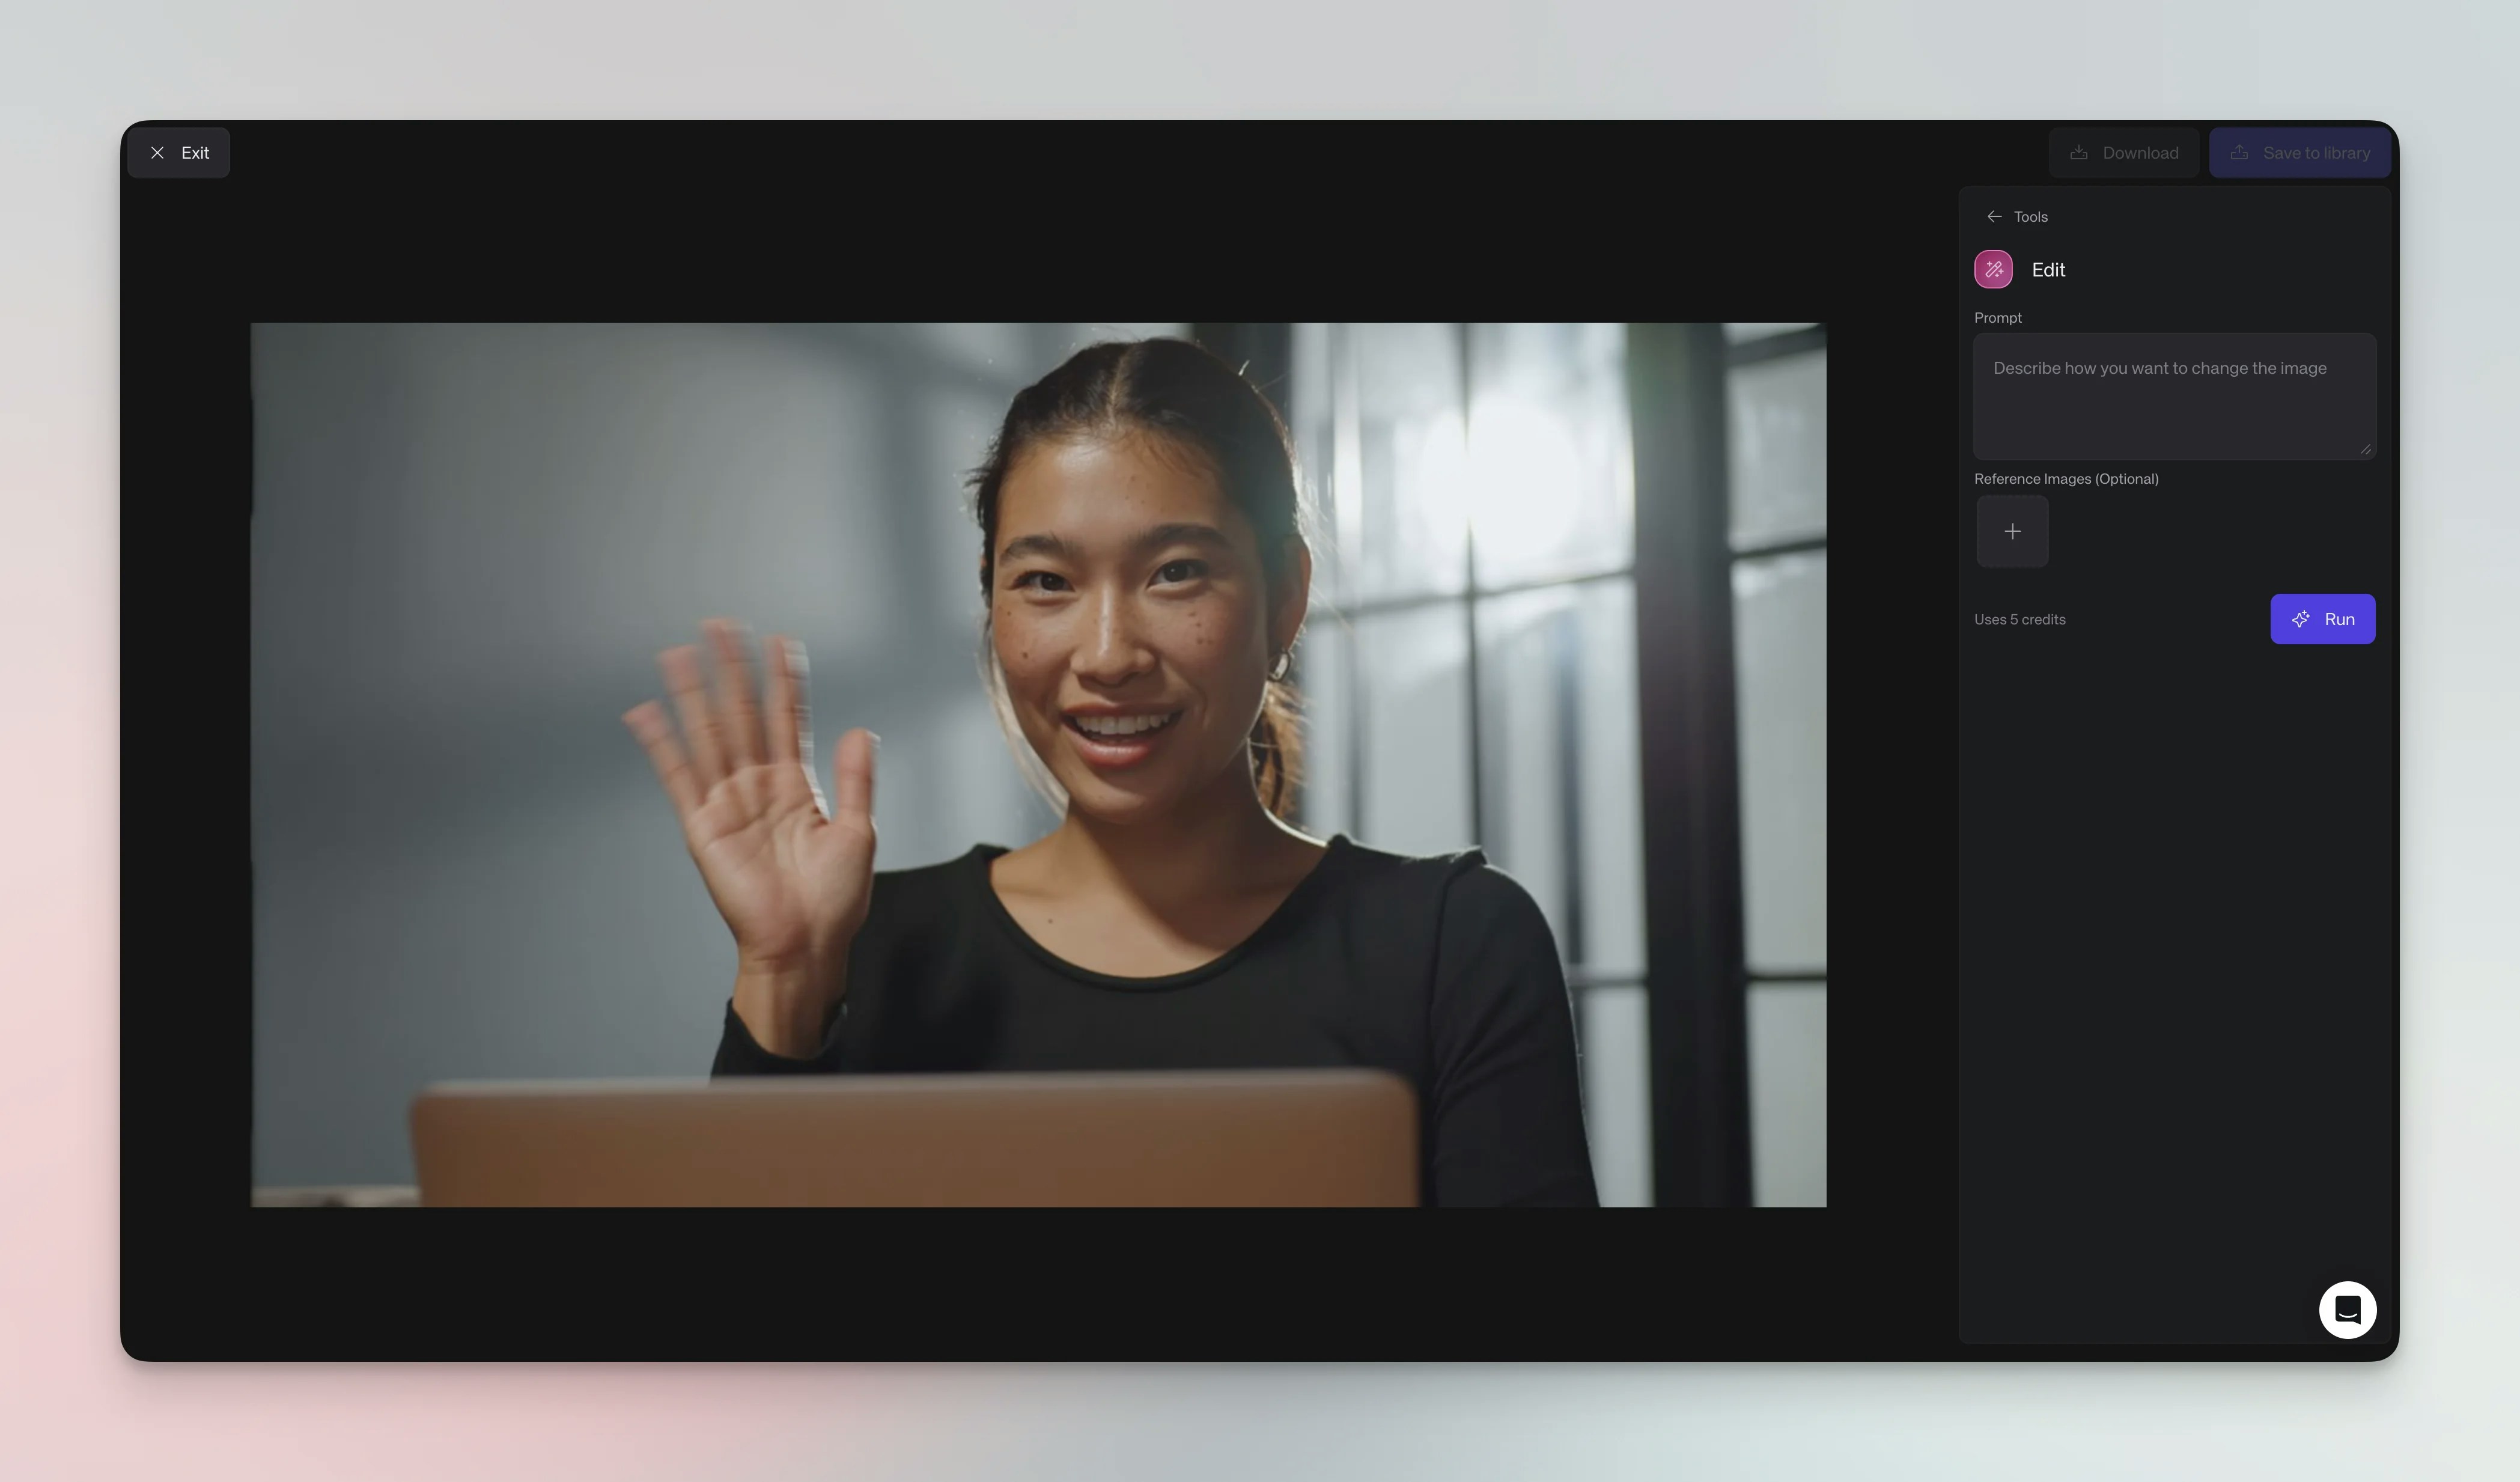
- Open your image - Navigate to the image in your Library or board and click to open it in detail view
- Access the tool - Click the Edit icon in the vertical toolbar, or access via Edit in the top navigation bar
- Describe the change - Enter a clear description of what you want to change (e.g., “make the car blue”, “add clouds to the sky”)
- Add reference images (optional) - Upload reference images to guide the style or specific changes
- Run - Click Run to apply the edit to your image
Examples
Popular edits span color adjustments, object modifications, and creative enhancements. Colors - Change clothing, adjust skin tones, modify backgrounds or lighting. Objects - Add accessories, change hairstyles, modify architectural elements. Creative - Apply artistic effects, create seasonal variations, or stylize specific areas.Tips
Tip: Be specific — include lighting and style in your description for accurate results. Tip: Add reference images to guide complex transformations. Tip: Make incremental changes rather than one dramatic edit.Troubleshooting
Unnatural results: Refine your prompt with more specifics, or split complex changes into multiple edits. Lighting inconsistencies: Include lighting context in your prompt (for example, “maintain soft morning light”). Unexpected changes: Specify which elements to modify (for example, “change only the car color”).Edit specific areas with masking (beta)
This is an experimental feature. You might experience a higher number of failures when using this feature.
Credit usage
Each edit uses 10 credits per run.See also
- Editing tools overview - Learn about Erase and other tools for removing unwanted elements
- Tools Overview - Complete guide to all editing tools