Steps
1
Open the video generator
From the Home dashboard or generator, click Create → Video. You can
also switch to Video mode from the image generator.
2
Write your prompt
Describe where the scene starts, what happens over time, and how it ends. Include camera movements directly in your prompt (e.g., “camera zooms in”, “pan left”).
Example: “Product bottle spins slowly on a pedestal, camera zooms in, liquid pours out elegantly.”
Example: “Product bottle spins slowly on a pedestal, camera zooms in, liquid pours out elegantly.”
3
Add start and end frames (optional)
Above the prompt input, click Start frame or End frame to upload reference images. This locks in your start and end states for precise control over the video’s composition.
4
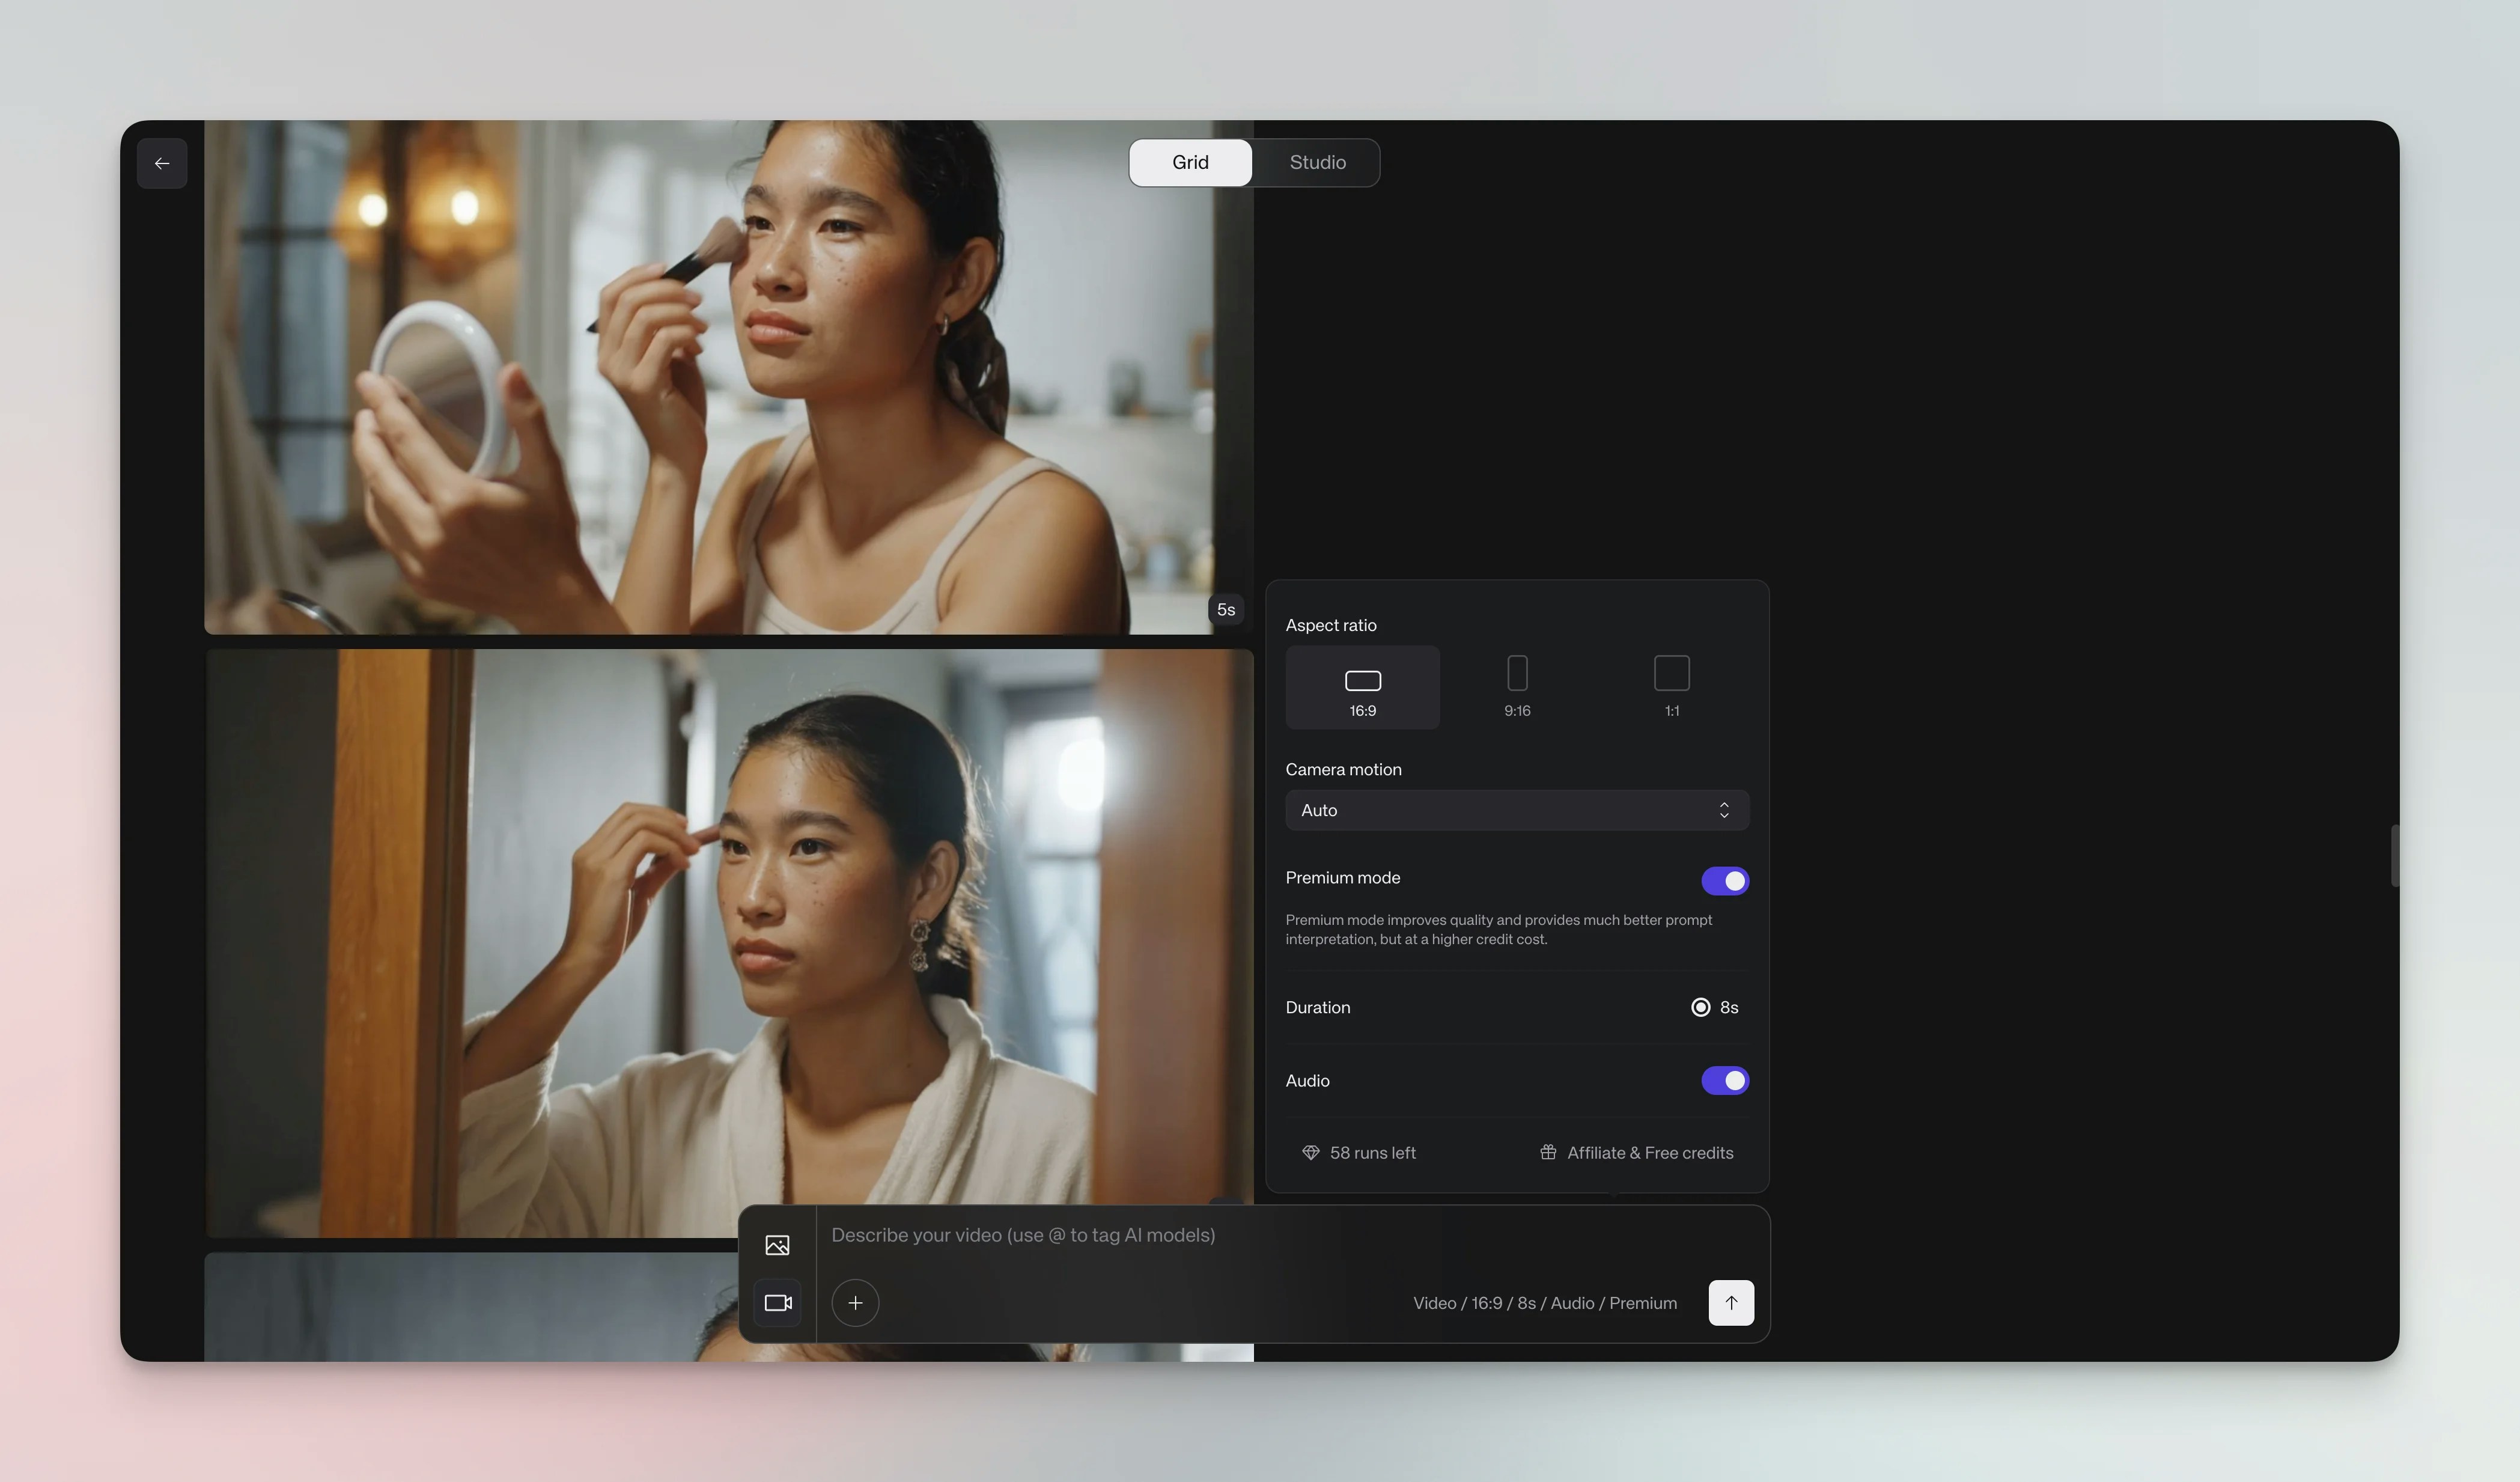
Configure video settings
The generation bar shows video-specific controls:
- Aspect ratio — choose from 21:9, 16:9, 4:3, 1:1, 3:4, or 9:16. Premium and Max quality support 16:9, 1:1, and 9:16 only
- Duration — select from 4 to 12 seconds in Default quality, or 4 to 15 seconds in Premium and Max quality
- Sound — toggle audio on or off (speaker icon). When enabled, the AI generates synchronized dialogue and sound effects in Premium and Max modes
- Quality — Default, Premium, or Max (Premium recommended for best results)
5
Generate the video
Click the arrow button (↑) to start rendering. This takes about a minute.
6
Save to workspace (for collaboration)
Generated videos first appear in your personal drafts feed, visible only to you. To share with workspace members, save the video to your library or a board by clicking the Save button on the video.
Prompting structure
Start by setting the scene — where are we, and what’s the mood? Then describe actions in order, since earlier words happen earlier in the clip. In Premium and Max modes, you can generate videos with synchronized dialogue and sound effects. Include dialogue in quotes (e.g.,character says "Hello") to add speech to your videos.
Studio integration
Use studios to style videos just like images. Pick a studio for lighting and composition, then write a concise prompt. Camera motion works independently of the studio preset.Limits
- Video durations: 4–12 seconds (Default) or 4–15 seconds (Premium / Max)
- No video‑to‑video editing for now (audio is available in Premium and Max modes)
- Single video per generation (no multi‑variation grid)
- Bulk create is not available in video mode
Premium video (no audio) model update — January 27, 2026We’ve updated the Premium video generation model (without audio). Key improvements:
- Better product consistency — products maintain their appearance throughout the video
- Improved fine details — logos, text, and small features render more accurately
- Text consistency — text on products stays readable and stable
- First frame and end frame support — lock in your start and end states for more control