Download & share
Export or share single items or batches. Kive preserves full quality and metadata either way.1
Download a single asset
Open the asset and click Download to save it locally
2
Download multiple assets
Select assets, open the multi‑select bar, then click Download for bulk
export
3
Copy & paste directly
Select an asset and press
Command + C, then paste (Command + V) into
InDesign, Keynote, Figma, or other toolsShare an asset
Sharing creates a unique link with customizable permissions:- Open the asset
- Click Share
- Set permissions in the dropdown
- Click Copy link
Delete an asset
You can delete in three ways:- Open the asset → Click the Down arrow → Delete
- From any asset card, click … → Delete
- Select multiple assets → Use multi‑select bar → Delete
Removing an asset from a board does not delete it from your library. Content
cannot be transferred between workspaces.
Versions and editing
When you use editing tools (e.g., erase, extend, replace object), you can choose to save the edited file as a new version of the asset. View all versions in the Versions tab on the asset page; set a version as active or delete unwanted versions.- View versions: Open an asset → Click Versions
- Set active version: Click … → Set as active version
- Delete version: Click … → Delete version
- Save edits as new version: When editing, click Save as new version
Custom properties & tags
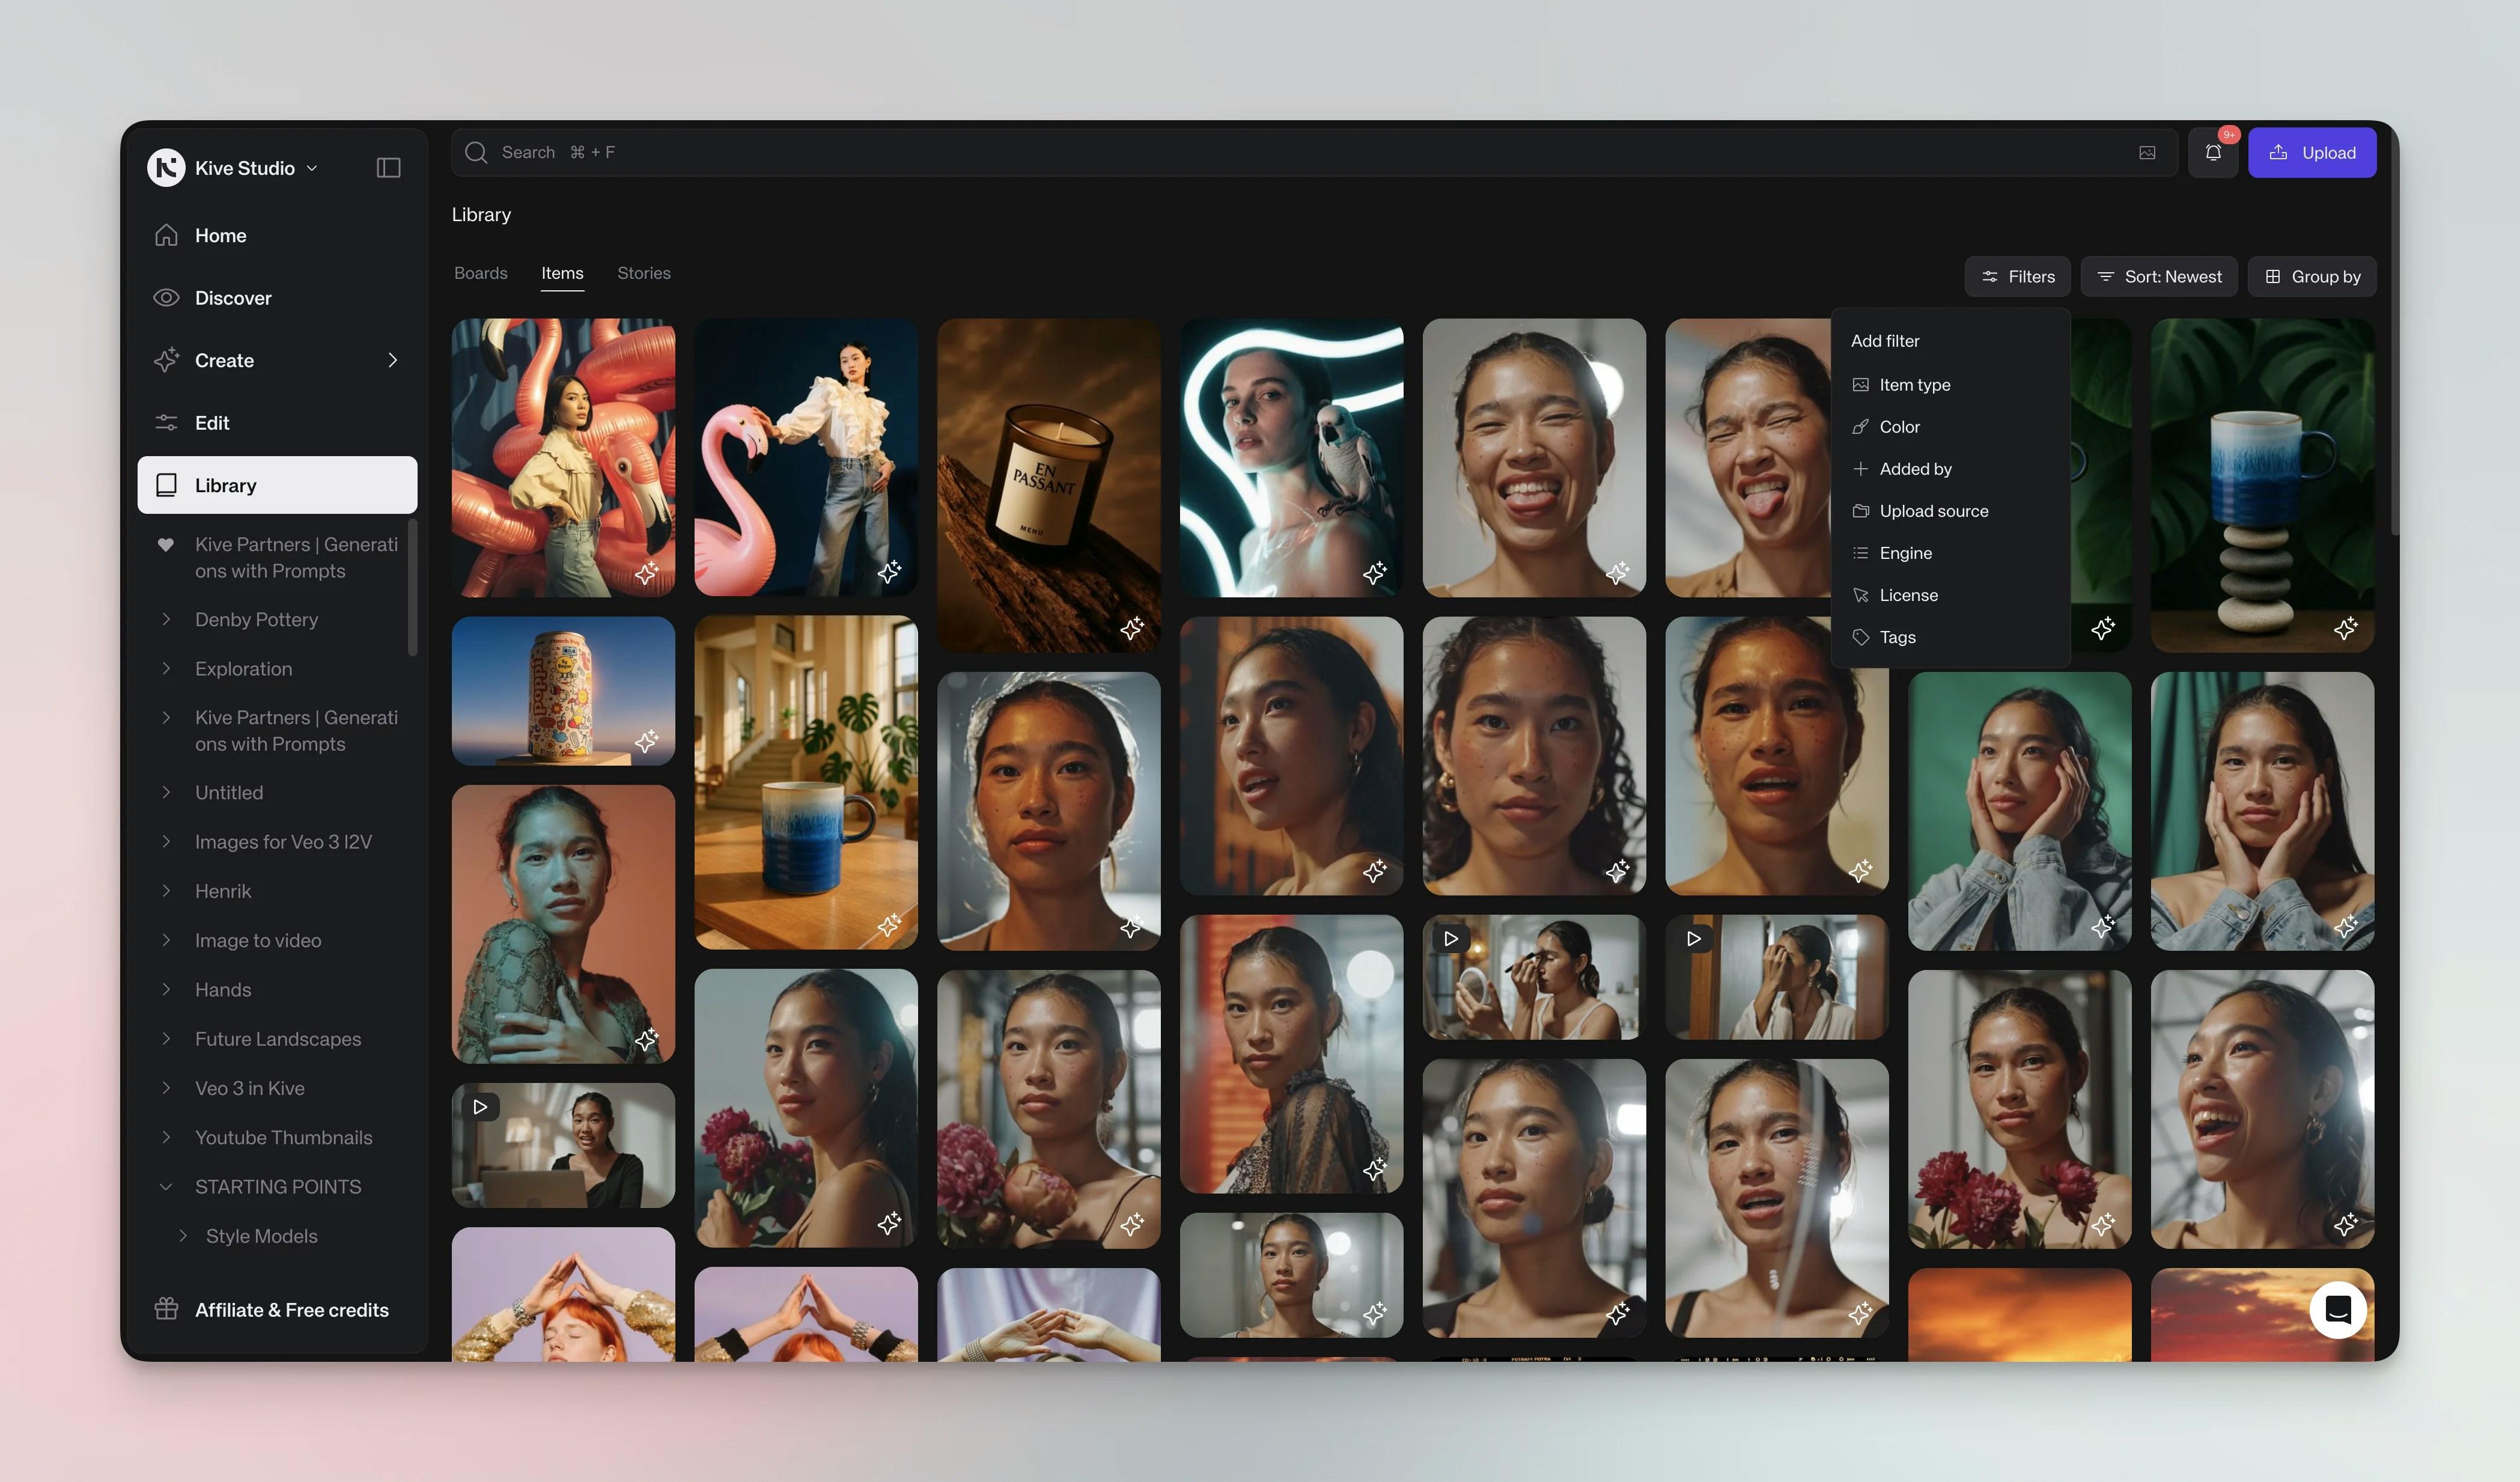
- Click the Properties tab when viewing an asset
- Choose predefined properties or click Add Properties to create custom ones
- Use the multi‑select bar to add properties to multiple assets at once
All workspace properties can be managed in Settings → Custom Properties.
Comments & mentions
Keep feedback with the work. Comments and mentions help teams collaborate without losing context:- Click the Comments tab and type your message
- Mention teammates by typing @ followed by their name
- View the full discussion in the asset’s history
- See all comments across an asset by clicking the Comment icon button
Asset information
The Info tab shows metadata about each asset so you can see origins and usage across your workspace:- Original filename
- File size and type
- Creation date
- Boards and sources
- AI‑generated tags
- Original prompt (for AI‑generated images)
Prompts
AI‑generated assets retain their creation prompts for future reference. This helps you reproduce consistent styles:- Reuse the original prompt in new generations
- Reference the same prompt settings to maintain a consistent style in future images
Activity tracking
The Activity tab maintains a complete audit trail for each asset so you can track usage across your team:- Creation date
- Edits and modifications
- Downloads
- Comments and mentions
- Version changes
Related resources
Upload assets
Learn how to import content into your library
Boards
Organize assets into collaborative collections
Search & Filter
Find assets quickly with smart search
Workspace Settings
Configure properties and permissions