Where to find it
Open any generated image in the Create section. Chat mode appears as the Edit panel on the right side of the screen. You’ll see the original prompt, quick actions like Turn into video and Zoom out, and a text field where you can describe what you want to change.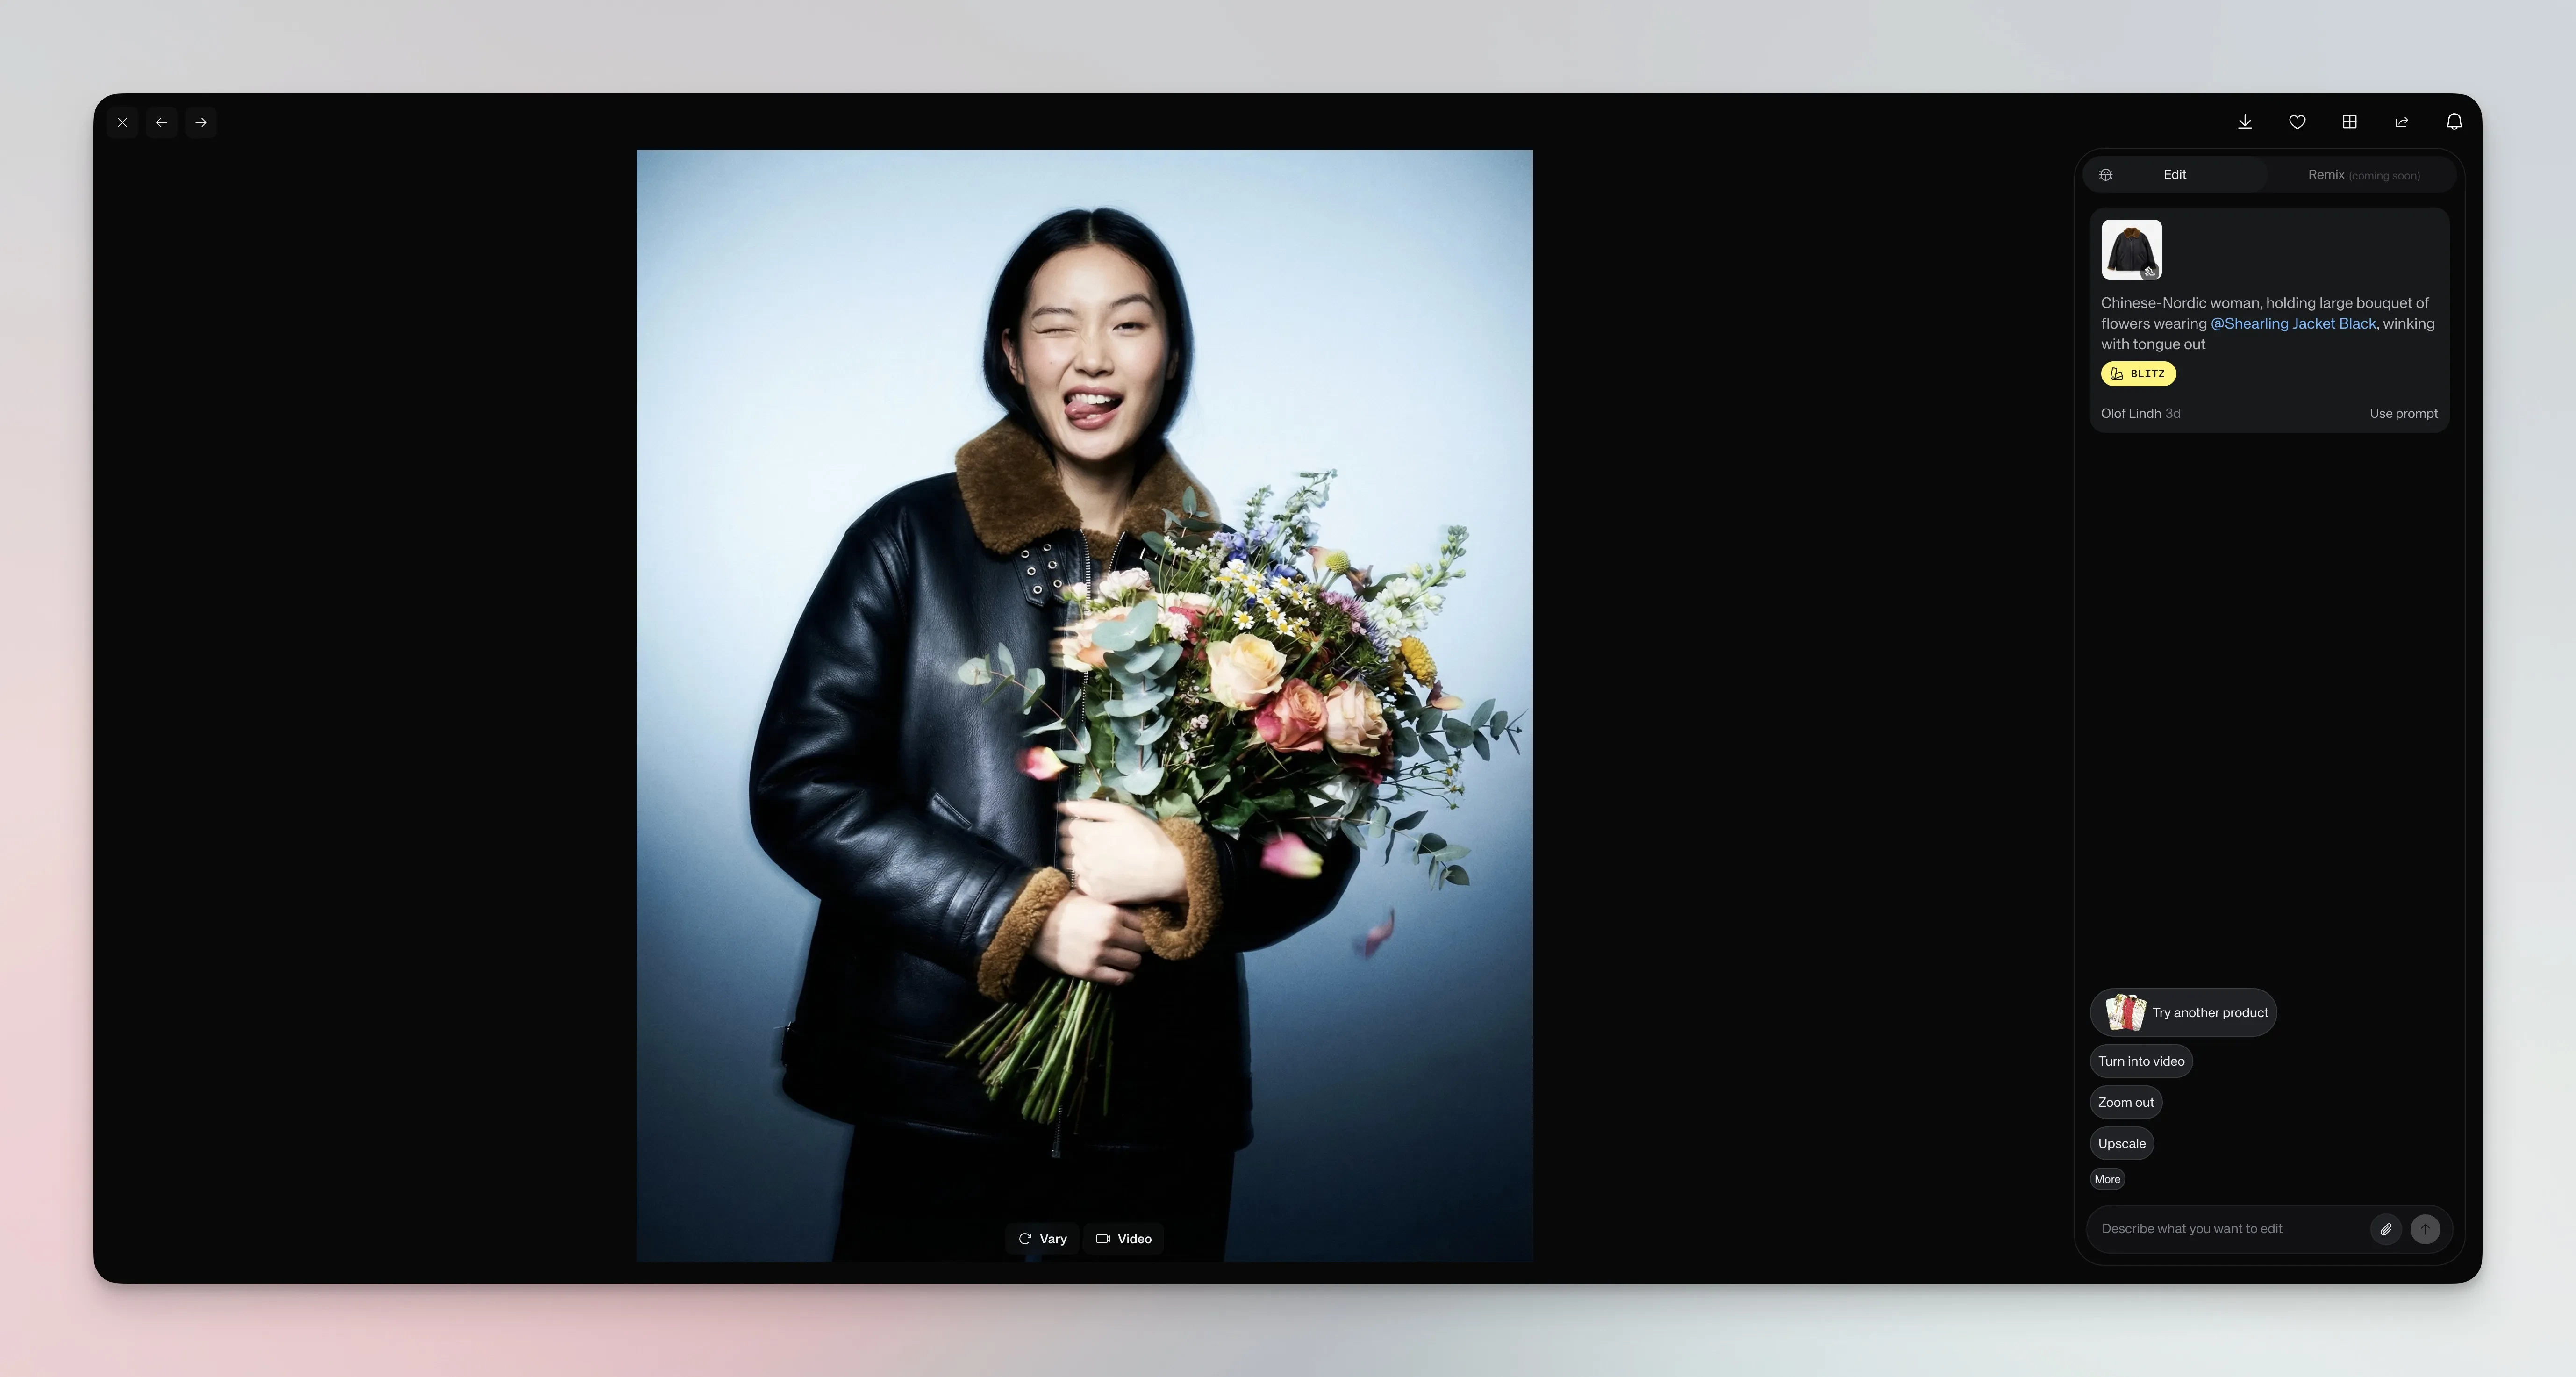
Chat mode panel on the right side of a generated image
Describe what you want
Write in natural language. Chat mode understands requests like “make it a close up”, “remove the object in the corner”, or “add dramatic lighting”. The agent thinks through your request, then generates a new version. Each edit costs credits and builds on the conversation history, so you can refine results step by step.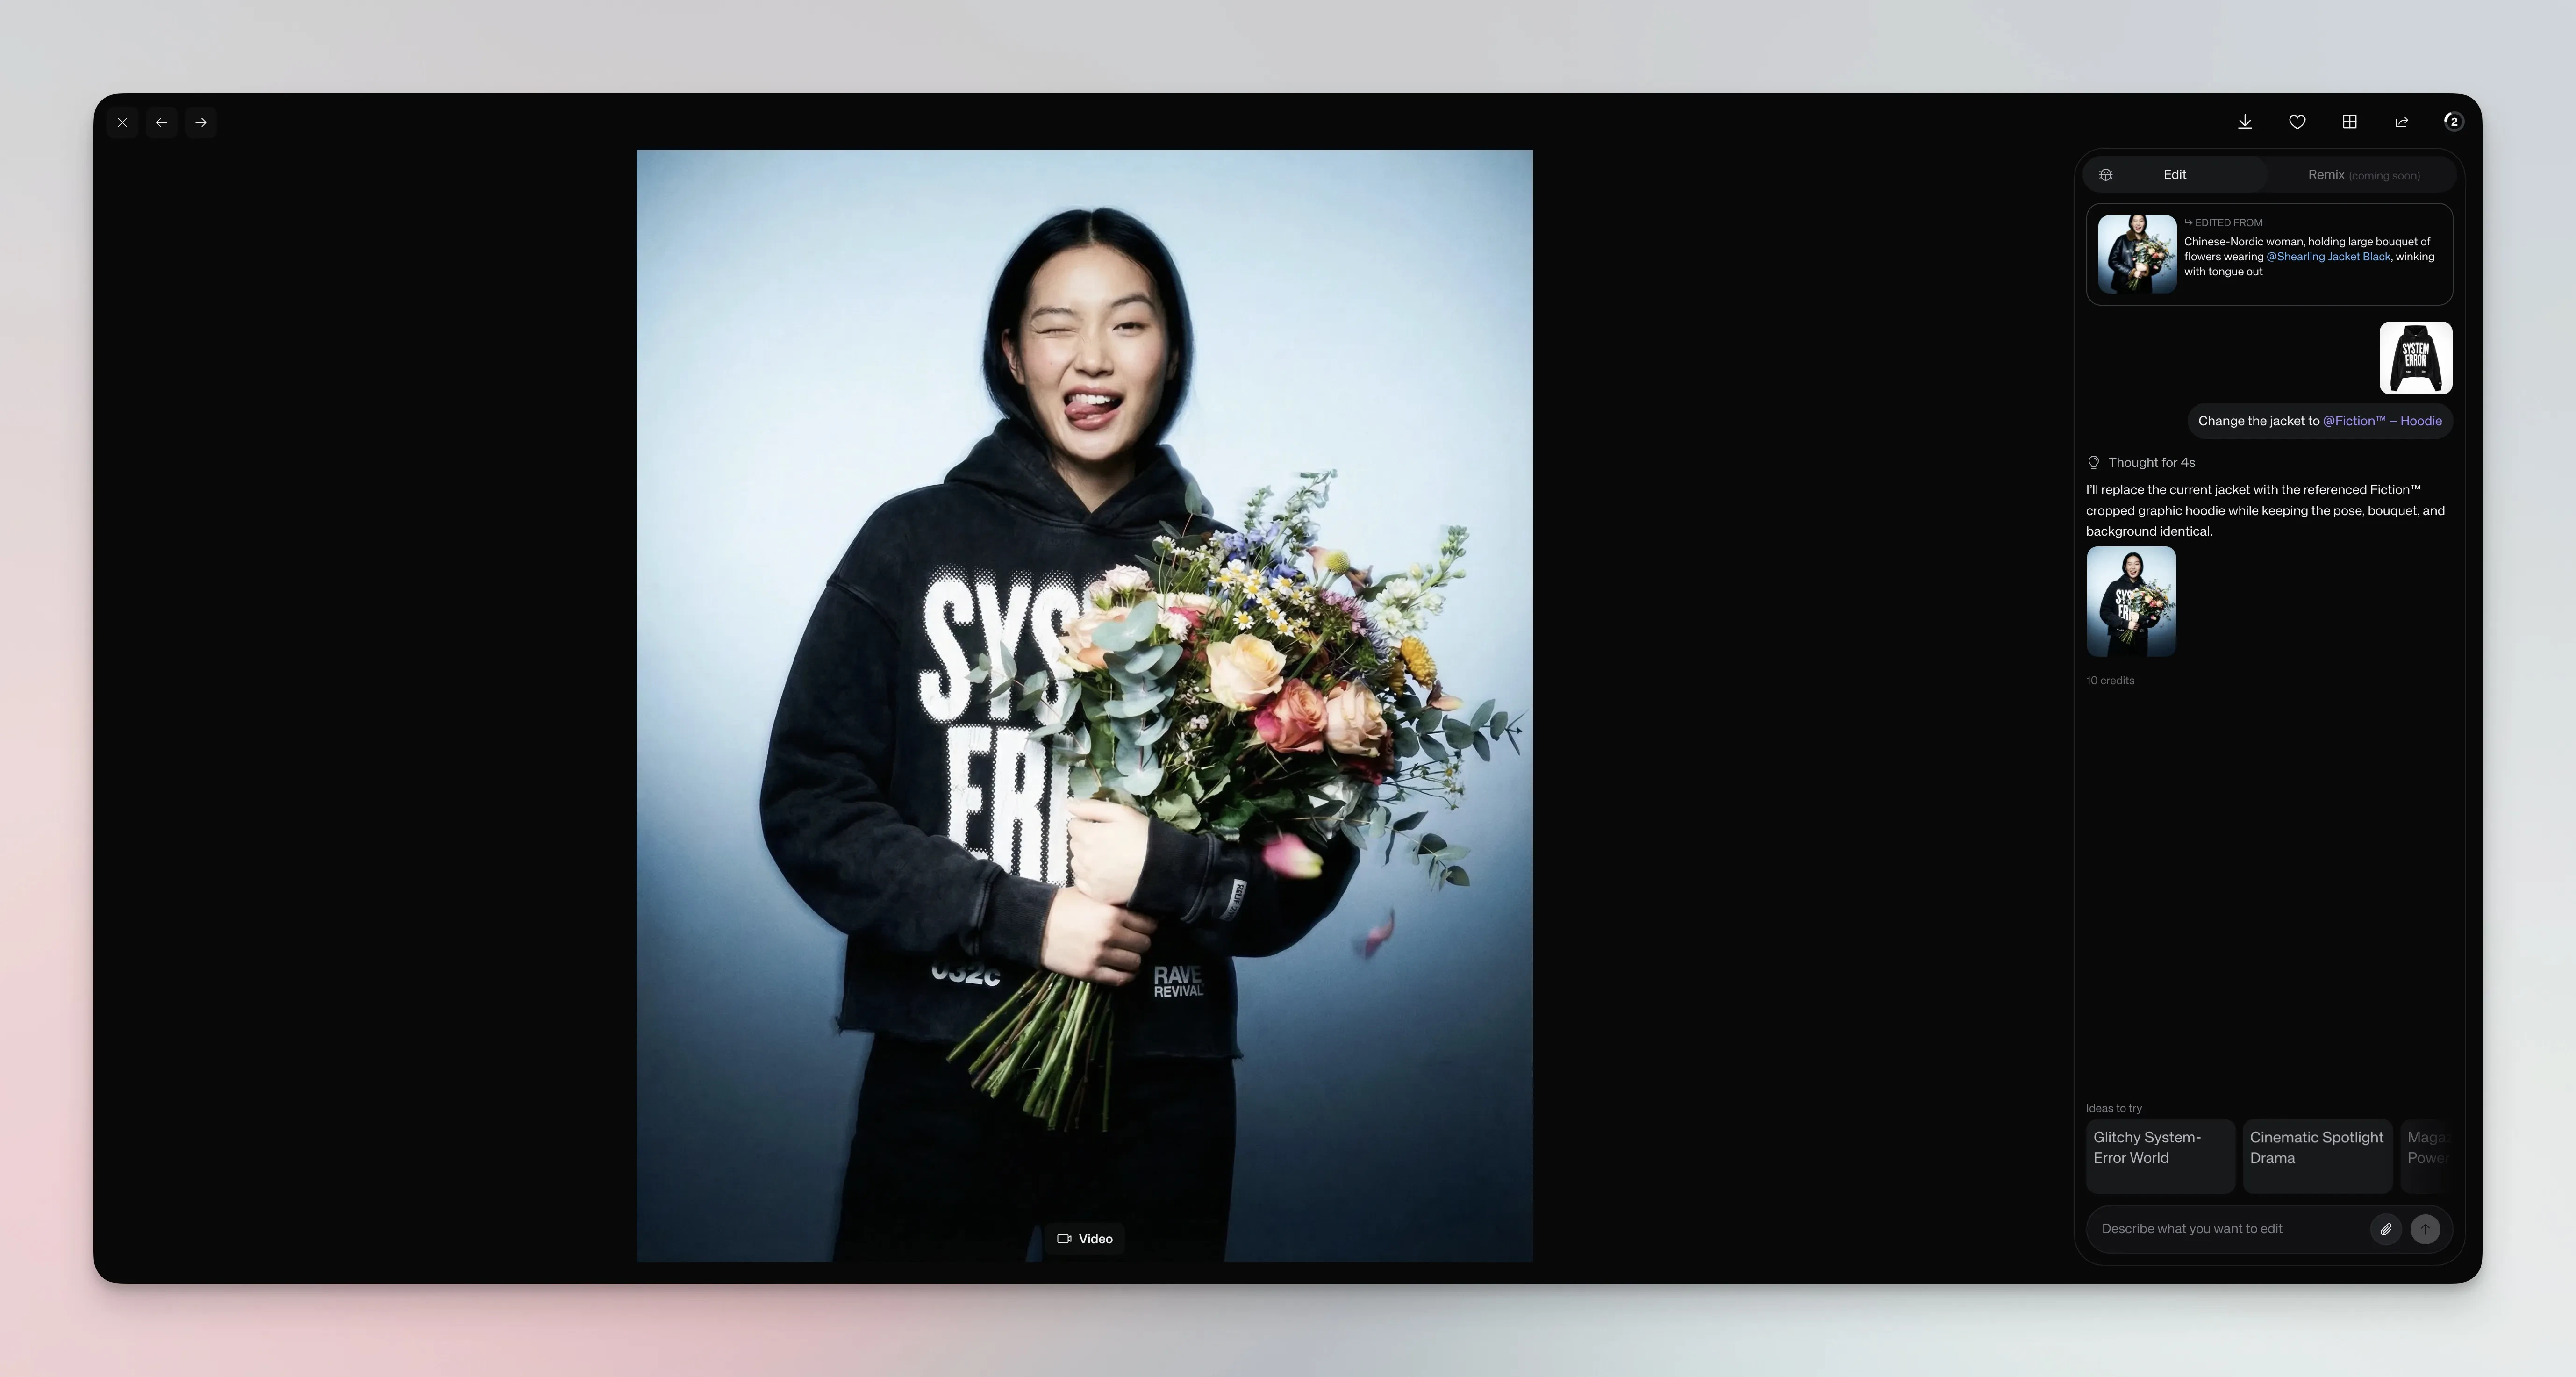
Asking Chat mode to swap a jacket for a different custom model product
Reference custom models
Type@ in the text field to mention any custom model from your workspace. The model gets applied to your request, so you can swap products, change outfits, or add accessories in a single message.
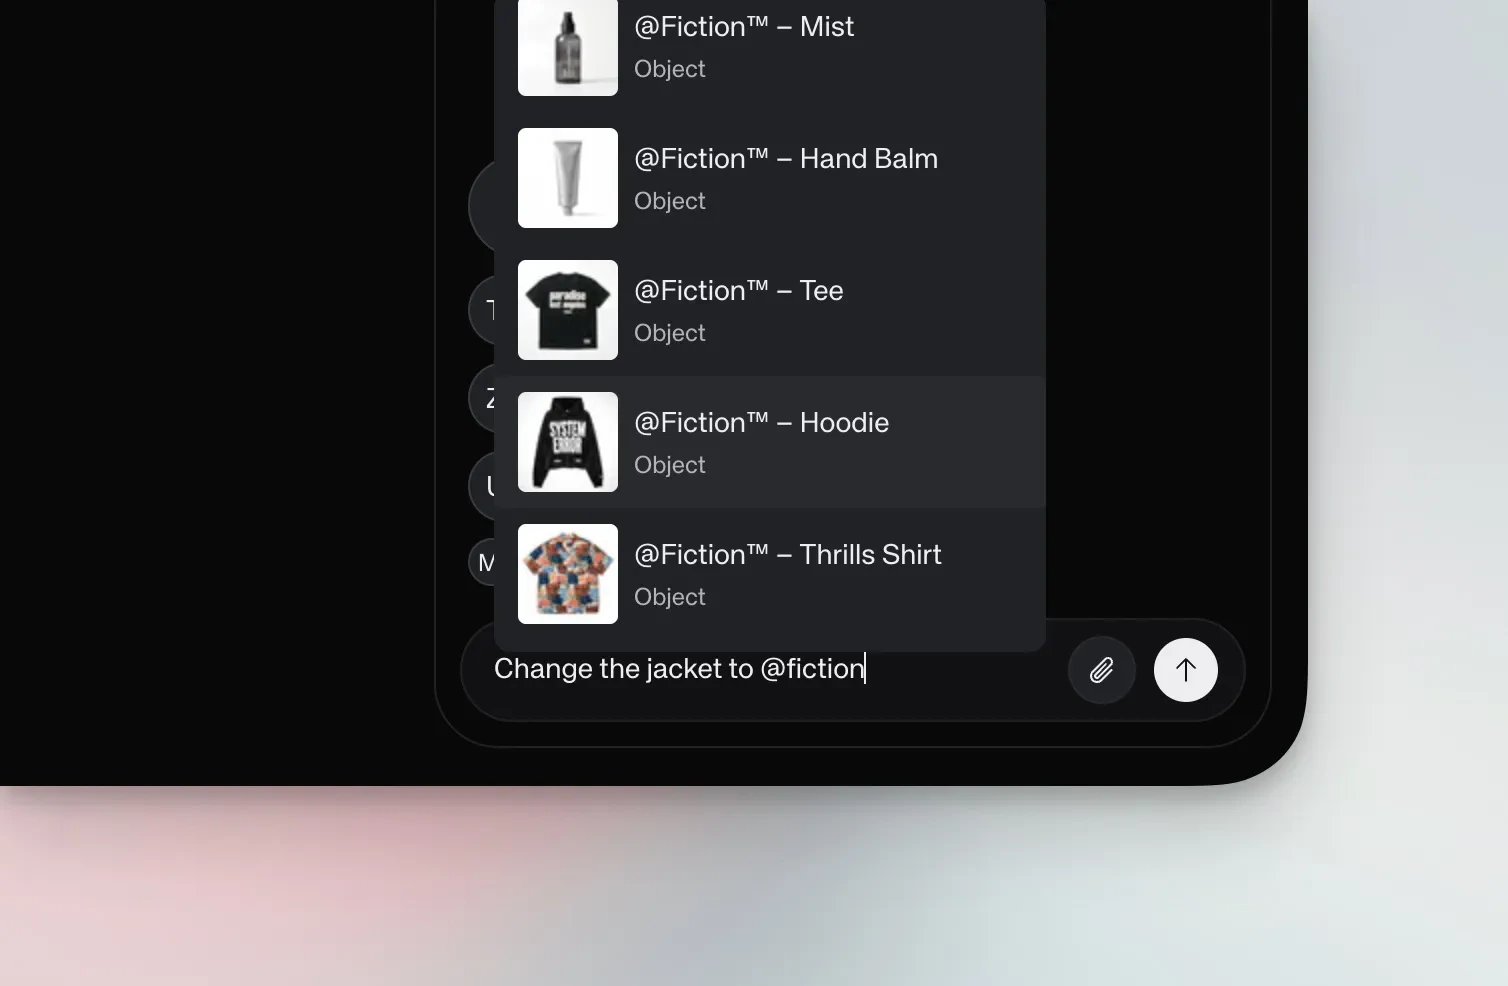
The @mention dropdown showing available custom models
Generate video
Turn any image into video by describing the motion you want. Ask for camera movements like “slowly push in on the product”, subject animation like “make this person walk around”, or combine both. Chat mode will show a confirmation step with the credit cost before generating.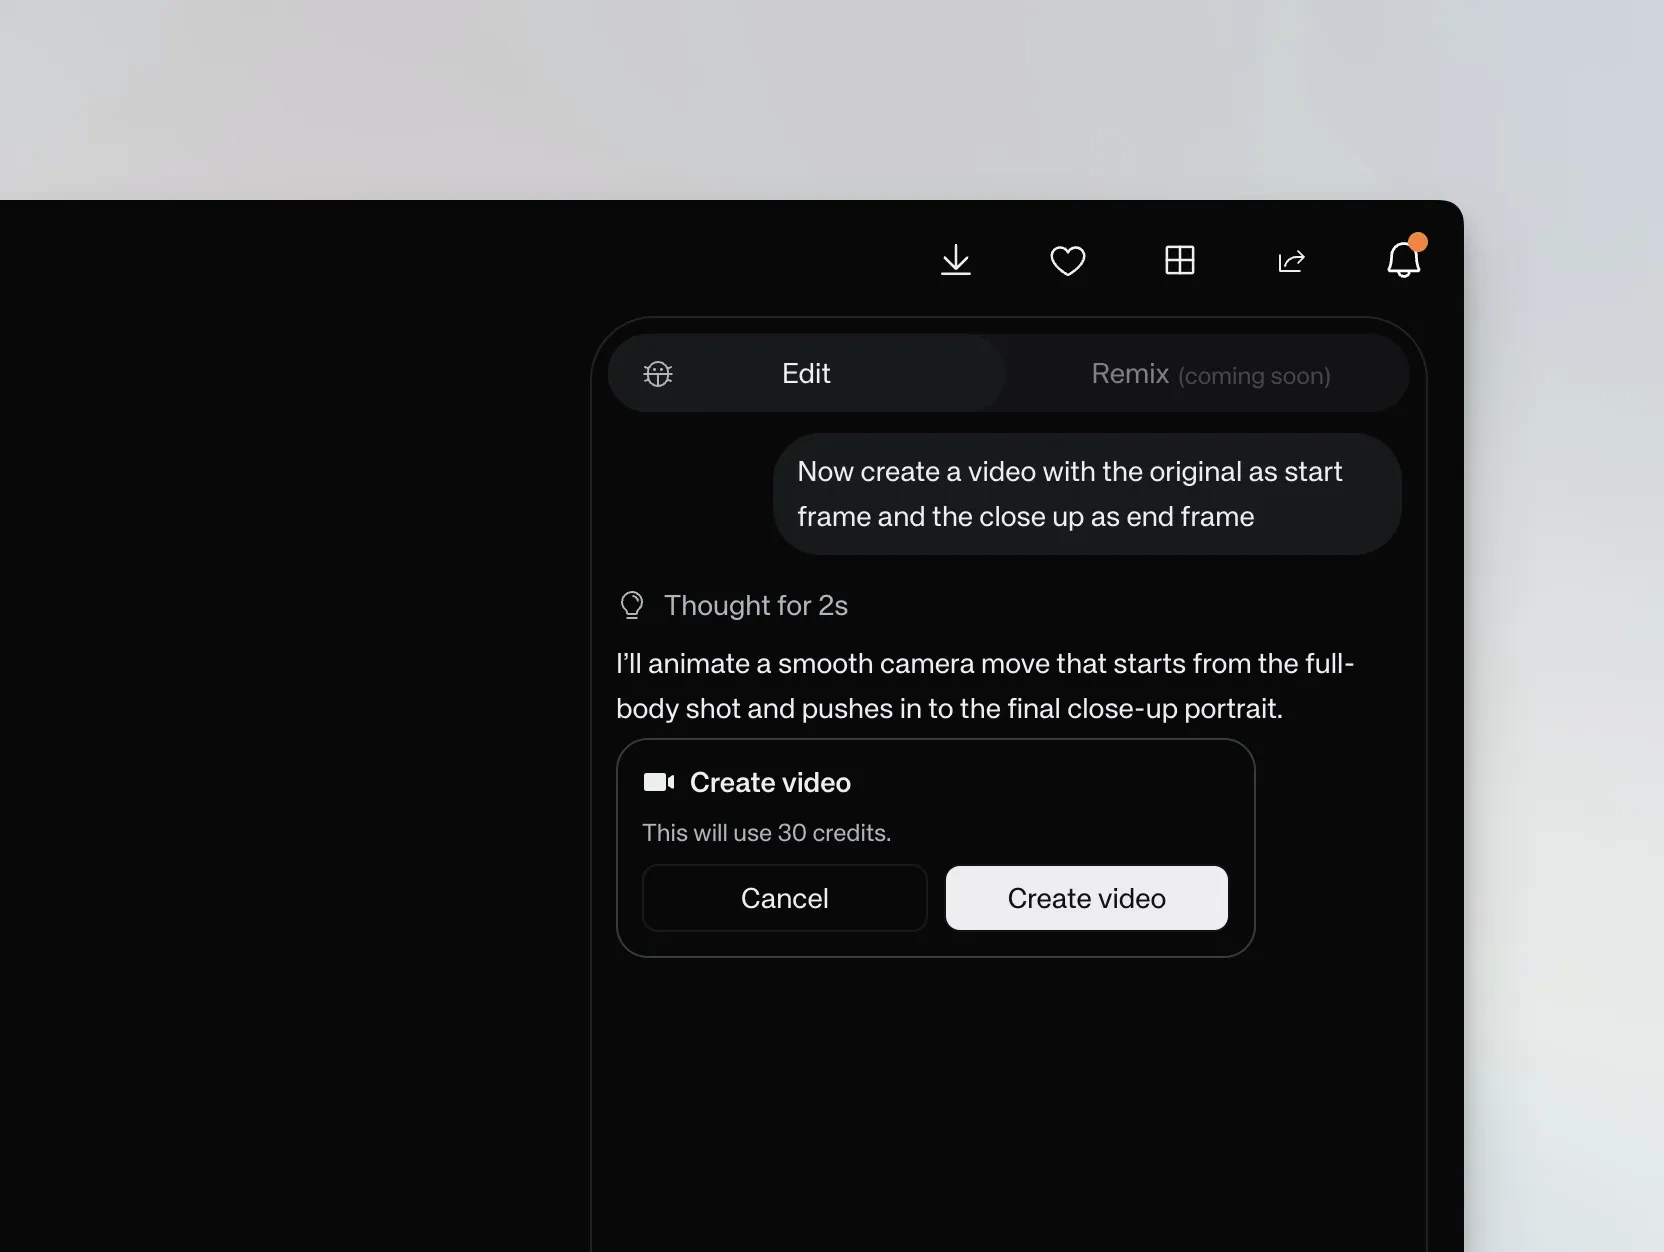
Video creation confirmation showing the credit cost
Chain tasks and run in the background
You can ask the agent to run a sequence of steps in a single conversation. Generate different angles from your shot, then create videos between those angles — all without leaving the chat. When you start a task that takes time, you don’t need to wait. Open a different image or start a new conversation, and your previous tasks keep running in the background. The notification badge shows how many sessions are active.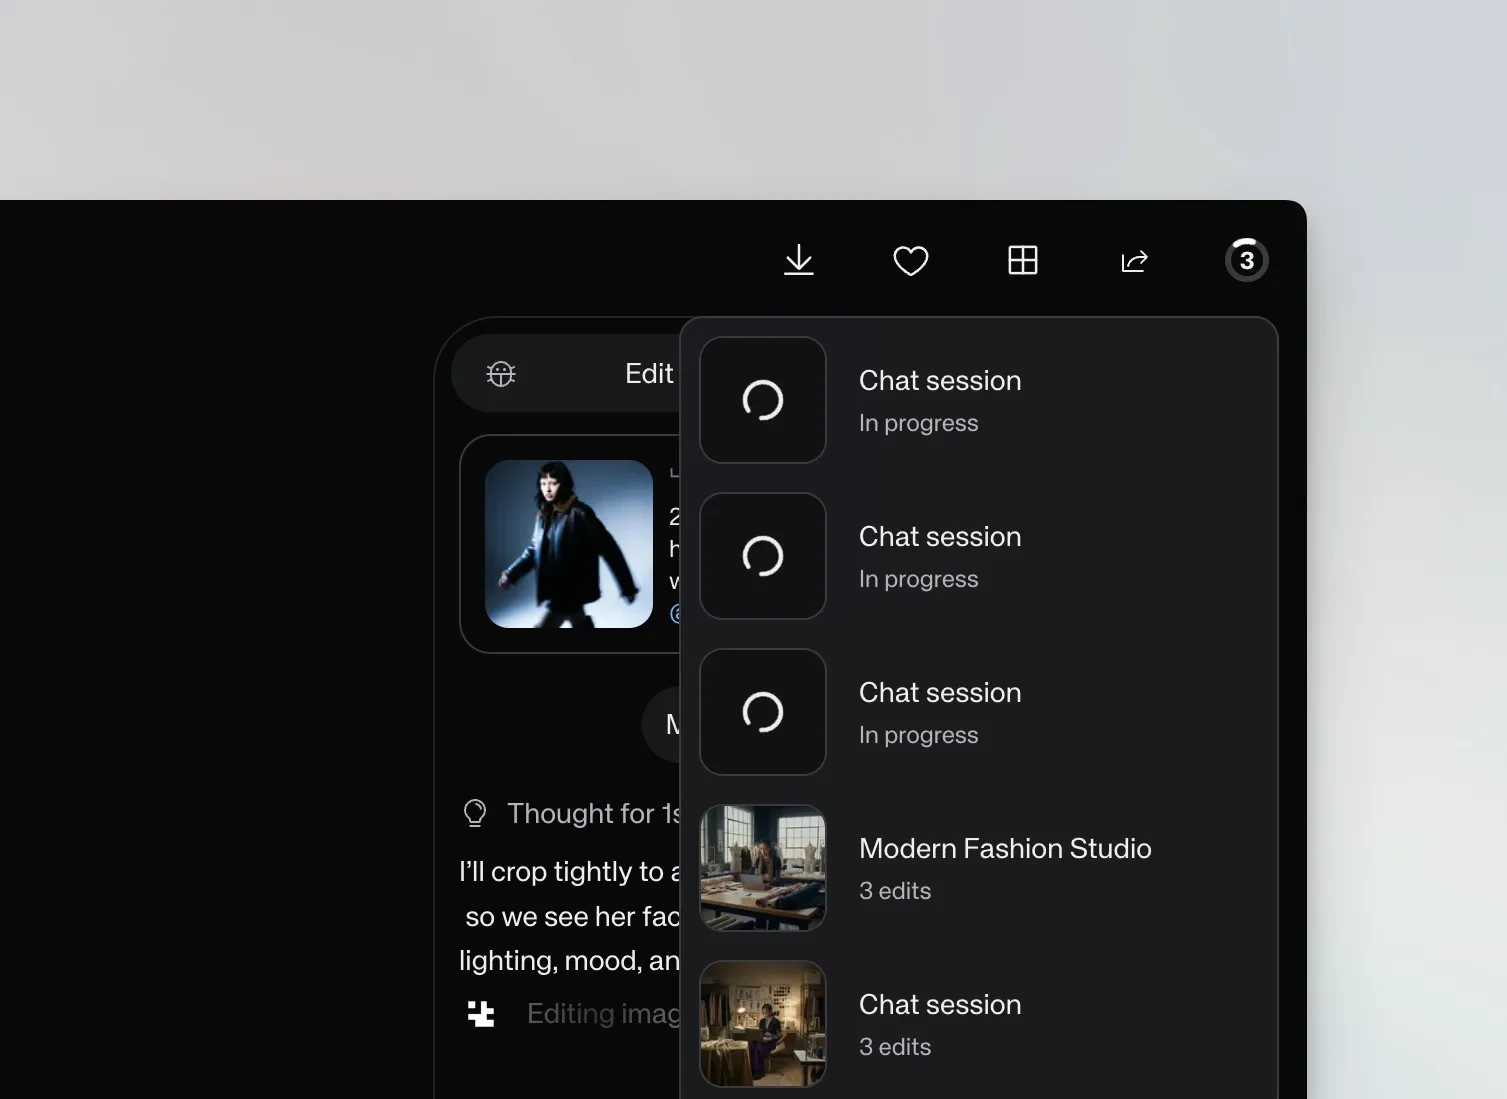
Multiple chat sessions running in the background
High-fidelity video with start and end frames
When you need precise control — especially for products with text, logos, or fine details — you can define both the start and end frames to avoid morphing artifacts. Generate the end frame first. Ask Chat mode to create what the final frame should look like, then request a video transitioning between the two. For example: “First generate an image where the camera has moved closer and flowers have appeared on the sides. Then generate a video transitioning from the original to that new image.”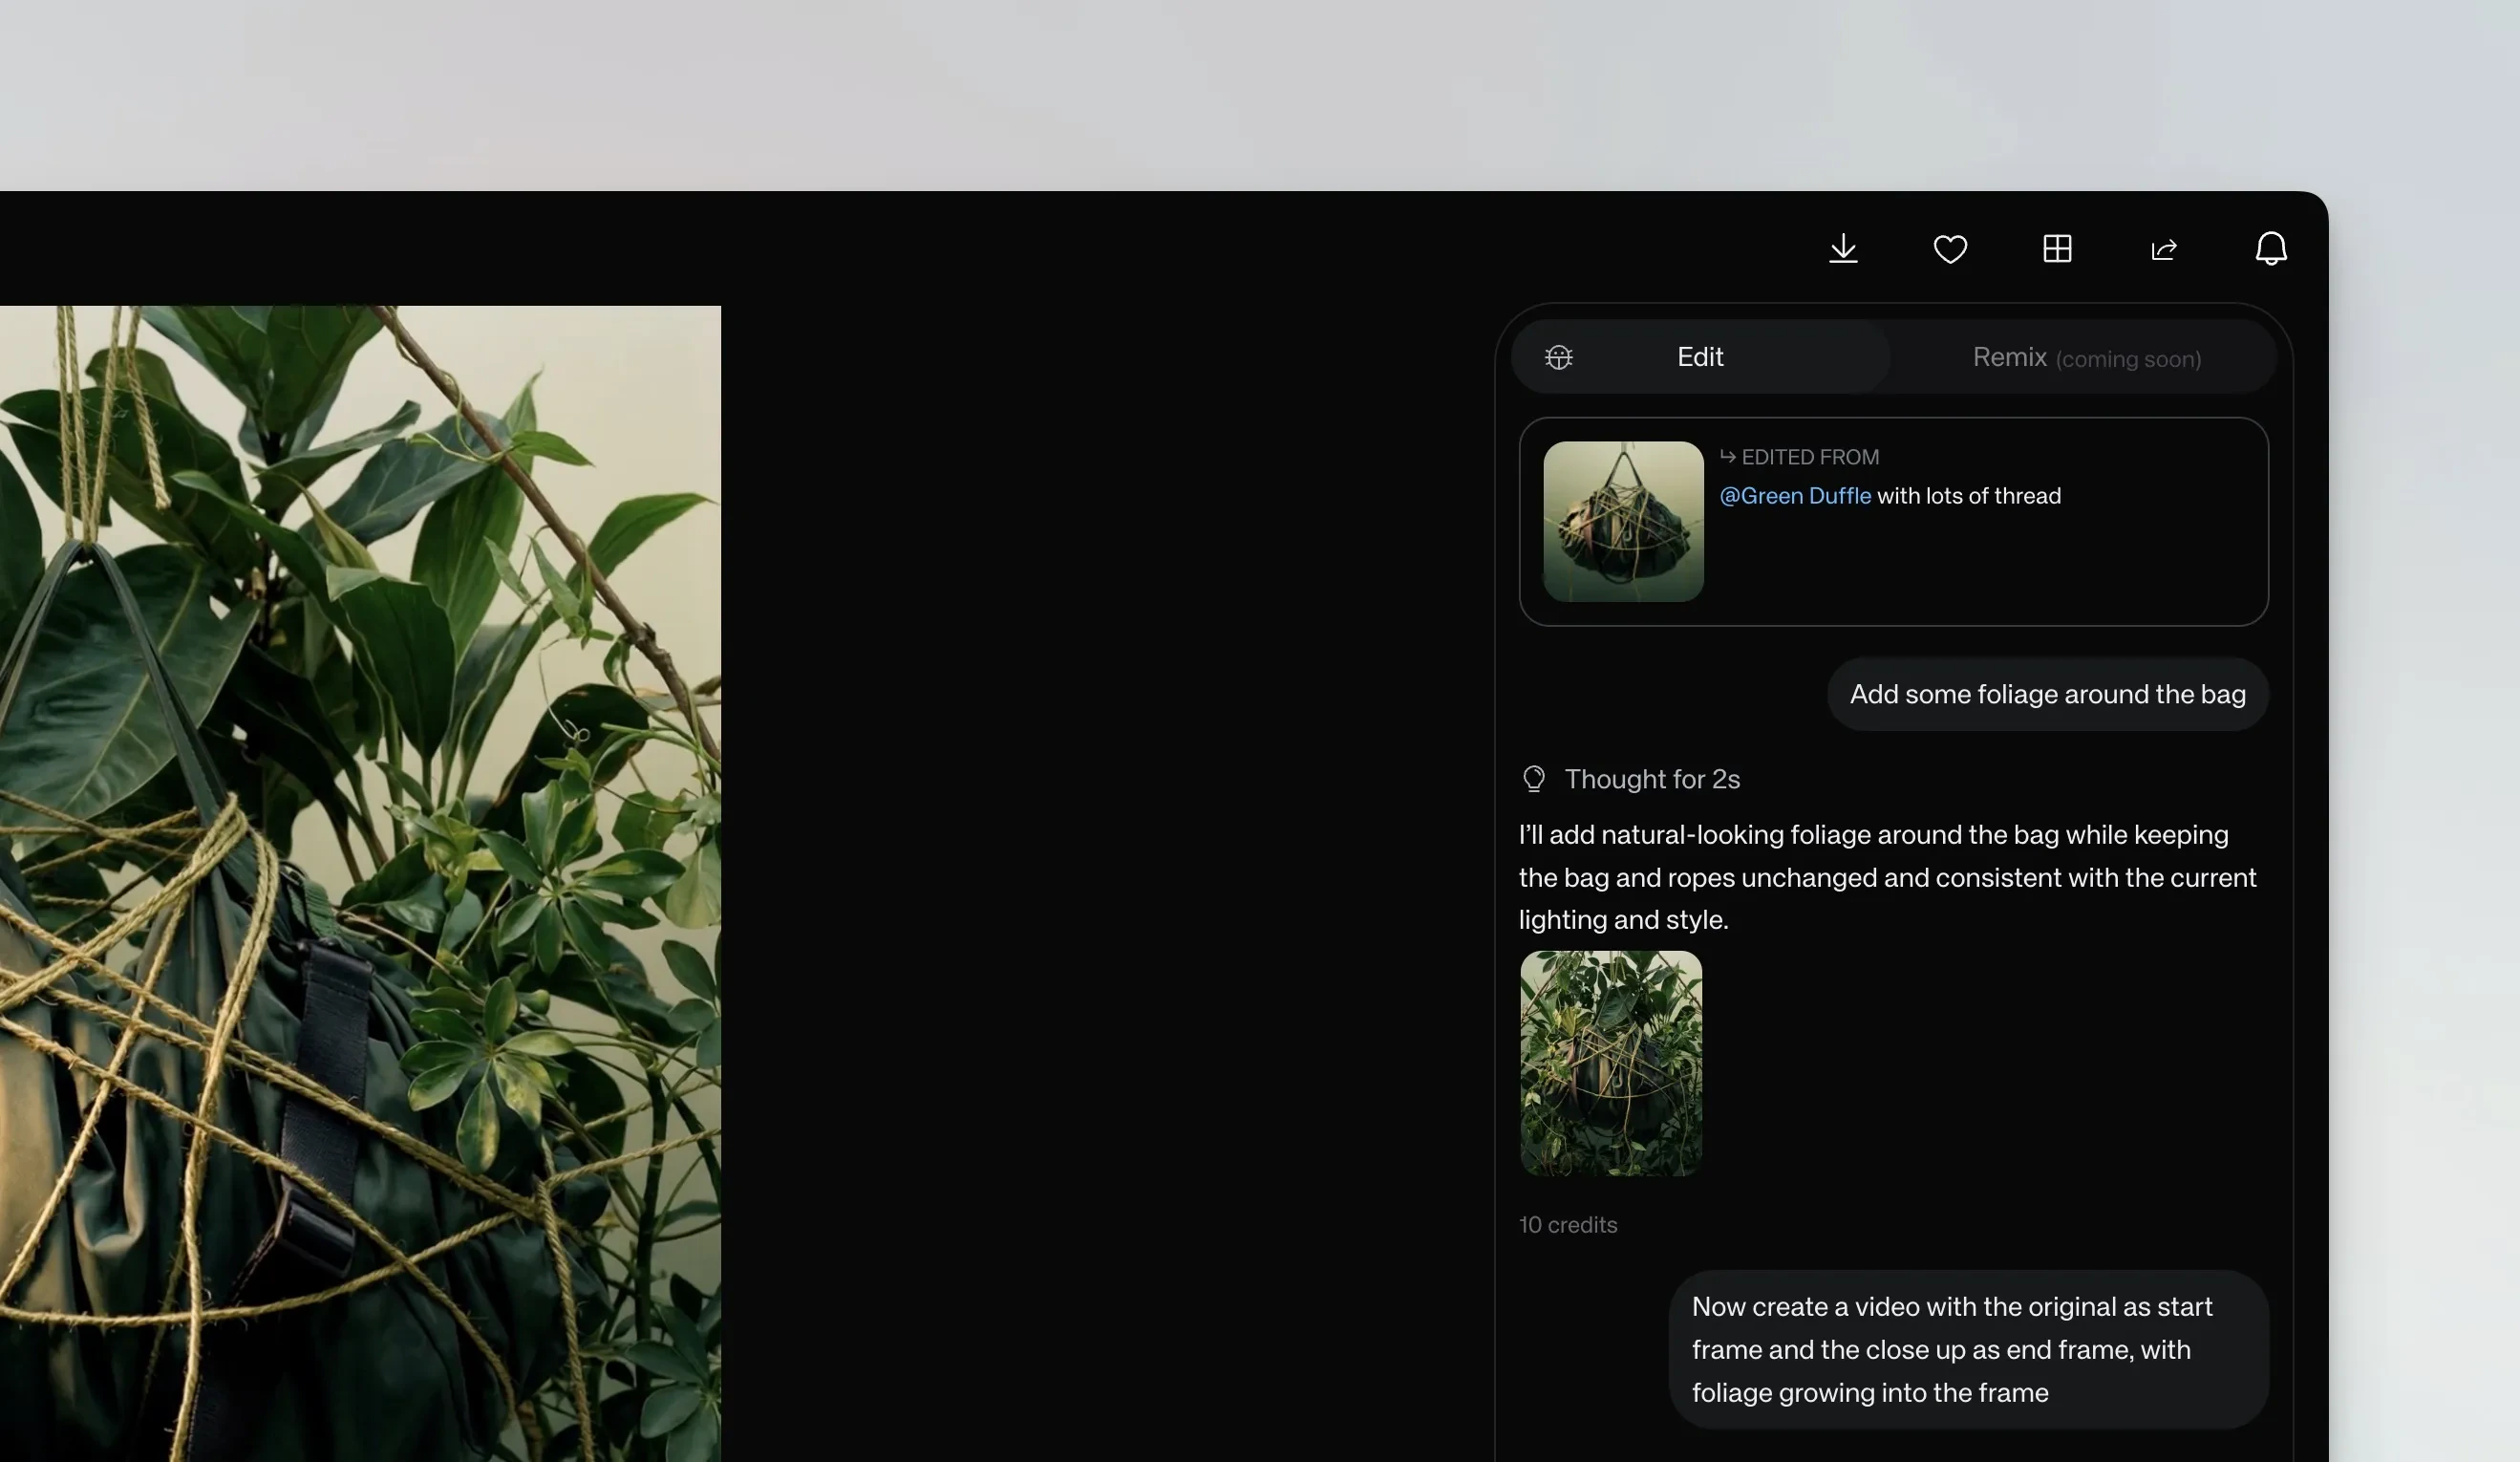
Chaining an edit and a start/end frame video in one conversation
Video generated using start and end frames defined in Chat mode