Overview
This guide shows you how to turn a simple product image into polished commercial photography in under three minutes. You’ll use product models and studio presets to generate multiple angles and scenes without any physical equipment.Before you start
- Access to a Kive workspace and Basic plan or higher
- A product image with a transparent or simple background
Steps
1
Upload Your Product
Click the + button in the generation interface, select AI Product and then
New product
2
Add Product Images
Add 1 to 4 photos using upload, library selection, or online store URL import.
Name your product model and click Add object; training takes ~10 seconds
3
Select a Studio Preset
Browse the studio library and choose a preset that fits your brand. Studios
handle lighting, backgrounds and composition automatically 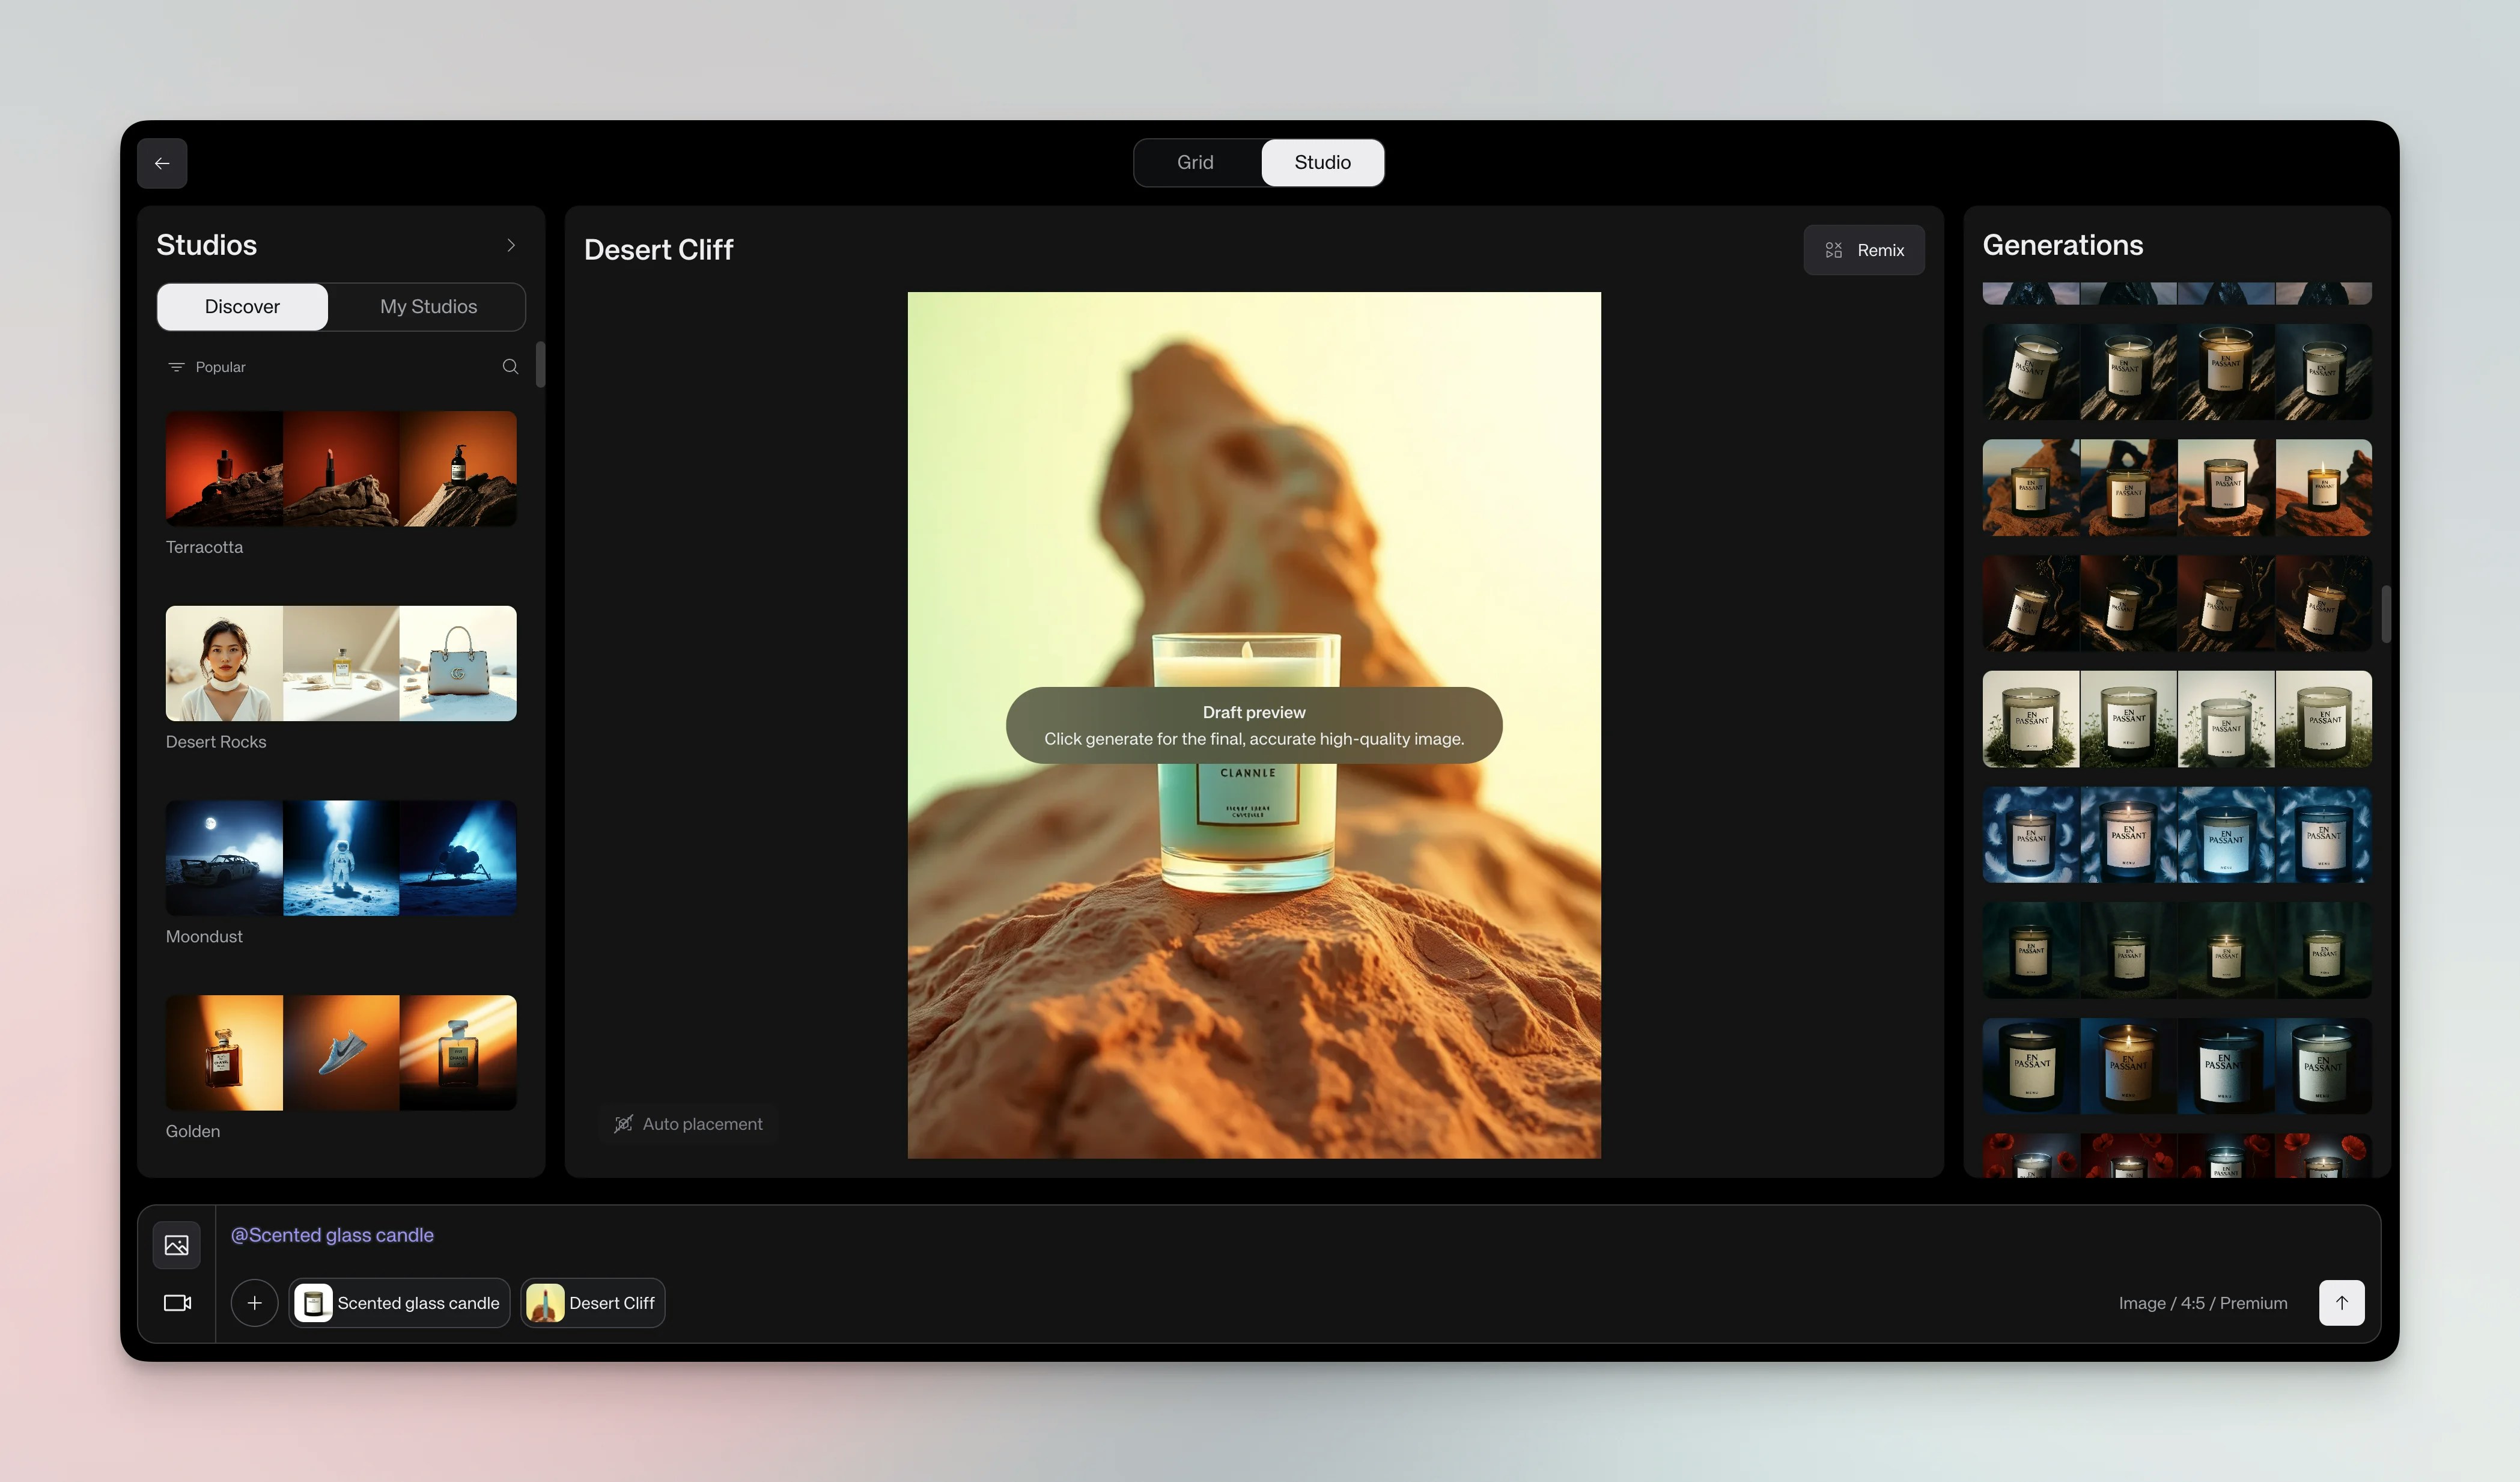
4
Configure Image Settings
Click the settings icon to choose an aspect ratio (e.g., 4:5 for Instagram).
Select a Quality setting—Default saves credits for testing ideas, Premium handles most needs at very high quality, and Max uses highest resolution for fine details like small logos and text.
5
(Optional) Add a Short Prompt
Studios work without prompts; if you need a variation, add 1–2 descriptive
words only
6
Generate Your Shot
Create multiple variations
simultaneously and save the best ones to boards
Studio presets
Studios are pre-designed environments that handle lighting, backgrounds, and composition automatically. Think of them as virtual photo sets — each one creates a specific mood and style without you needing to write complex prompts. Use studios when you want consistent results across multiple products. They’re perfect for building a cohesive brand look or creating product galleries that feel professionally shot. Browse the studio library to find styles that match your brand — from minimalist tech setups to warm lifestyle scenes to luxury presentations. When selecting a studio, consider your product category, brand aesthetic, target audience and marketing channel. Once you find a good match, save it to reuse across your entire product line.Techniques
Batch generation: Generate multiple variations across different studios to compare results.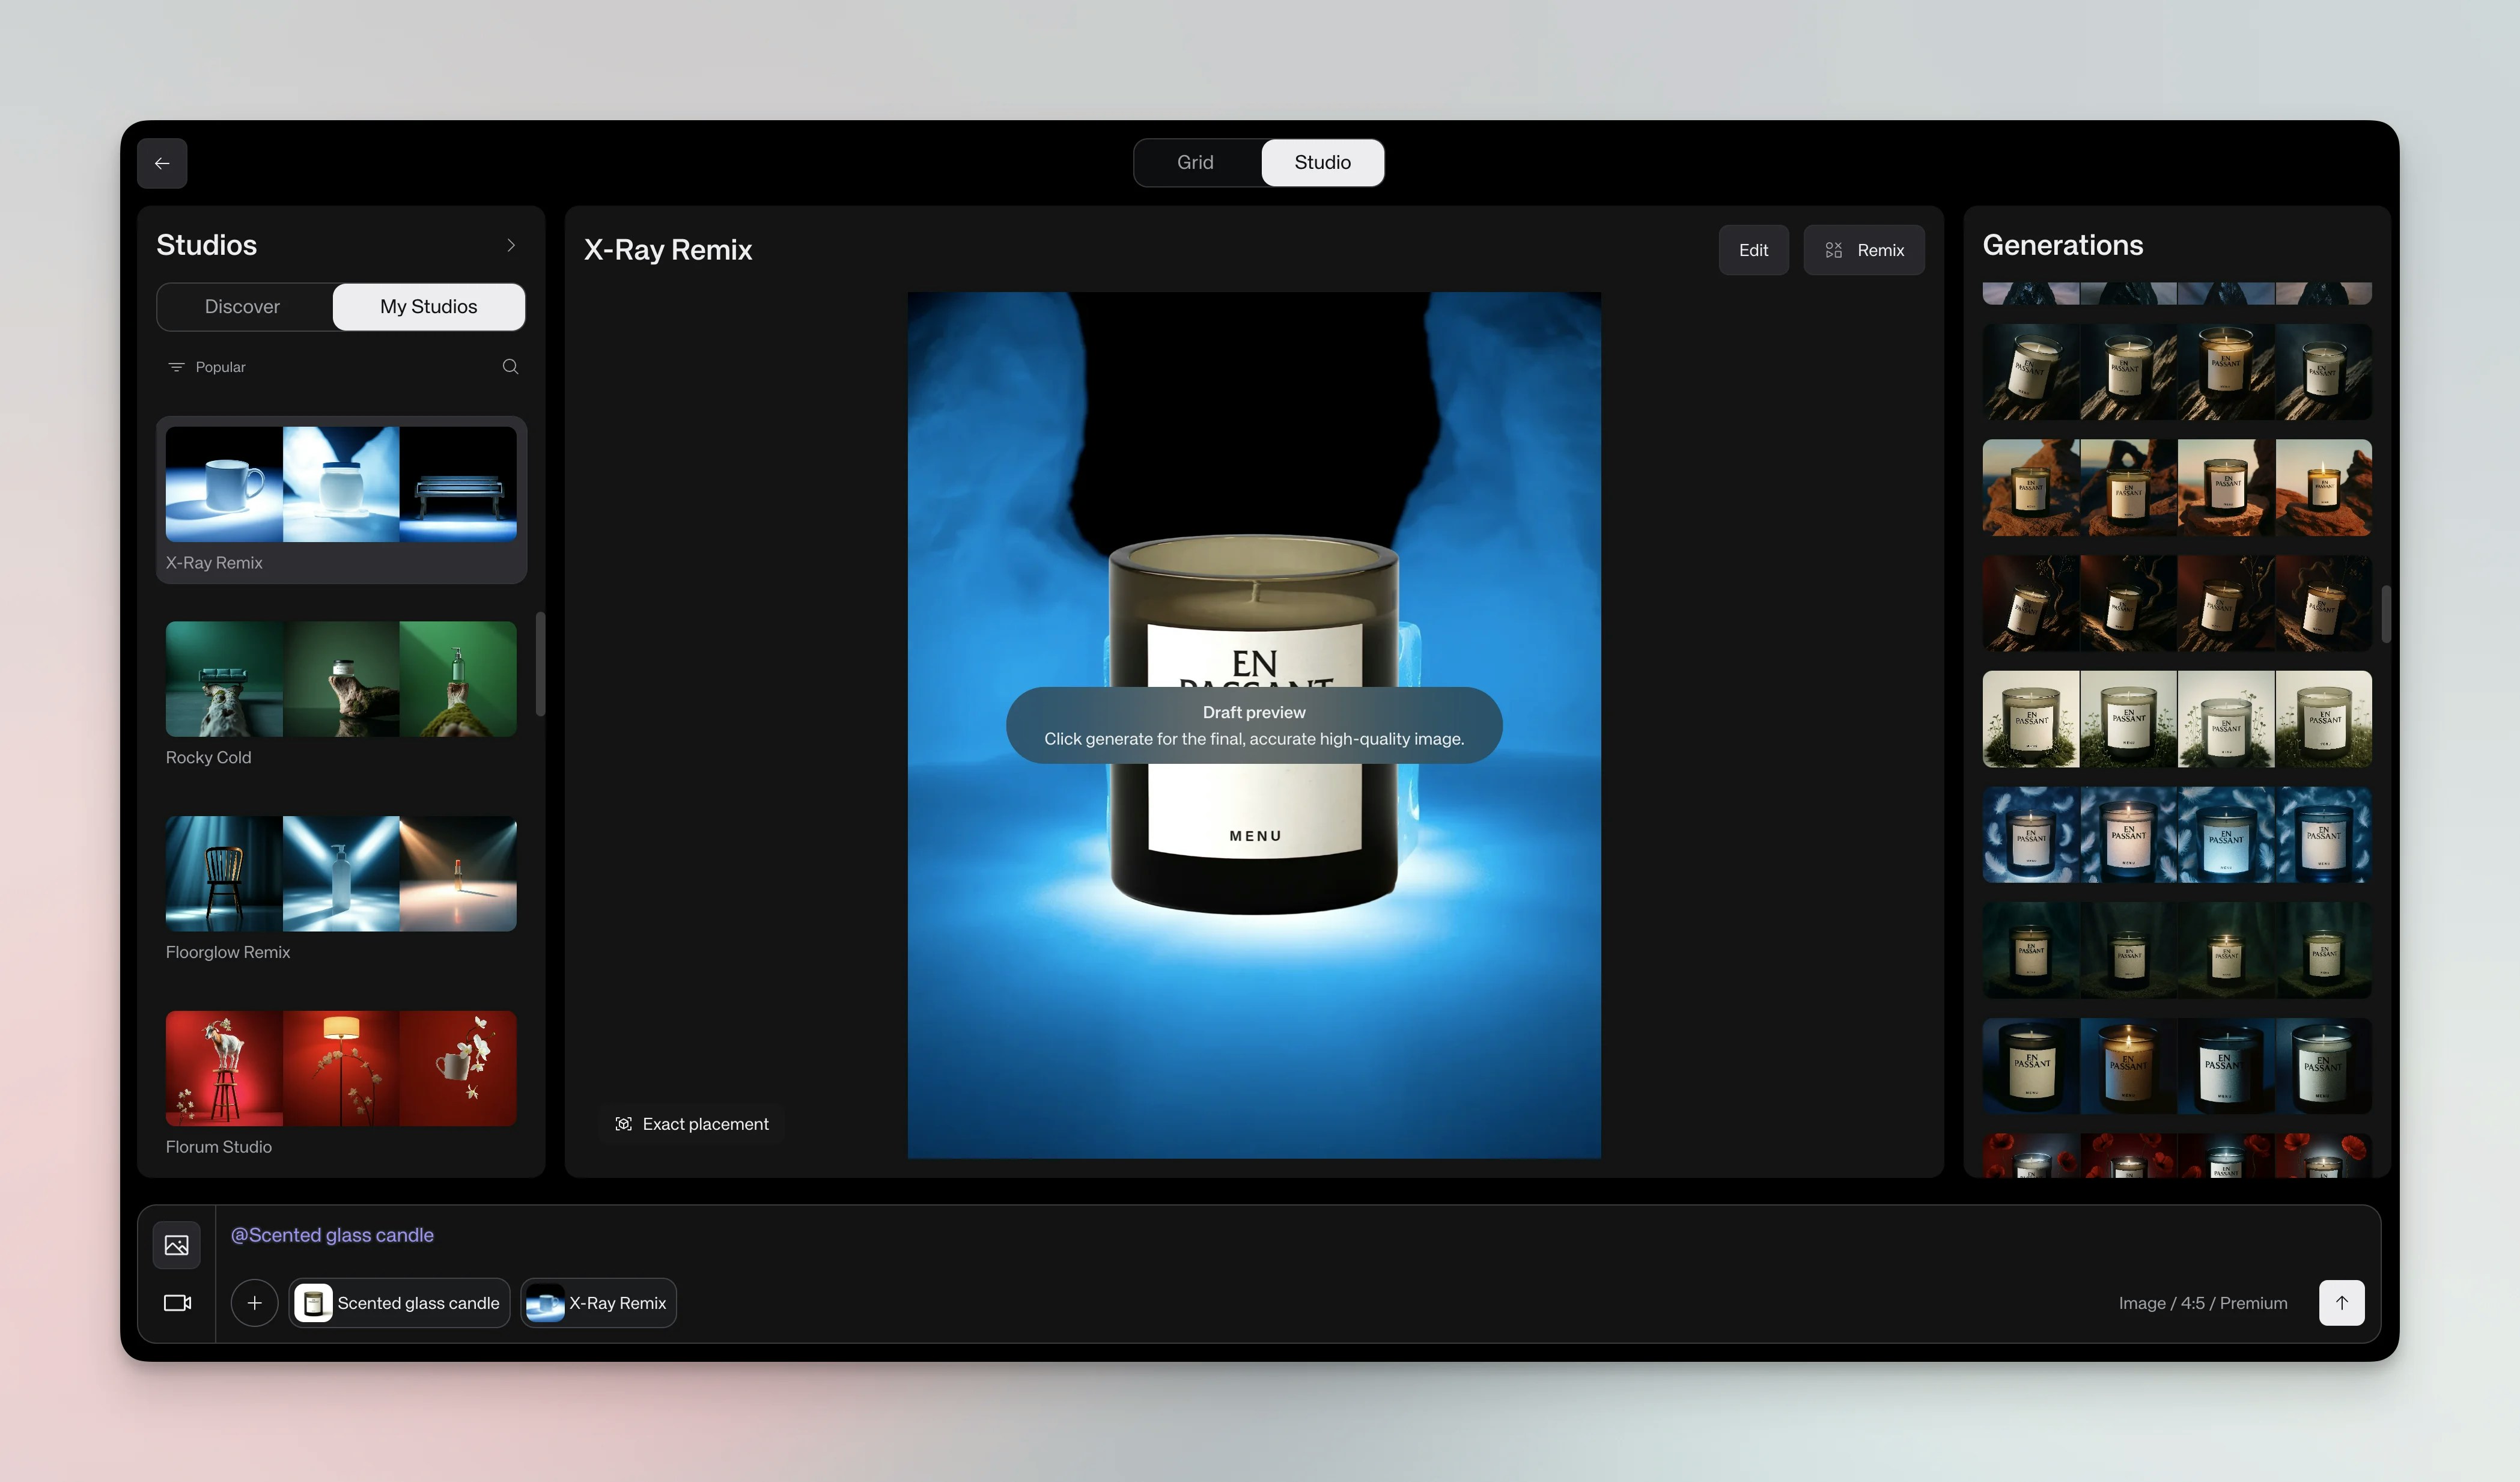

Use cases
E-commerce: Product listings, category headers, sale banners. Social media: Instagram posts, Facebook ads, Pinterest pins, stories. Marketing materials: Email campaigns, landing pages, print catalogs, digital lookbooks.Best practices
Product image preparation: Use high-resolution, sharp images with clear details; avoid busy backgrounds; start with a single angle. For e-commerce products, you can import images directly from online store URLs to save time. Image quality directly affects output quality — blurry or low-resolution input images will result in blurry product details in your generated images, including text on labels and packaging. Product sizing for accessories and jewellery: When training models for items without standardized sizes (jewellery, bags, hats, accessories), include at least one image showing the product worn or held by a person. This provides essential scale context. For necklaces, use an image with the necklace on a person’s neck (avoid showing faces). For bags, show them slung over a shoulder or held in a hand. For rings, include a close-up on a finger. Without this context, the AI may generate products at incorrect sizes. Quality over quantity: Use one great image rather than one great image plus two poor-quality images. Poor images dilute model accuracy and lead to inconsistent generation results. Multi-angle strategy: For highest accuracy across different viewing angles, create separate product models for each angle (front, side, top). This gives you more precise control than training one model with mixed angles. Generation tips: Start simple, iterate quickly by generating multiple options, save all good results and build boards by product category.Troubleshooting
Product not appearing: Ensure the product model was created and selected; regenerate if needed. Wrong angle: Generate multiple times; each generation randomly selects from your uploaded angles. Product appears too large or too small: This is common with jewellery, bags, hats, and other accessories that lack standardized sizes. The AI struggles to understand scale when products are shown isolated without reference points. To fix this, retrain your product model using at least one image showing the product worn or held by a person. For necklaces, use an image with the necklace on a person’s neck (avoid showing faces). For bags, show them slung over a shoulder. For rings, include a close-up on a finger. Focus on showing enough context for scale without excessive surrounding detail.Quick reference
- Upload your product (+ → AI Product → New product)
- Name the model
- Select a studio preset
- Choose aspect ratio and position
- Generate multiple variations
- Save your favorites to boards