AI product photography for Shopify lets store owners generate studio-quality product images in under 90 seconds for under $1 each – no photographer, studio, or props required. AI product photography (noun): the use of generative AI tools to produce studio-quality product images from a base photo, without a physical photographer, studio, or props. Tools like Kive.ai – an AI product photography platform built for Shopify stores – let you upload a plain product photo and receive Shopify-ready images in under 90 seconds. This guide covers everything from Shopify's image requirements and studio setups by product category to bulk generation workflows and a step-by-step integration process, so you can generate, edit, and publish professional AI product shots that meet platform specs and convert browsers into buyers.
Quick Answer – what you need to know:
- Shopify requires images at 2048 × 2048 px minimum, square 1:1 ratio, RGB color mode, JPG or WEBP format
- AI product photography with Kive.ai costs under $1 per image vs. $50–$150 for traditional studio photography
- Generation takes 30–90 seconds per image; a 100-SKU catalog can be completed in a single day
- Pure white (#FFFFFF) or off-white (#F5F5F5) backgrounds work best for Shopify product grids
- Bulk generation lets you apply one studio style across an entire catalog simultaneously
Table of Contents
- Why Shopify Product Photos Directly Impact Your Revenue
- Shopify Image Requirements You Must Know Before Uploading
- How to Generate AI Product Shots That Meet Shopify Specs
- Studio Setups by Product Category: What Actually Converts
- How Do I Bulk Generate Product Photos for a Large Shopify Catalog?
- The Complete Generate-to-Shopify Integration Workflow
Why Shopify Product Photos Directly Impact Your Revenue
Product photos are the single biggest revenue lever on a Shopify store – 75% of shoppers rank image quality above price, reviews, or shipping speed, and merchants who upgrade their imagery report 20–40% conversion lifts. This makes product photography the highest-ROI investment available to most Shopify store owners.
The Conversion and Bounce Rate Connection
Poor product photos cause two measurable types of revenue loss: higher bounce rates and lower add-to-cart rates. A visitor who lands on a product page with a blurry, poorly lit, or inconsistent image leaves within seconds. Shopify merchants who upgrade from smartphone snapshots to professional-style images consistently report average conversion lifts of 20–40%.
The logic is straightforward – shoppers can't touch or try your product. A great image is the only proxy for physical trust. A single hero image shot against a clean background with sharp focus and accurate colors answers the question "is this product worth my money?" better than any bullet-point description.
| AI Product Photography vs. Traditional Studio | Traditional Studio | AI Product Photography |
|---|---|---|
| Cost per image | $50–$150 | Under $1 |
| Turnaround time | 1–2 weeks | Under 90 seconds |
| Reshoots | Full cost again | Free iteration |
| Consistency across SKUs | Varies by session | Identical by spec |
| Setup required | Backdrops, lighting, props | Upload one photo |
Last verified: April 2026
What Is AI Product Photography for Shopify in 2026?
AI product photography is the use of generative AI tools to produce studio-quality product images from a base photo – without physical props, backdrops, or lighting rigs. In 2026, AI-generated images produced by platforms like Kive.ai can replicate complex studio lighting setups, textured backgrounds, and brand-aligned props at a fraction of the cost. Professional lighting and unique props like weathered wood or volcanic rock can transform basic packaging into a premium brand experience that reduces bounce rates and builds immediate trust.
What to Avoid: Common Product Photography Mistakes on Shopify
The most damaging mistakes Shopify store owners make with product photography are inconsistent backgrounds across SKUs, uploading images below 2048 × 2048 px (which breaks Shopify's zoom feature), and using CMYK color mode instead of RGB (which causes color shifts on screen). A fourth common mistake is inconsistent aspect ratios – mixing square and portrait images in the same collection creates a broken grid layout that signals an unprofessional store. AI product photography eliminates all four mistakes by locking in specs, background, and aspect ratio from the first generation.
What It Costs Without AI
A mid-tier product photography studio charges $50–$150 per image. For a Shopify store with 50 SKUs and 4 images per product, that's $10,000–$30,000 upfront – before any catalog updates or seasonal refreshes. AI product photography for Shopify eliminates this cost almost entirely while delivering same-day turnaround and free unlimited iteration on every image.
Shopify Image Requirements You Must Know Before Uploading
Shopify requires product images at a minimum of 2048 × 2048 pixels in RGB color mode, square 1:1 aspect ratio, and under 20 MB file size. Getting your specs right before you generate or upload saves hours of rework – and AI-generated images must be configured to match these requirements from the start.
What Resolution Does Shopify Require for Product Images?
Shopify's minimum recommended resolution is 2048 × 2048 pixels to ensure zoom quality works correctly. The platform supports images up to 4472 × 4472 pixels. For aspect ratio, square (1:1) is the Shopify default and the safest choice – it ensures visual consistency across grid views, collection pages, and mobile layouts.
If your theme uses a different ratio (common options are 4:5 portrait or 16:9 landscape), match your AI generation output to that ratio from the start. Cropping after the fact can cut off packaging details or create awkward whitespace.
| Spec | Shopify Requirement | Best Practice |
|---|---|---|
| Min. resolution | 800 × 800 px | 2048 × 2048 px |
| Max. resolution | 4472 × 4472 px | 2048–3000 px |
| Aspect ratio | Any | 1:1 (square) |
| File size | Max 20 MB | Under 1 MB for web |
| File format | JPG, PNG, GIF, WEBP | JPG or WEBP |
| Color mode | RGB | RGB |
Last verified: April 2026
File Size and Format: Which Format Is Best for Shopify?
WEBP is the best file format for Shopify in 2026 because it delivers roughly 30% smaller file sizes than JPG at equivalent visual quality, directly improving page load speed – a confirmed ranking and UX factor. Shopify's 20 MB limit is generous, but target under 1 MB per image after compression.
AI-generated images from Kive.ai export in high resolution. After generating, use Kive's upscale tool if you need to hit 2048 px, then compress to web size before uploading.
Is AI Product Photography Allowed by Shopify?
Yes – Shopify explicitly allows AI-generated product images because the platform has no restrictions on how product images are created, only on what they depict. AI-generated product photos are treated identically to studio-shot photographs by the Shopify platform. As of 2026, a growing majority of top-performing Shopify stores use AI-generated imagery as their primary catalog photography method. Kive.ai generates images in all Shopify-compatible formats (JPG, WEBP, PNG) at the required resolution and color mode, so there is no technical or policy barrier to publishing AI product shots on your store.
Which Background Color Works Best for Shopify Product Grids?
Pure white (#FFFFFF) or off-white (#F5F5F5) work best for Shopify product grids because they display cleanly across all themes and create consistent, distraction-free product collections. For premium or lifestyle brands, a warm neutral grey or brand-specific tone is also effective. The key rule: choose one background color and apply it consistently across every SKU. AI generation makes this easy – specify the background once in your prompt and every output matches automatically.
Bottom line: Configure your AI product shots to 2048 × 2048 px, WEBP or JPG, RGB color mode, and a consistent background color before generating your first batch – reworking specs after bulk generation wastes significant time and credits.
How to Generate AI Product Shots That Meet Shopify Specs
Generating AI product shots for Shopify is a three-step process: upload your product image, configure the studio environment, and export in the correct spec. Kive.ai's AI Product Shots feature handles all of this within a single workflow.
Step 1: Upload Your Product Image
Start with the clearest photo you have of your product – even a smartphone shot on a plain surface works. The AI uses this as the base and replaces the background, adds lighting, and places the product in a styled environment. Upload your image directly to your Kive library using the upload assets function.
For best results:
- Photograph the product on a plain light background
- Ensure the product fills at least 60% of the frame
- Avoid heavy shadows in the source image – AI can add them, but removing them is harder
- Shoot at the highest resolution your camera allows
Step 2: Configure the Studio Environment
This is where AI product photography for Shopify earns its cost advantage. Instead of physical props, backdrops, and lighting rigs, you describe the environment in a prompt or select a preset studio.
Key prompt elements for Shopify-ready AI product shots:
- Lighting: "Soft directional studio lighting, subtle shadow to the left"
- Background: "Neutral warm-grey, minimalist" or "pure white, seamless"
- Surface: "Dark wood pedestal" or "matte white acrylic surface"
- Angle: "Eye-level, slightly angled to show depth" or "straight-on, centered"
- Style: "High-end commercial product photography, sharp focus"
How Long Does AI Product Photo Generation Take?
AI product photo generation with Kive.ai takes 30–90 seconds per image, compared to 1–2 weeks for traditional studio photography. For a 100-SKU catalog with 3 images per product, that translates from months of studio scheduling to a few hours of batch generation – with free iteration on any image that needs adjustment.
| Step | Traditional Studio | AI Generation (Kive) |
|---|---|---|
| Source prep | Half-day shoot | Upload one photo |
| Background setup | Physical backdrops | Prompt text |
| Lighting rig | Hours to configure | Described in prompt |
| First image delivery | 1–2 weeks | 30–90 seconds |
| Reshoots / iteration | Full cost again | Free, unlimited |
Last verified: April 2026
Step 3: Export in Shopify-Ready Specs
After generating, select your preferred output at 2048 × 2048 px in JPG or WEBP format. If your generated image needs any background cleanup or color adjustment, use Kive's change background or general edit tool before exporting. Compress to under 1 MB and verify RGB color mode before uploading to Shopify.
Bottom line: The entire generate-to-export workflow for a single product takes under 5 minutes in Kive – from raw upload to a Shopify-ready image at the correct resolution, format, and color mode.
Studio Setups by Product Category: What Actually Converts
The best AI studio setup depends on your product category: jewelry converts best on white seamless backgrounds, home decor on warm lifestyle neutrals, food and beverage on dark dramatic surfaces, and beauty products surrounded by ingredient props. Here are proven AI studio configurations for the four most common Shopify niches.
Jewelry and Accessories: Clarity Over Complexity
Jewelry photography converts best with sharp detail on a pure white or very light grey seamless background because shoppers need to evaluate craftsmanship and materials at close range. Soft, diffused overhead lighting prevents blown-out highlights on metal and gemstones. Avoid harsh directional light or busy backgrounds that compete with the product's intrinsic detail.
Recommended prompt: "Macro product shot, white seamless background, diffused overhead lighting, sharp focus on texture detail, no shadows"
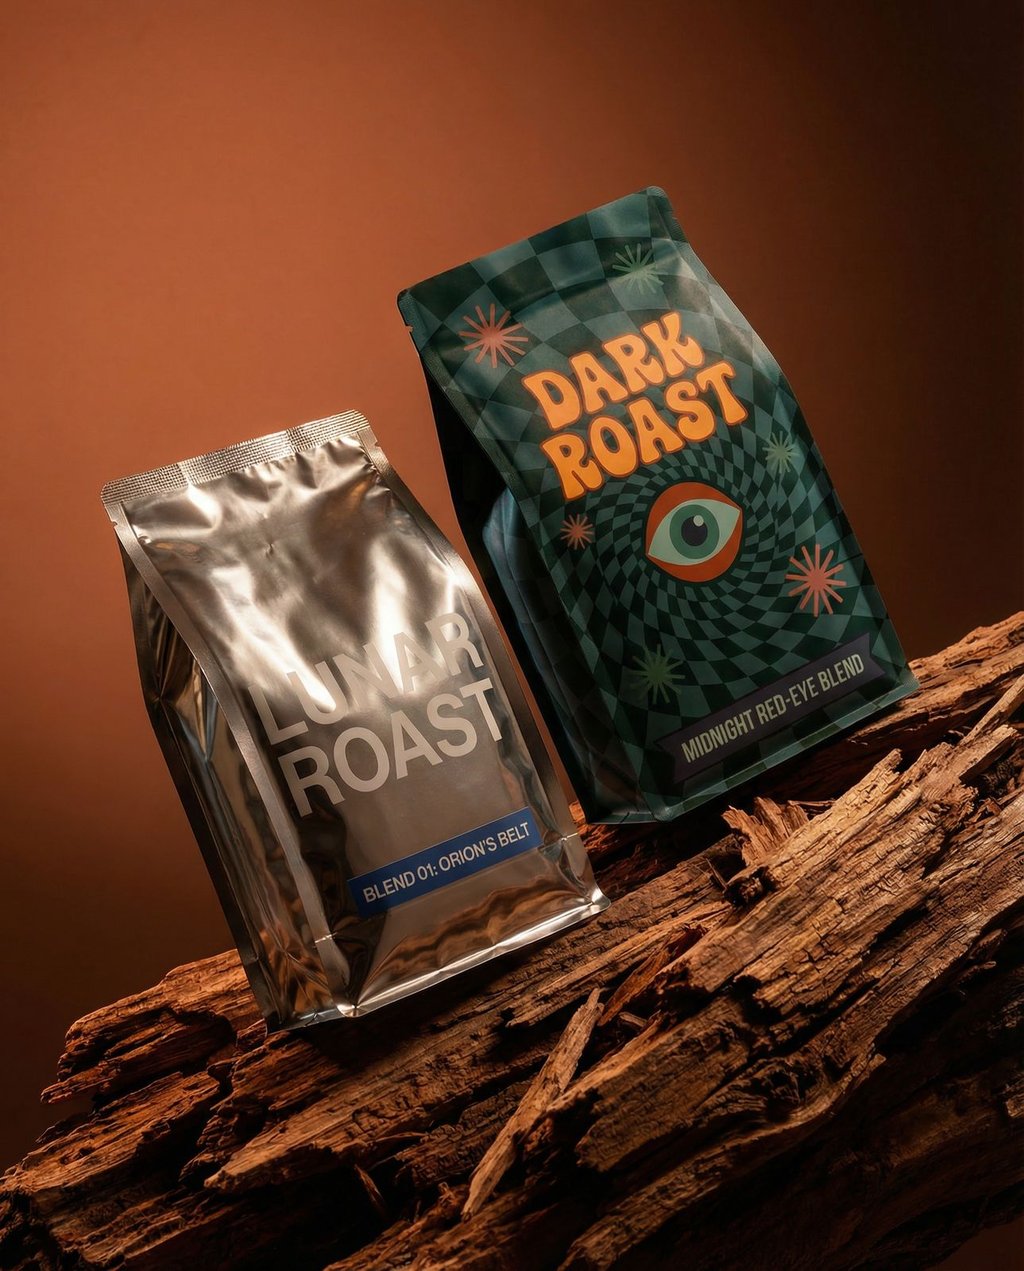
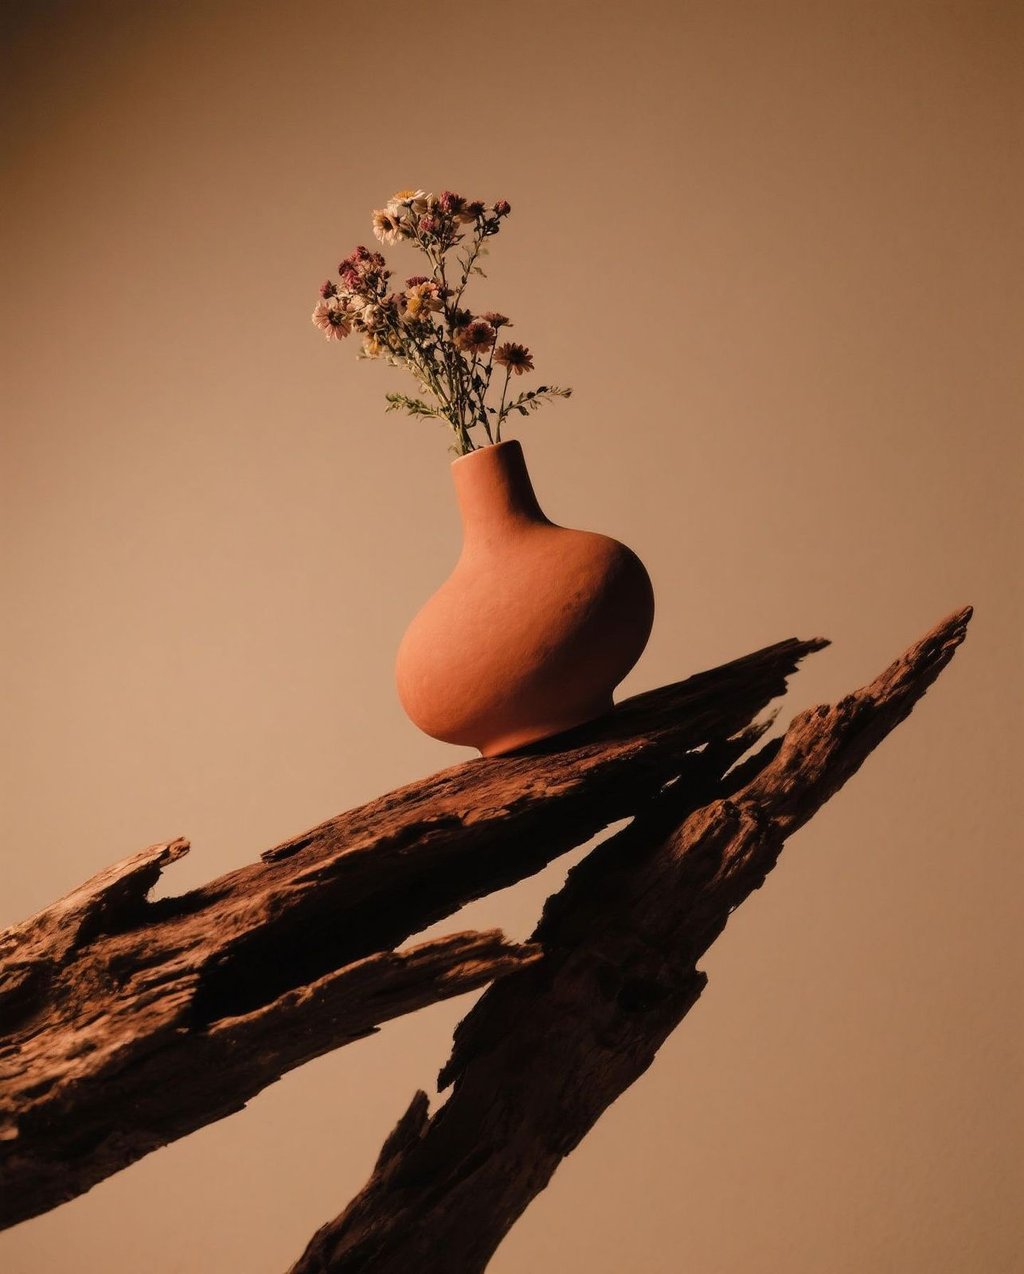
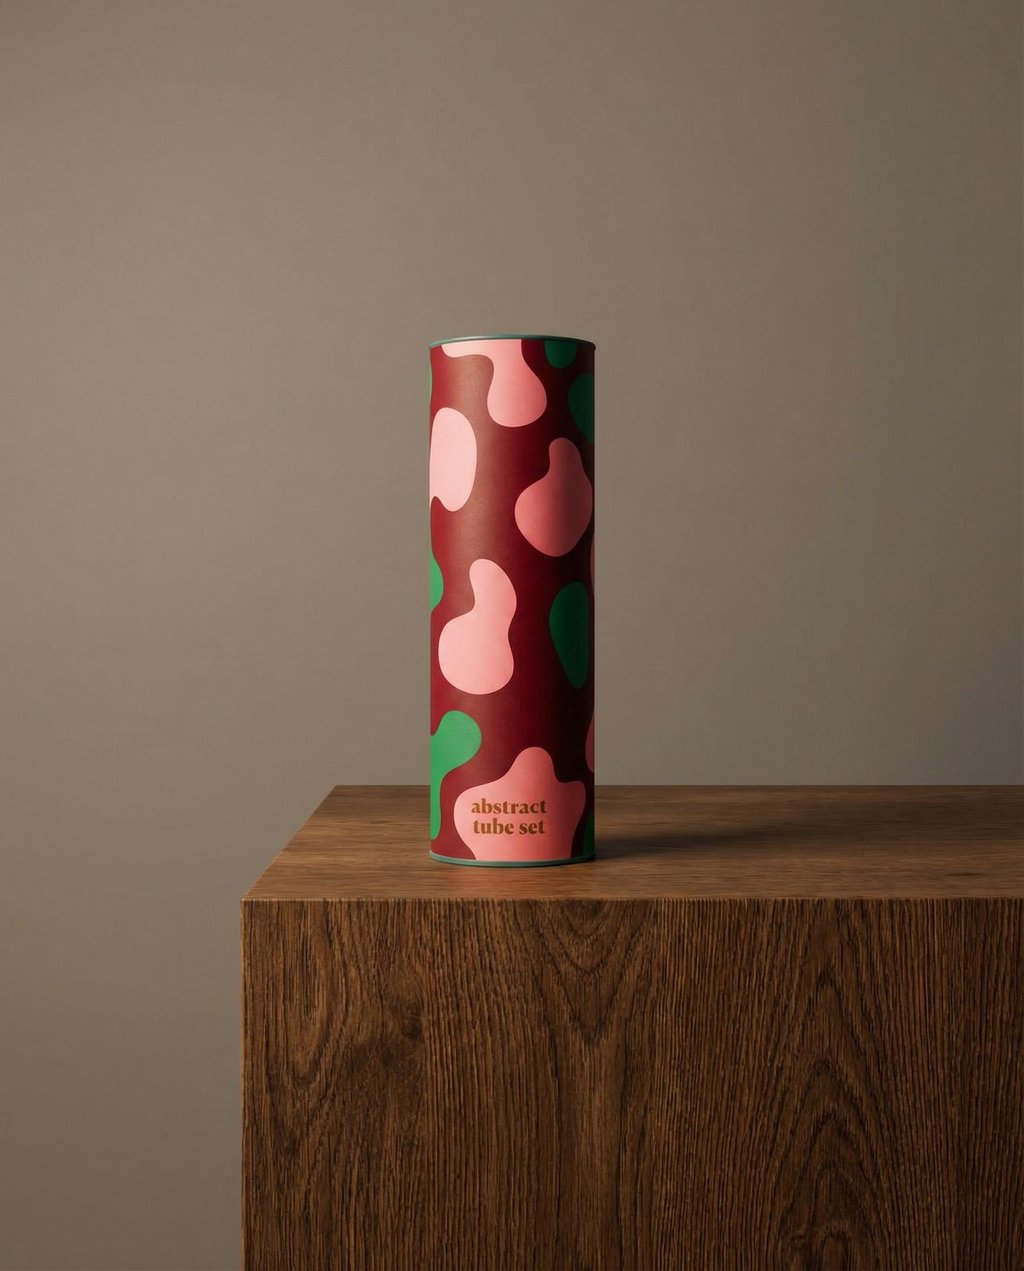
Home Decor and Ceramics: Context Sells the Vision
Home decor products convert better in styled environments than on plain white backgrounds because shoppers are imagining these items in their own space. Warm-toned neutrals, natural materials (linen, wood, stone), and asymmetric compositions communicate livability and aspiration. AI can generate complex lifestyle props and textures – driftwood, woven linen, terracotta tile – that communicate a product's luxury appeal without a physical stylist.
Recommended prompt: "Lifestyle product shot, warm grey background, driftwood or linen surface prop, soft directional side lighting, editorial aesthetic"
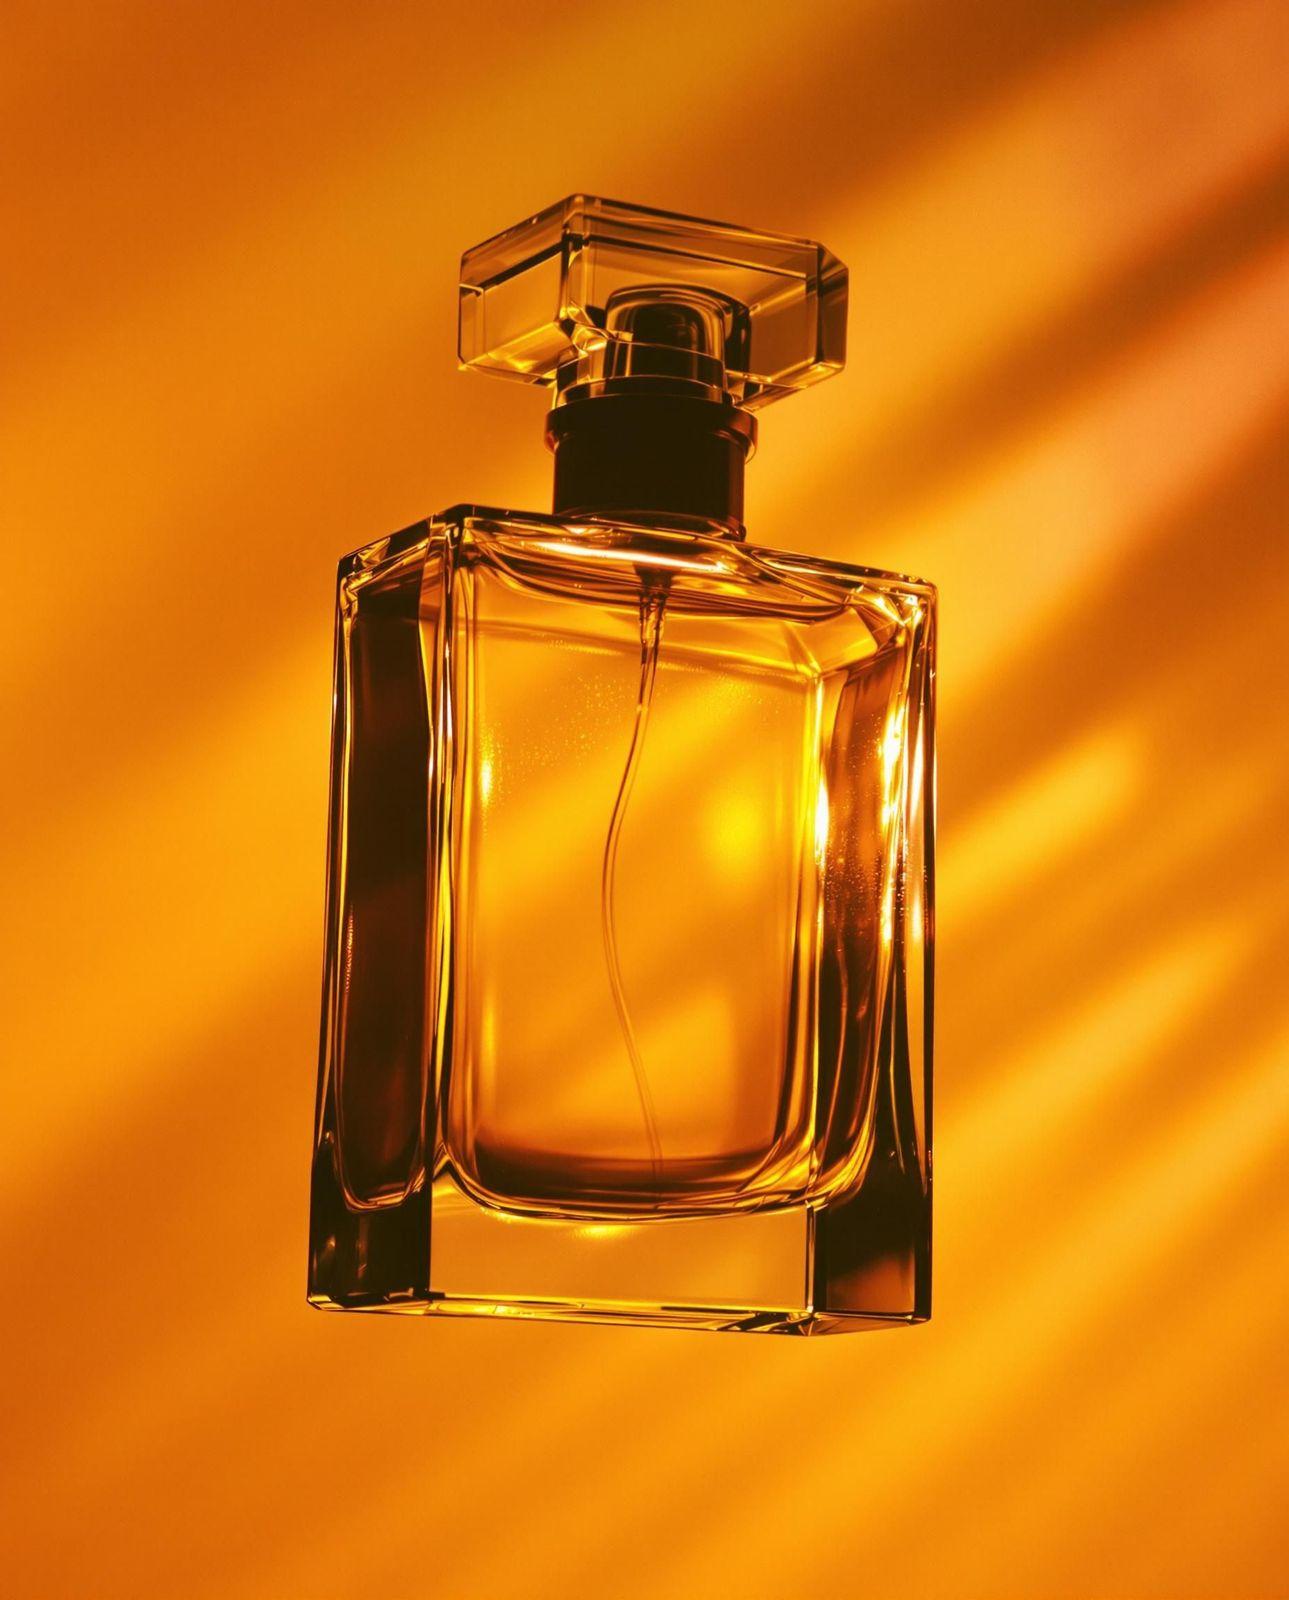
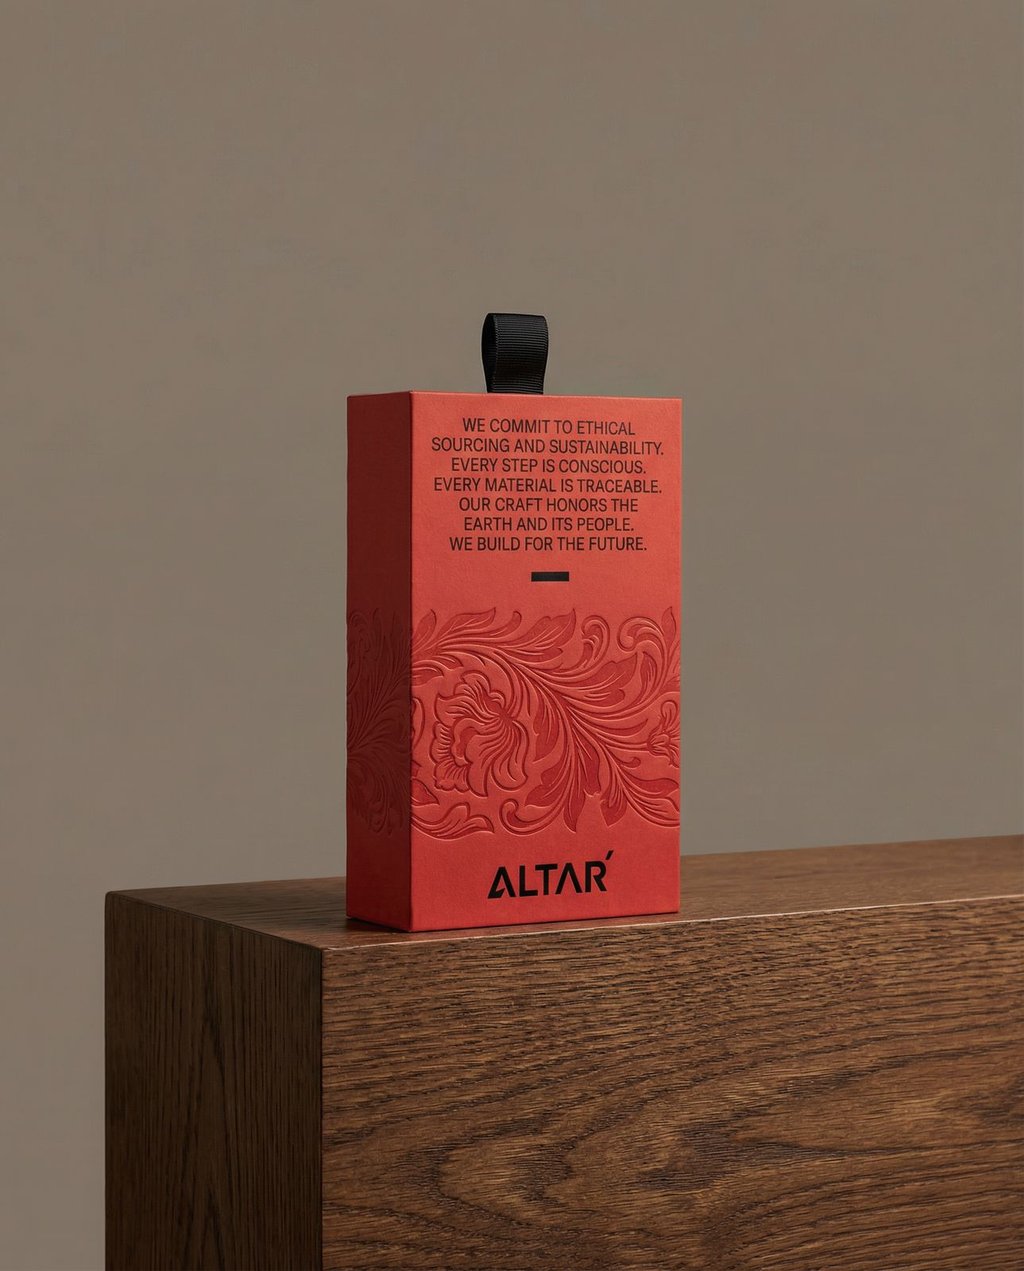
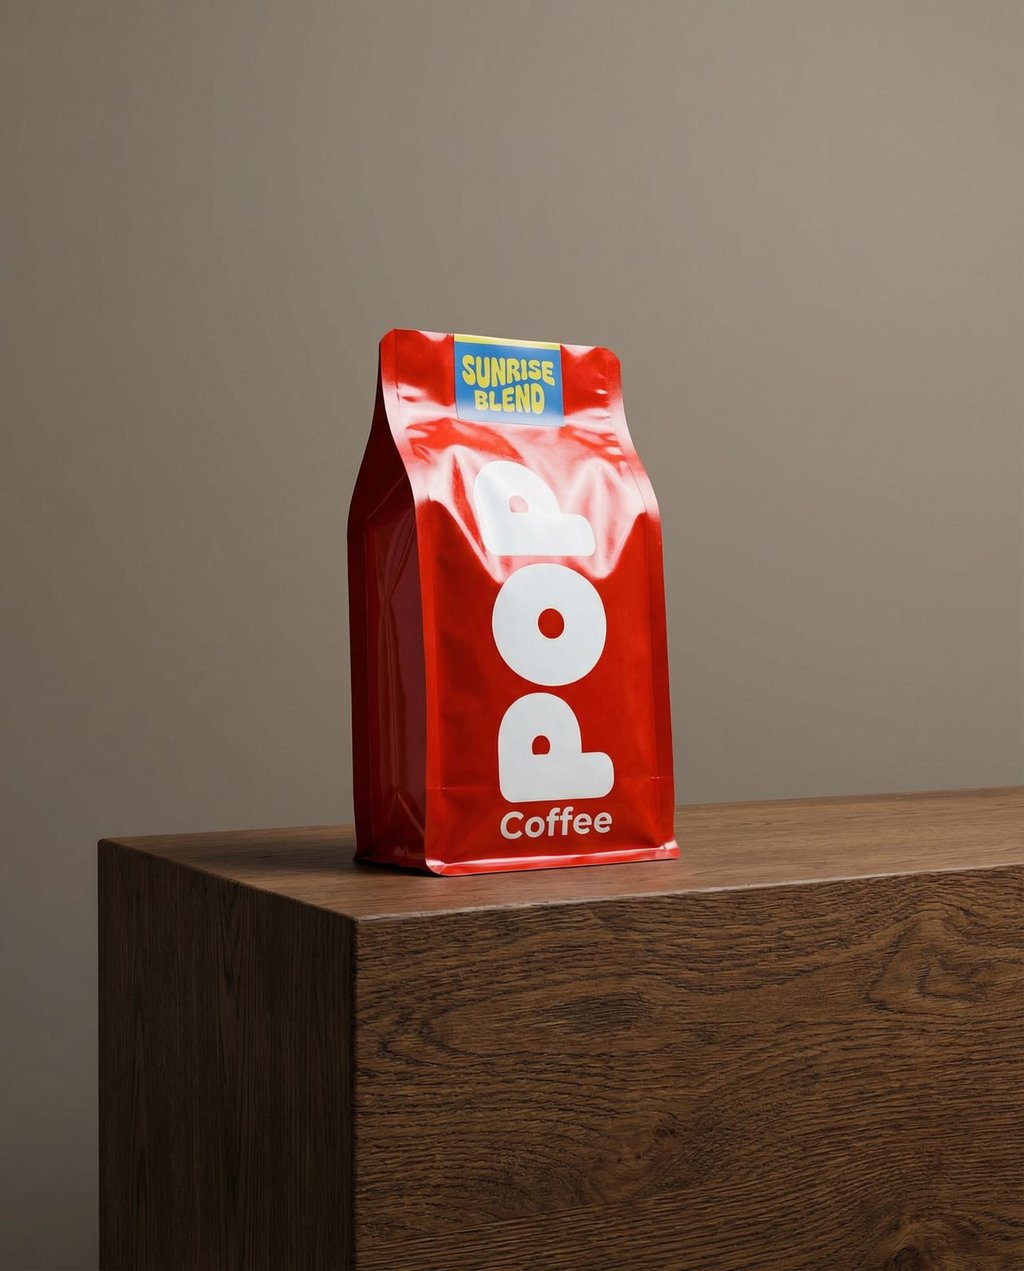
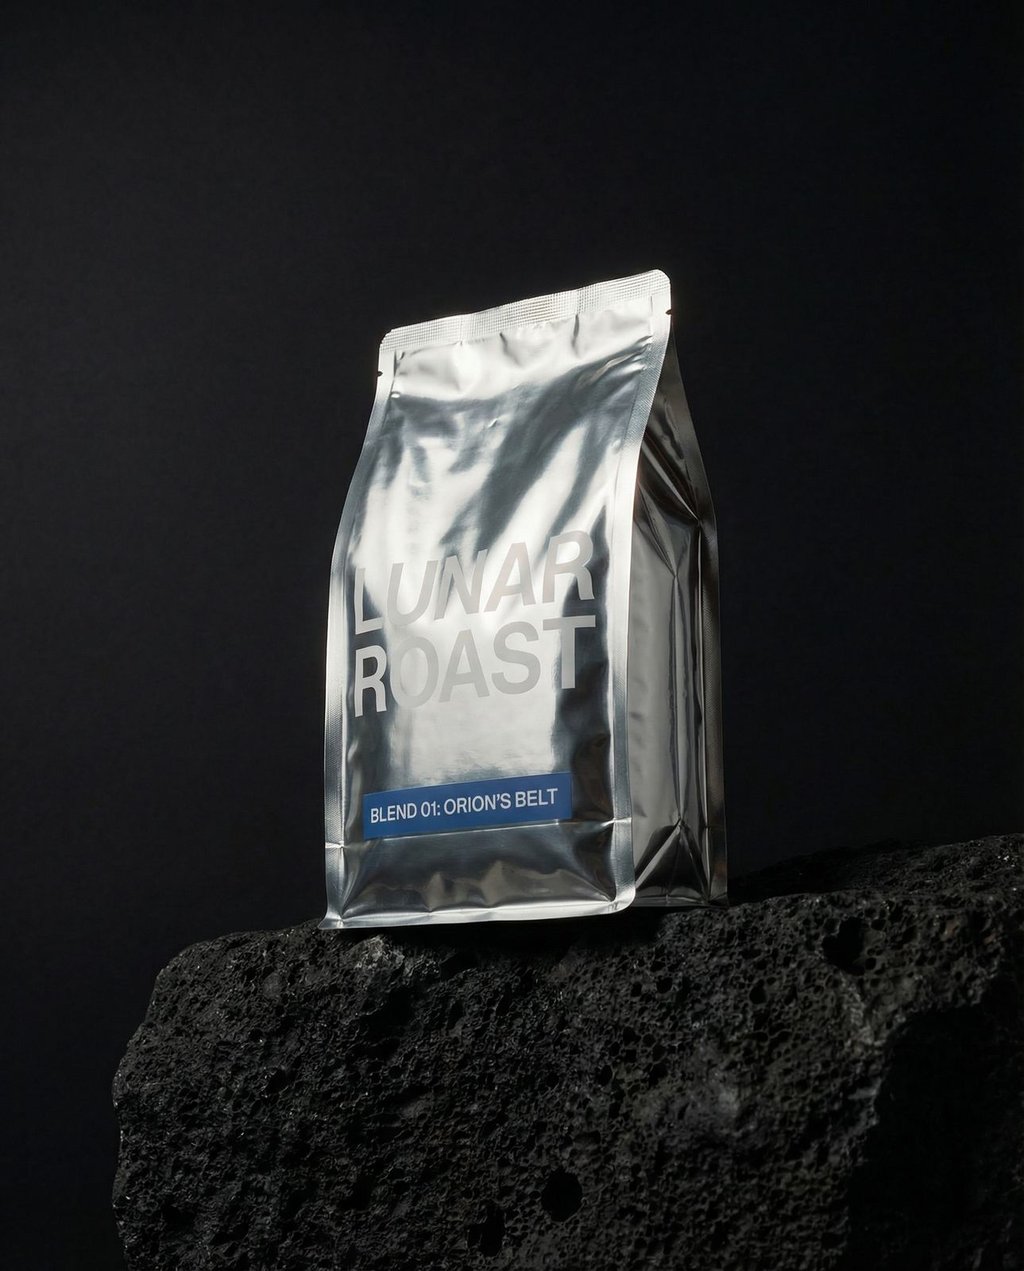
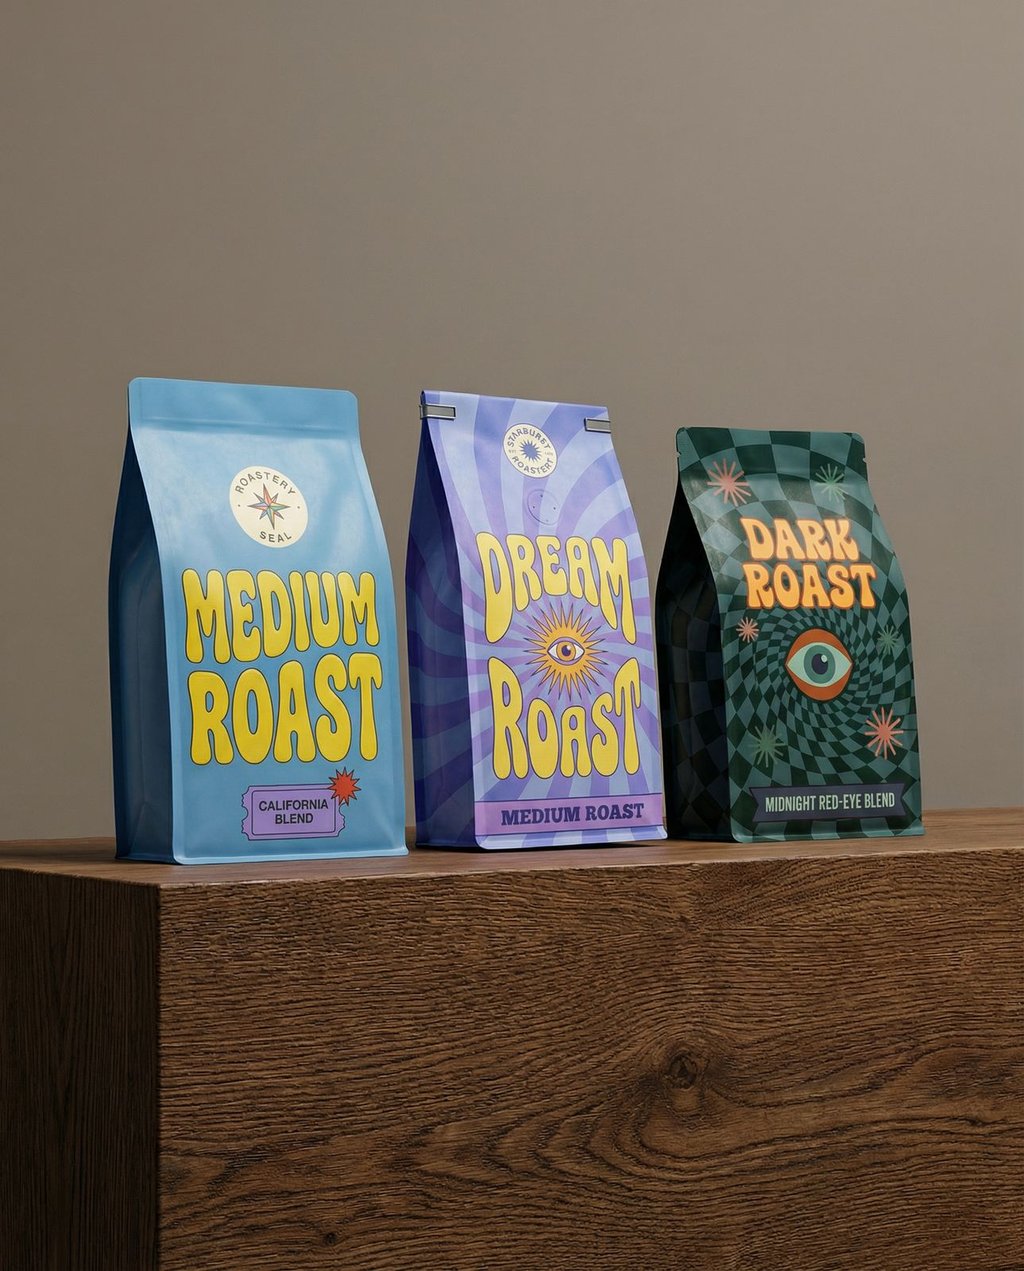
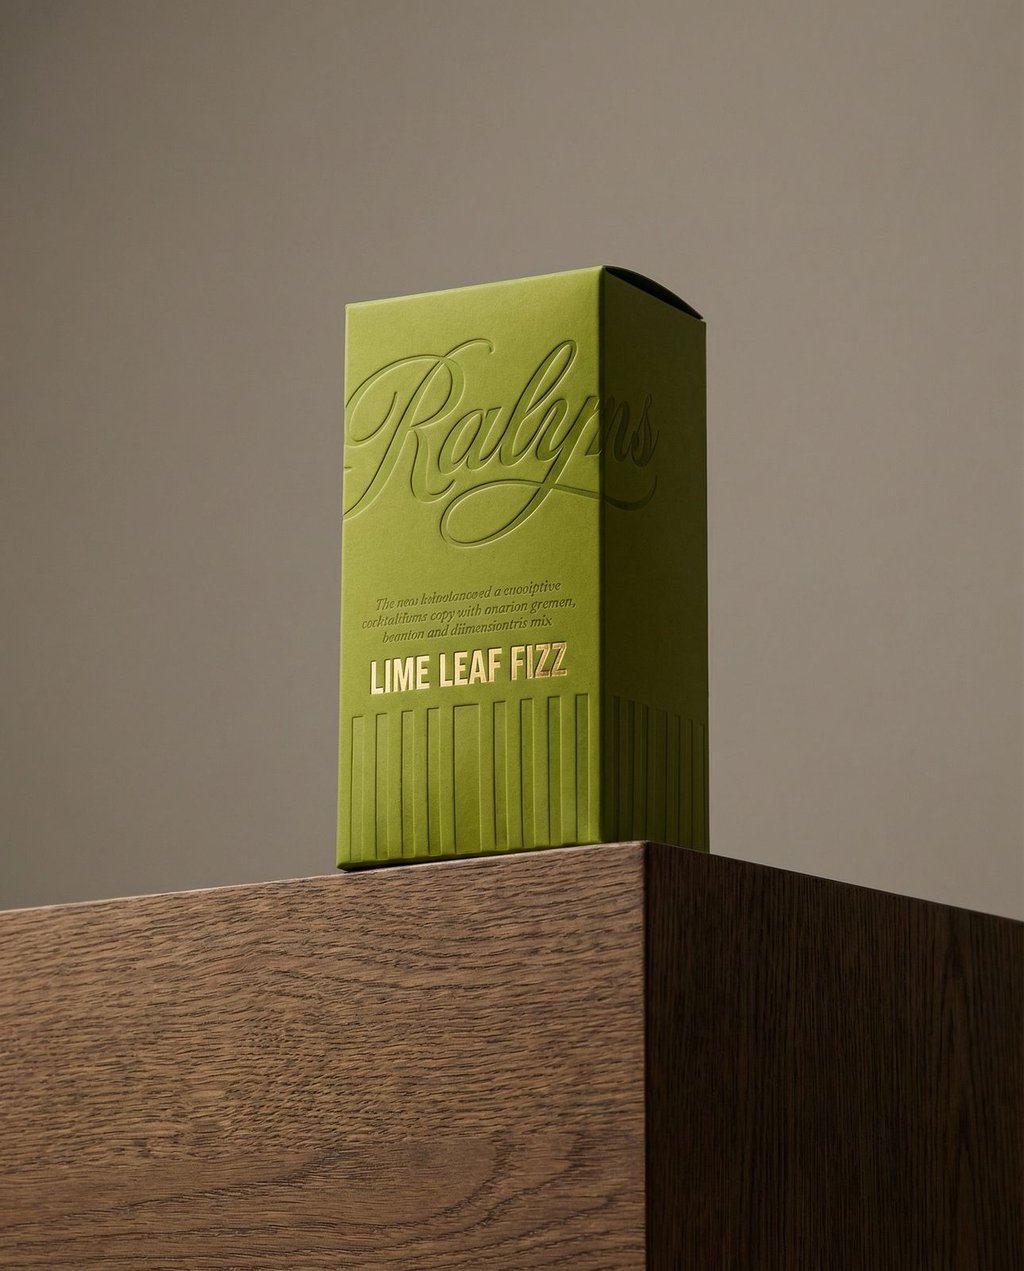
Food, Beverage, and Packaging: Drama Drives Premium Perception
Food and beverage products convert best when bold packaging designs are paired with dark, moody backgrounds and dramatic directional lighting because this combination highlights foil, embossing, and typography that signals quality. A horizontal arrangement with slight angles creates depth and brand momentum.
Recommended prompt: "Studio product shot, dark wood surface, low-key directional lighting, sharp highlights on packaging, neutral terracotta or black background"
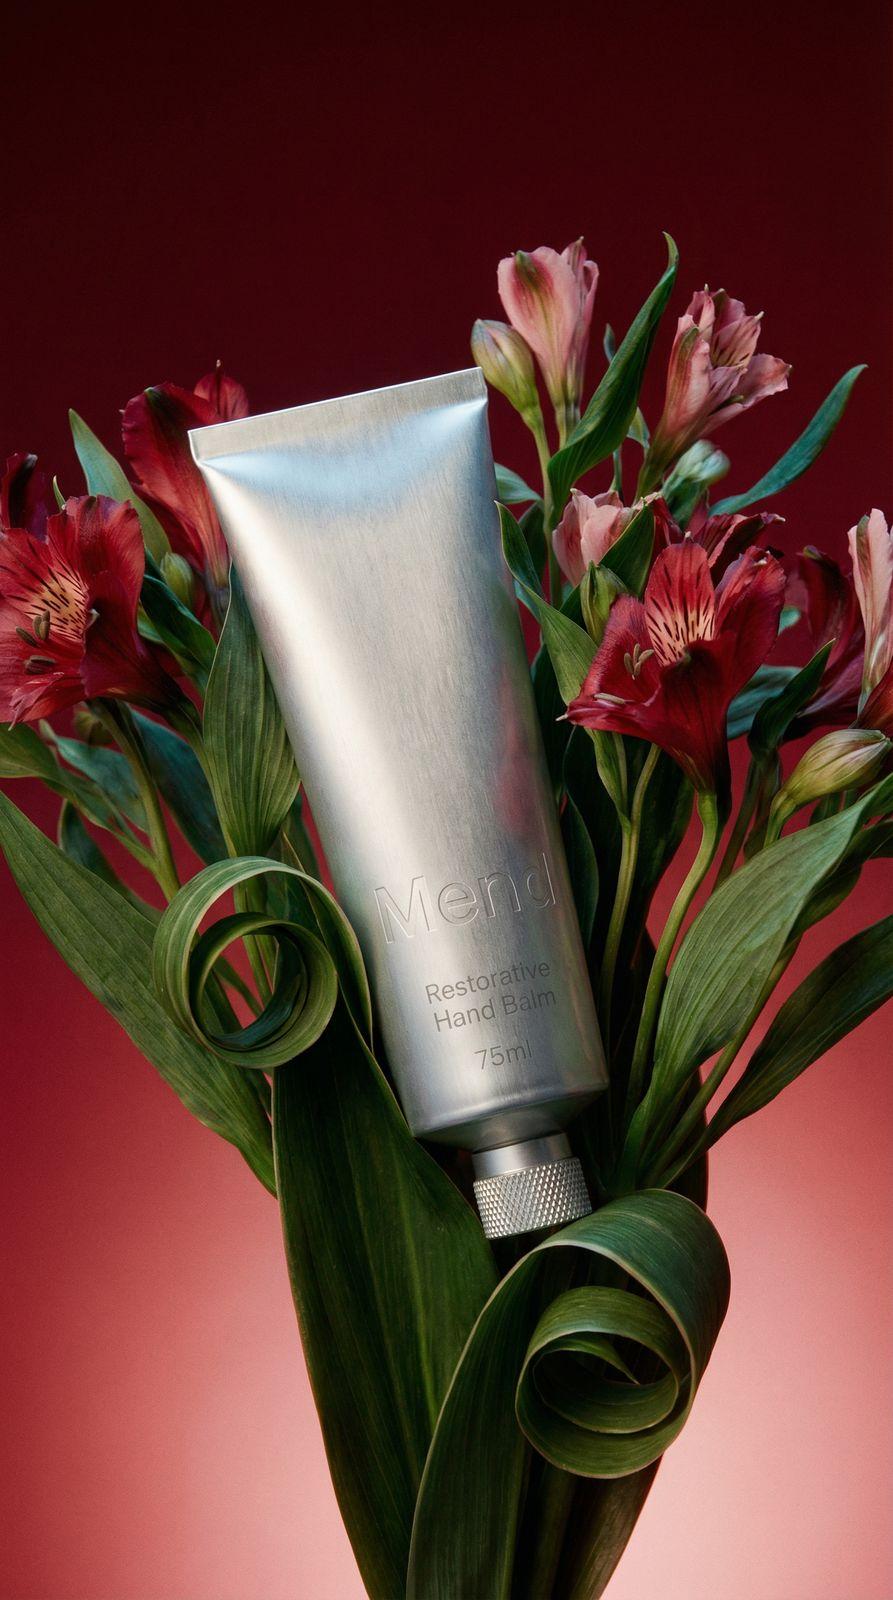
Beauty and Skincare: Editorial Props Tell the Ingredient Story
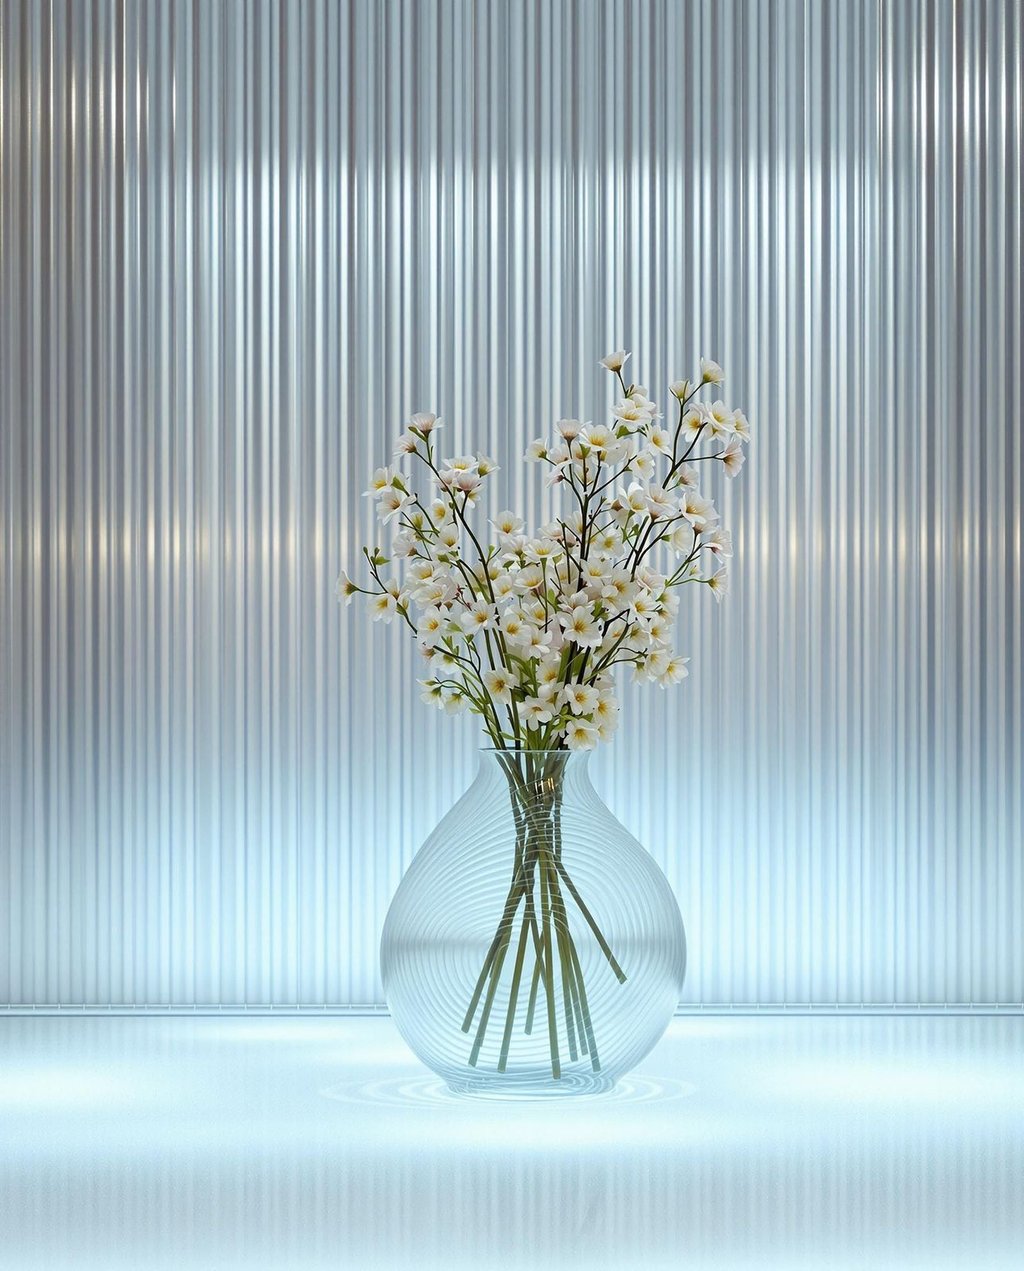
Beauty products sell best when surrounded by ingredients or natural textures that imply what the product does, because this visual storytelling builds trust without requiring the shopper to read a single word. A hand balm surrounded by botanical flowers signals natural ingredients and luxury care.
Recommended prompt: "High-end editorial beauty shot, soft gradient background, botanical flower or leaf props, centered vertical composition, brushed metal or glass tube focus"
See also: best AI product photo generators for ecommerce for a broader comparison of tools across categories.
Bottom line: Matching your AI studio setup to your product category – not just using a generic white background – is the single fastest way to lift conversion rates on category-specific product pages.
How Do I Bulk Generate Product Photos for a Large Shopify Catalog?
Kive.ai's bulk generation lets you define a studio style once – background, lighting, surface, angle – and apply it across multiple products simultaneously, reducing a 100-SKU catalog shoot from weeks to hours. This is the feature that makes AI product photography genuinely scalable for Shopify stores.
How Bulk Generation Works in Kive
Kive's bulk generation capability lets you queue multiple products for AI generation using a shared set of style parameters. Instead of configuring each AI product shot individually, you define the studio environment once and apply it across an entire product batch.
Bulk generation is particularly powerful for:
- New catalog launches: Generate all hero images before your store goes live
- Seasonal refreshes: Re-shoot your entire catalog in a new seasonal aesthetic without touching your products
- Variant photography: Generate the same product in multiple colorways or sizes from a single base image
- Collection consistency: Ensure every image in a collection matches the same lighting, background, and style
Managing Assets at Scale
With large batch outputs, organization matters as much as generation quality. Use Kive's library and boards to organize generated images by collection, SKU, or shoot date. Tag each asset with custom properties – for example, "status: approved", "collection: summer-2026", or "variant: blue" – so your team can find and use the right image without hunting through folders.
Cost Comparison: AI Bulk Generation vs. Traditional Studio
AI bulk generation costs under $1 per image compared to $50–$150 for traditional studio photography, making it 50–150× cheaper for large catalogs – with free iteration on any output.
| Method | Cost per Image | Turnaround | Reshoots |
|---|---|---|---|
| Traditional studio | $50–$150 | 1–2 weeks | Full cost again |
| Freelance photographer | $20–$60 | 3–5 days | 50–100% cost |
| AI bulk generation (Kive) | Under $1 | Minutes | Free iteration |
Last verified: April 2026
For a 100-SKU catalog with 3 images per product (300 images total), traditional studio photography costs $15,000–$45,000. AI product photography for Shopify brings that under $300 – with same-day delivery and free iteration on any image you want to change.
Bottom line: Once your studio style is locked in Kive, bulk generation lets you photograph an entire product catalog in a single afternoon – at under $300 for 300 images.
The Complete Generate-to-Shopify Integration Workflow
The complete workflow from AI generation to a live Shopify listing takes under one hour per product: generate in Kive, edit and refine, organize in library, export and compress, then upload to Shopify Admin. Once your studio style is locked in, every new product follows the same repeatable process.
Step-by-Step: From Generation to Live Listing
1. Generate in Kive Use AI Product Shots to generate your product images. Apply your studio preset (see the category section above for specific settings). Generate at 2048 × 2048 px minimum.
2. Edit and Refine For any image that needs adjustment, use Kive's editing tools:
- Change background – swap or clean up the background color
- Remove background – isolate the product for a pure white or transparent background
- Upscale an image – increase resolution if needed for zoom quality
- General edit tool – make targeted adjustments to color, lighting, or specific areas
3. Organize in Library
Move approved images into a dedicated Shopify-ready board. Use manage assets to rename files with a consistent convention: [SKU]-[angle]-[variant].jpg (e.g., shoe-001-hero-black.jpg).
4. Export and Compress Download in JPG or WEBP format. Compress to under 1 MB using a tool like Squoosh or ImageOptim. Verify: 2048 × 2048 px minimum, RGB color mode, under 20 MB.
5. Upload to Shopify Upload directly via Shopify Admin > Products > [Product] > Media. Upload the hero image first – Shopify displays the first uploaded image as the default listing thumbnail. Add additional angles as secondary images.
How Do I Keep My Shopify Product Images Consistent Across My Team?
Kive's workspace settings and manage members features let you assign roles so photographers, editors, and store managers each work in their own lane without overwriting each other's assets. Shared studio presets mean every team member generates AI product shots in the same style automatically.
Building a Repeatable System
The real power of this workflow is repeatability. Once you've configured a studio style in Kive that works for your brand, every new product you launch follows the same process: upload source photo → generate → edit → export → upload. New products can go from raw photo to live Shopify listing in under an hour.
Bottom line: Once your studio style is set in Kive, every new product goes from raw photo to live Shopify listing in under one hour – with no photographer, studio booking, or post-production delay.
For a broader look at what's possible with AI-generated imagery for ecommerce, see our guide on the best AI image generators and a deep dive into what AI Studios are and how they work.
AI product photography for Shopify has removed the biggest cost barrier facing store owners in 2026. What once required a studio budget, a photographer's schedule, and weeks of lead time now takes under 90 seconds and costs a fraction of a dollar per image. The quality ceiling has risen to the point where AI product shots generated by platforms like Kive.ai are indistinguishable from professional studio photography – and in many cases more consistent, because every image follows the exact same lighting, background, and resolution specification. By 2026, AI-generated product imagery has become the primary catalog photography method for a growing majority of top-performing Shopify stores, precisely because it combines studio-quality output with the speed and cost economics that physical studios can never match.
The Shopify store owners who win on product photography aren't the ones with the biggest photography budgets anymore. They're the ones who build the most efficient systems: a defined brand studio style, a repeatable generate-edit-export workflow, and a library of organized, spec-compliant assets they can deploy instantly for any product launch or seasonal refresh. With Kive.ai's AI Product Shots and bulk generation, that system is accessible to any store owner – whether you're running 10 SKUs or 10,000. The key decisions are simple: lock in your background color, set your resolution to 2048 × 2048 px, and define your studio prompt once. Everything else scales automatically.
Start with one product category, get your studio style dialed in, and then scale it across your entire catalog. The first 10 images will teach you more about what works for your brand than any amount of reading – and with AI product photography for Shopify, iteration is always free.