Brand color accuracy is the gap between the hex code in your brand guidelines and what customers actually see on a product listing. Closing it means calibrating your gear, shooting in RAW, building ICC profiles, and validating against your hex values before export. Done right, your colors land within 3–5 delta-E of the target. The eye can't see that difference.
Why Product Photos Fail to Match Brand Colors
Most brand color mismatches trace to three compounding errors: an uncalibrated camera sensor, a monitor that shows the wrong hue, and a broken color space conversion at export. Fix all three and color stops being a guess.

The color pipeline problem
Every product image travels the same pipeline: sensor → RAW file → editing software → monitor → export color space → customer screen. A white balance error of 200K in-camera can shift a coral brand color toward orange; an uncalibrated monitor makes that orange look acceptable; an sRGB export then clips the saturation – and the customer sees a color that matches no hex in your palette.
Fix the earliest error in the chain first; corrections downstream only mask it.
Common culprits at a glance
| Error source | Typical color shift | Fix |
|---|---|---|
| Incorrect white balance | 5–15 delta-E | Grey card / ColorChecker |
| Uncalibrated monitor | 5–20 delta-E | Hardware colorimeter |
| Wrong export color space | 10–30% saturation loss | Match sRGB or Adobe RGB to destination |
| JPEG in-camera baking | Unpredictable | Shoot RAW |
| Screen glare / ambient light | Perceived shift only | Hood + D50 viewing conditions |
Why hex codes are the right reference
Brand hex codes (e.g., #C0392B) are device-independent sRGB values. "Deep red" and "warm coral" can't be verified; a hex code can – sample it with an eyedropper in any editing application and check the numbers.
Step 1 — Calibrate Your Gear Before Shooting
Calibrate your monitor and build a camera ICC profile before any product shoot. Skip it and every correction you make in the edit is compensating for drift you can't see.
Monitor calibration
Use a hardware colorimeter – the X-Rite i1Display Pro ($249) and Datacolor Spyder X ($169) are the industry standards. Both build an ICC profile for your specific panel and white point. Set the white point target to D65 (6500K) for screen work and luminance to 80 cd/m².
Recalibrate every 2–4 weeks. Backlights drift enough in a month to make an on-brand navy look purple.
Camera ICC profiles with a ColorChecker
The X-Rite ColorChecker Passport Photo 2 ($99) holds 24 standardized color patches with known Lab values. Photograph it under your shooting conditions (same lights, same distance, same white balance setting), then run the frame through X-Rite's free Camera Calibration software or the DNG Profile Editor to generate a custom DCP (camera profile).
Install the profile in Lightroom under Camera Calibration → Profile and it applies to every RAW file from that shoot.
White balance: lock it, don't auto it
Auto white balance (AWB) shifts between frames and makes batch editing inconsistent. If a shot already came out too warm or too cool, the product photo editor can correct the cast from a plain-language request. Instead:
- Set a custom white balance by photographing an 18% grey card under your shoot lights.
- Lock that Kelvin value (typically 5000–5500K for studio strobes, 4000–4200K for LEDs).
- Use the same setting for every image in the batch.
For absolute accuracy, include the ColorChecker in your first frame, then set white balance in Lightroom with the White Balance Selector (W key) on the neutral grey patch.
Step 2 — Build a Hex-to-Image Color Matching Workflow
Once your gear is calibrated, the rest is a repeatable editing workflow: brand hex code in, validated export-ready image out. Everything below works in Adobe Lightroom Classic or Camera Raw.

Convert your hex to HSL
Lightroom's HSL panel works in Hue, Saturation, and Luminance, not hex, so translate your brand code before you touch a slider.
- Look up your hex at colorhexa.com and note the HSL values:
#C0392B(a deep brand red) reads HSL(6°, 65%, 47%). - In Lightroom, open the HSL panel's Targeted Adjustment Tool (T) and drag on the specific color region in the product image.
- Adjust Hue to match the H value, Saturation to match S, Luminance to match L.
- Sample the result with a Color Sampler and compare the H/S/L readout to your target.
Fix backgrounds with the Color Grading panel
Solid-color backgrounds cause more brand hex errors than anything else, and they respond well to Lightroom's Color Grading panel (formerly Split Toning). Nudge a near-miss background toward the target hue with the Midtones wheel, then fine-tune the specific color range with the HSL sliders.
Validate against your hex
After editing, check the numbers:
- Export a full-resolution JPEG in sRGB.
- Open it in Photoshop and click the key brand color area with the Color Sampler tool (I).
- Read the R/G/B values in the Info panel.
- Convert to hex with a hex converter.
- Compare to your target hex. A difference of ≤5 delta-E is acceptable for web; ≤2 for print.
| Brand Target | Sampled Result | Delta-E | Status |
|---|---|---|---|
| #C0392B | #BE3729 | 2.1 | ✅ Pass |
| #2E86C1 | #3A8FCA | 6.8 | ⚠️ Review |
| #1E8449 | #22934E | 3.4 | ✅ Pass |
Step 3 — Color Space and Export for Web and Print
Exporting in the wrong color space undoes a perfectly calibrated shoot.
sRGB vs Adobe RGB: when to use each
sRGB is the web default: Shopify, Amazon, and Etsy all display images in sRGB. Export an Adobe RGB image without converting and any browser that ignores the embedded profile renders it desaturated and washed out.
Adobe RGB covers roughly 50% of visible colors versus sRGB's 35% – extra editing headroom for the saturated greens and cyans common in fashion and beauty brand palettes. The working rule: edit in Adobe RGB, export sRGB for web, export an Adobe RGB TIFF for print.
Export checklist
- Color space: sRGB for web, Adobe RGB for print/offset
- Bit depth: 8-bit for JPEG, 16-bit for TIFF
- Embed ICC profile: always
- Resolution: 72 PPI for web, 300 PPI for print
- JPEG quality: 85–90 (avoids compression color banding)
- Sharpening: Screen output, Standard
Proofing before you deliver
Use Photoshop's View → Proof Colors (Ctrl/Cmd+Y) with your client's destination profile (e.g., US Web Coated SWOP for print) to simulate how the image will render. If a brand color shifts dramatically in the soft proof, flag it before delivery – not after the client has printed 10,000 units.
For e-commerce, the equivalent check takes 2 minutes: open the exported JPEG in a browser on a second, uncalibrated screen (a phone works) and compare it side by side with the hex color in a browser color picker.
AI-Assisted Color QA: Scaling Accuracy Across Large Catalogs
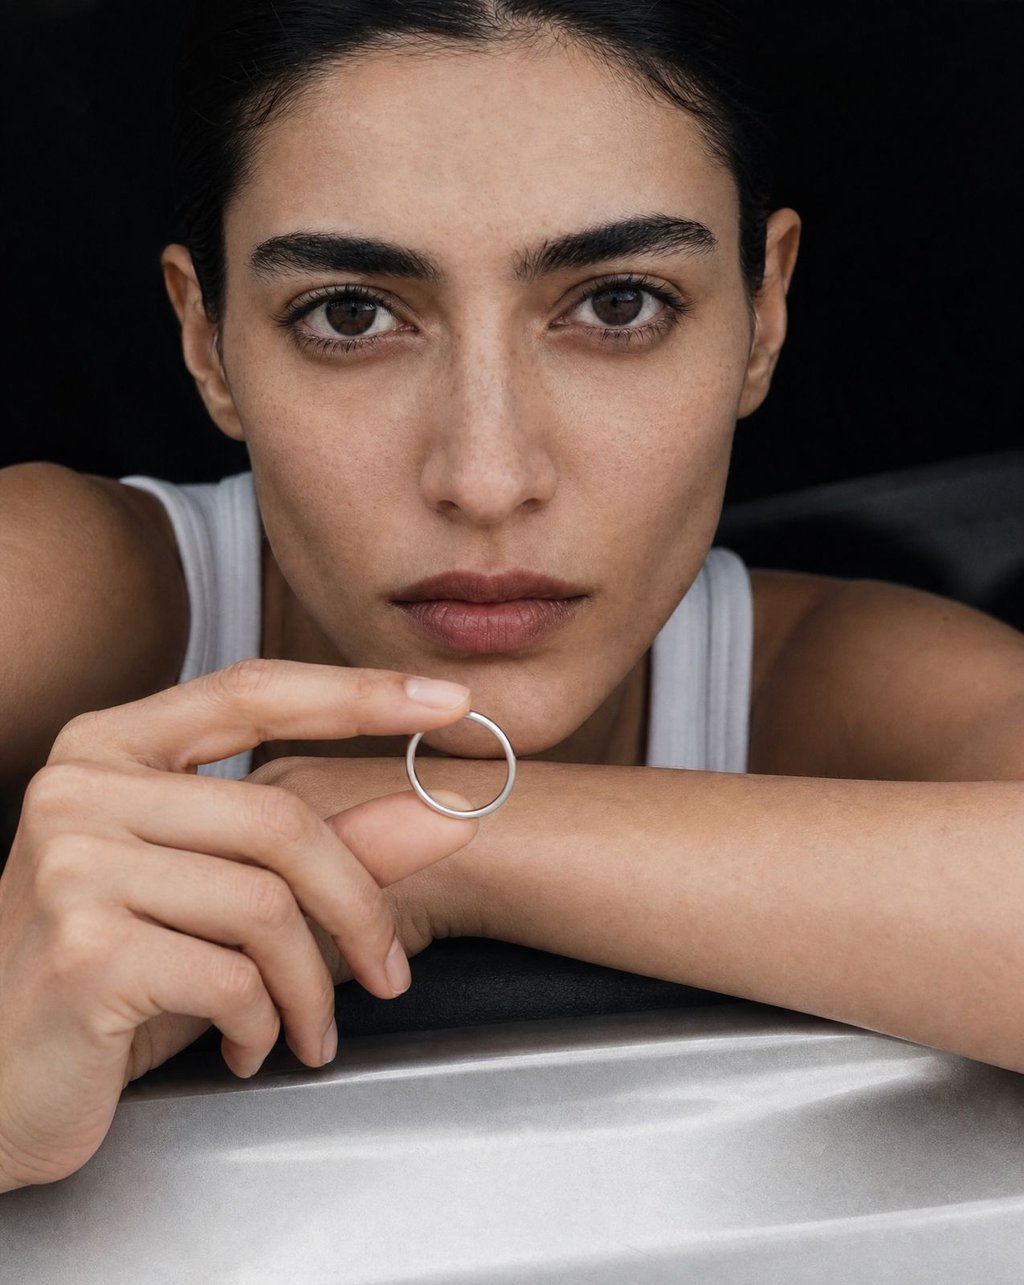
Manual color validation works for 10–20 images per shoot. It doesn't scale to hundreds of SKUs. The faster QA layer sits upstream: generate color-accurate images from the start, so fewer shots need manual correction at all. Reflective goods need this discipline most, since metal borrows its color from whatever light hits it – which is why AI jewelry product photography starts with a neutral reference frame per metal. The same upstream discipline is how luxury teams keep AI campaign extensions on-brand at scale.
Generating on-brand images with Kive
Kive's AI Product Shots take background color, lighting, and mood as a text prompt, which means you can anchor the prompt directly to your brand hex. Follow Writing Prompts and name the color exactly: "product on a flat lay background, color #C0392B deep crimson, soft diffused studio lighting, sRGB export." Kive generates multiple options; you pick the closest match.
For repeat productions, Train a Custom Model for each product: product models train on 1–4 color-validated shots of a single product, and a studio holds your lighting style and background conventions, so subsequent generations need minimal color correction.
Using AI Studios for consistent color environments
AI Studios are pre-built visual environments you generate products into. Pick the studio whose background and lighting sit closest to your brand palette, then nudge specific
Treat brand hex codes as testable specifications rather than visual guidelines. Calibrate your monitor monthly, build a camera ICC profile for every lighting setup, lock white balance, edit in Adobe RGB, validate against hex numerically, and export sRGB for web. Each step removes one category of color error, so customers, retailers, and print vendors all see the same image.
As catalogs grow, manual validation becomes the bottleneck. Kive's AI Product Shots and custom model training let brand teams generate and QA color-accurate imagery faster than a calibrated studio alone. Use in-camera and editing technique for hero shots, AI generation for scale, and hex validation as the acceptance criterion for both.
Start with the monitor. Calibration costs $170–$250 and shows immediately how far your editing environment is from ground truth.
Colour is one half of what a screen reports back; light is the other. Our guide to physics-based lighting in AI product renders covers the four checks that catch a render behaving impossibly.
Colour is one component of a wider kit. How to build an AI brand kit for campaigns covers what else has to be stored so a campaign stops drifting between assets.
Studios used for these colour tests