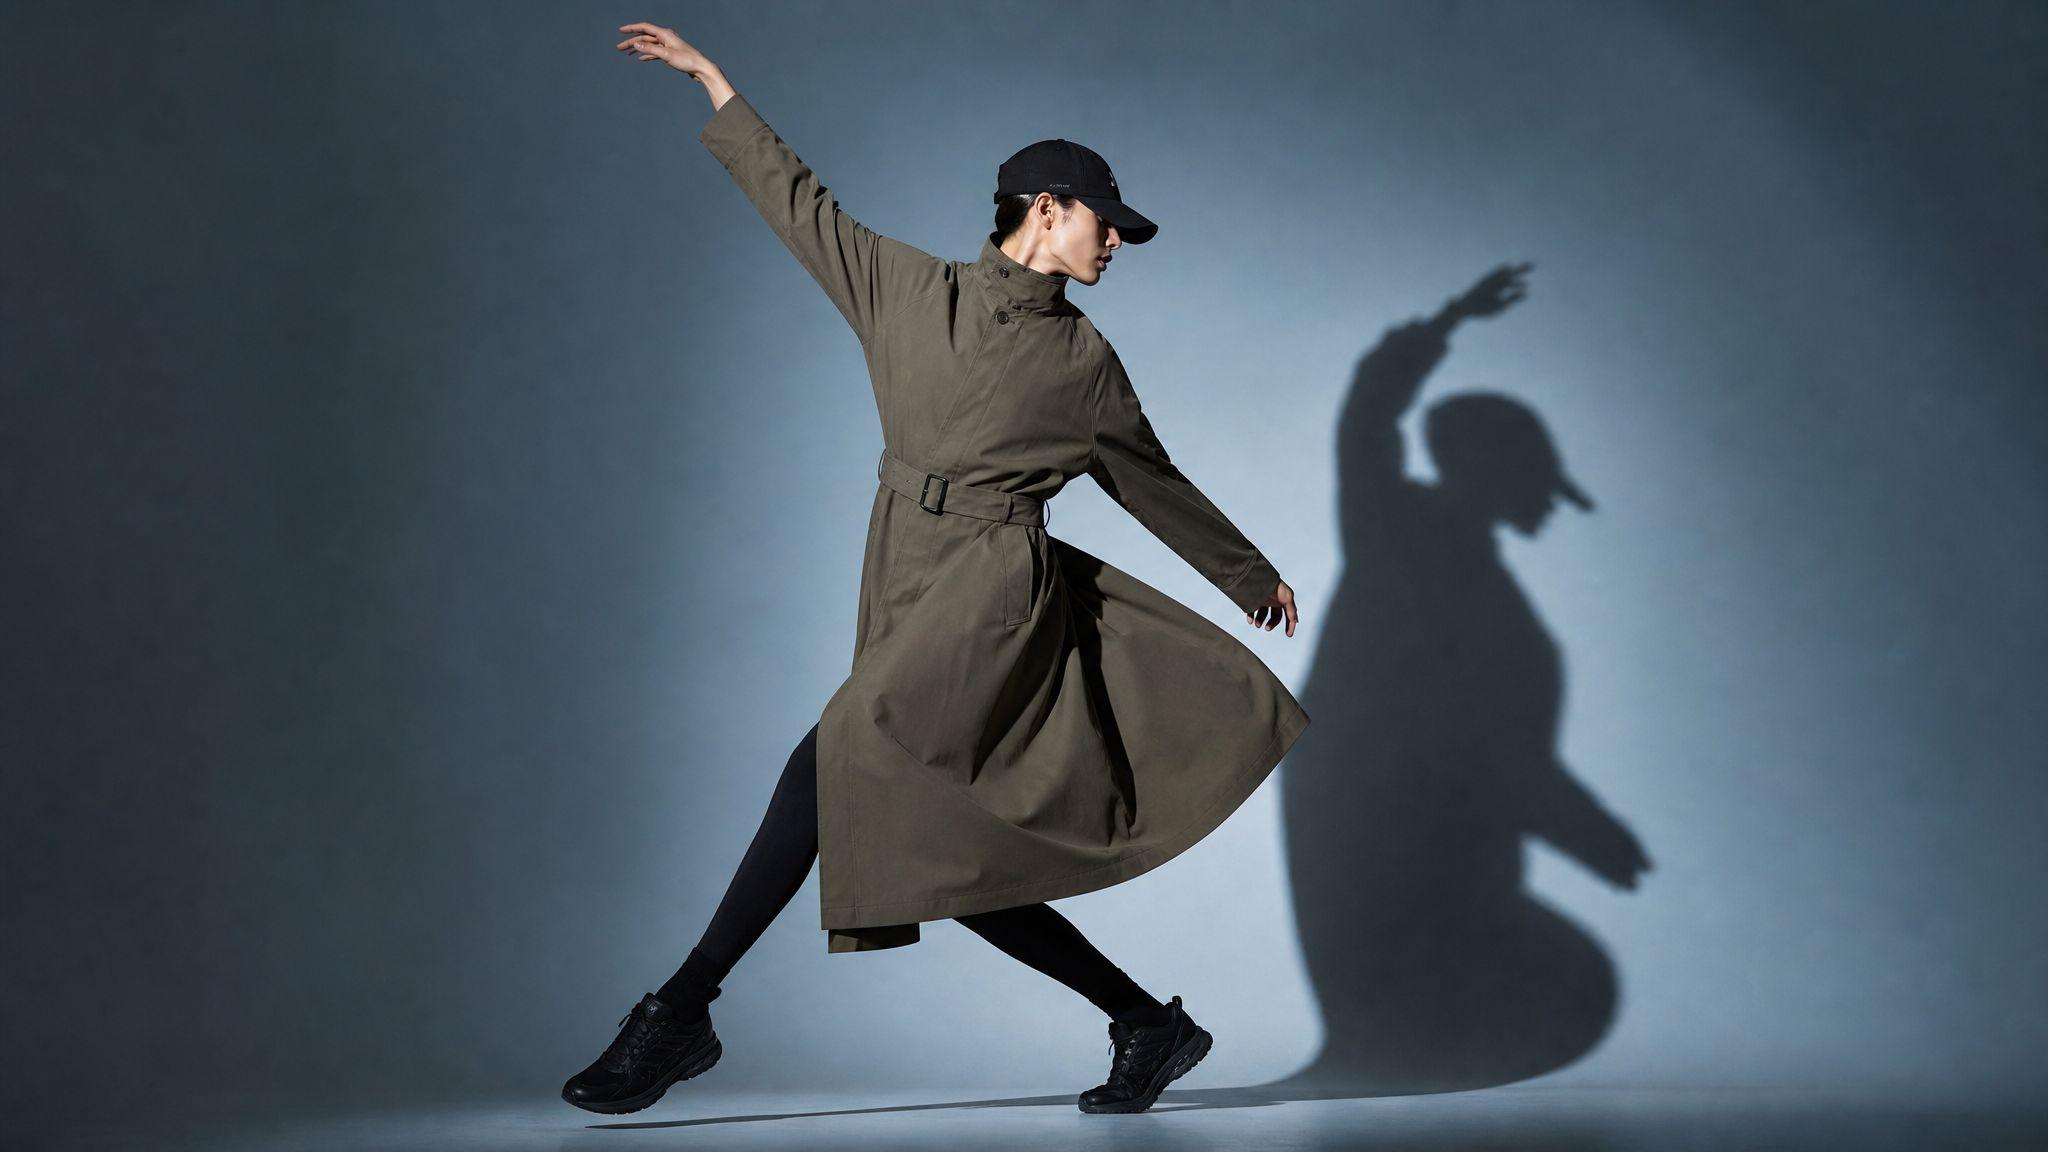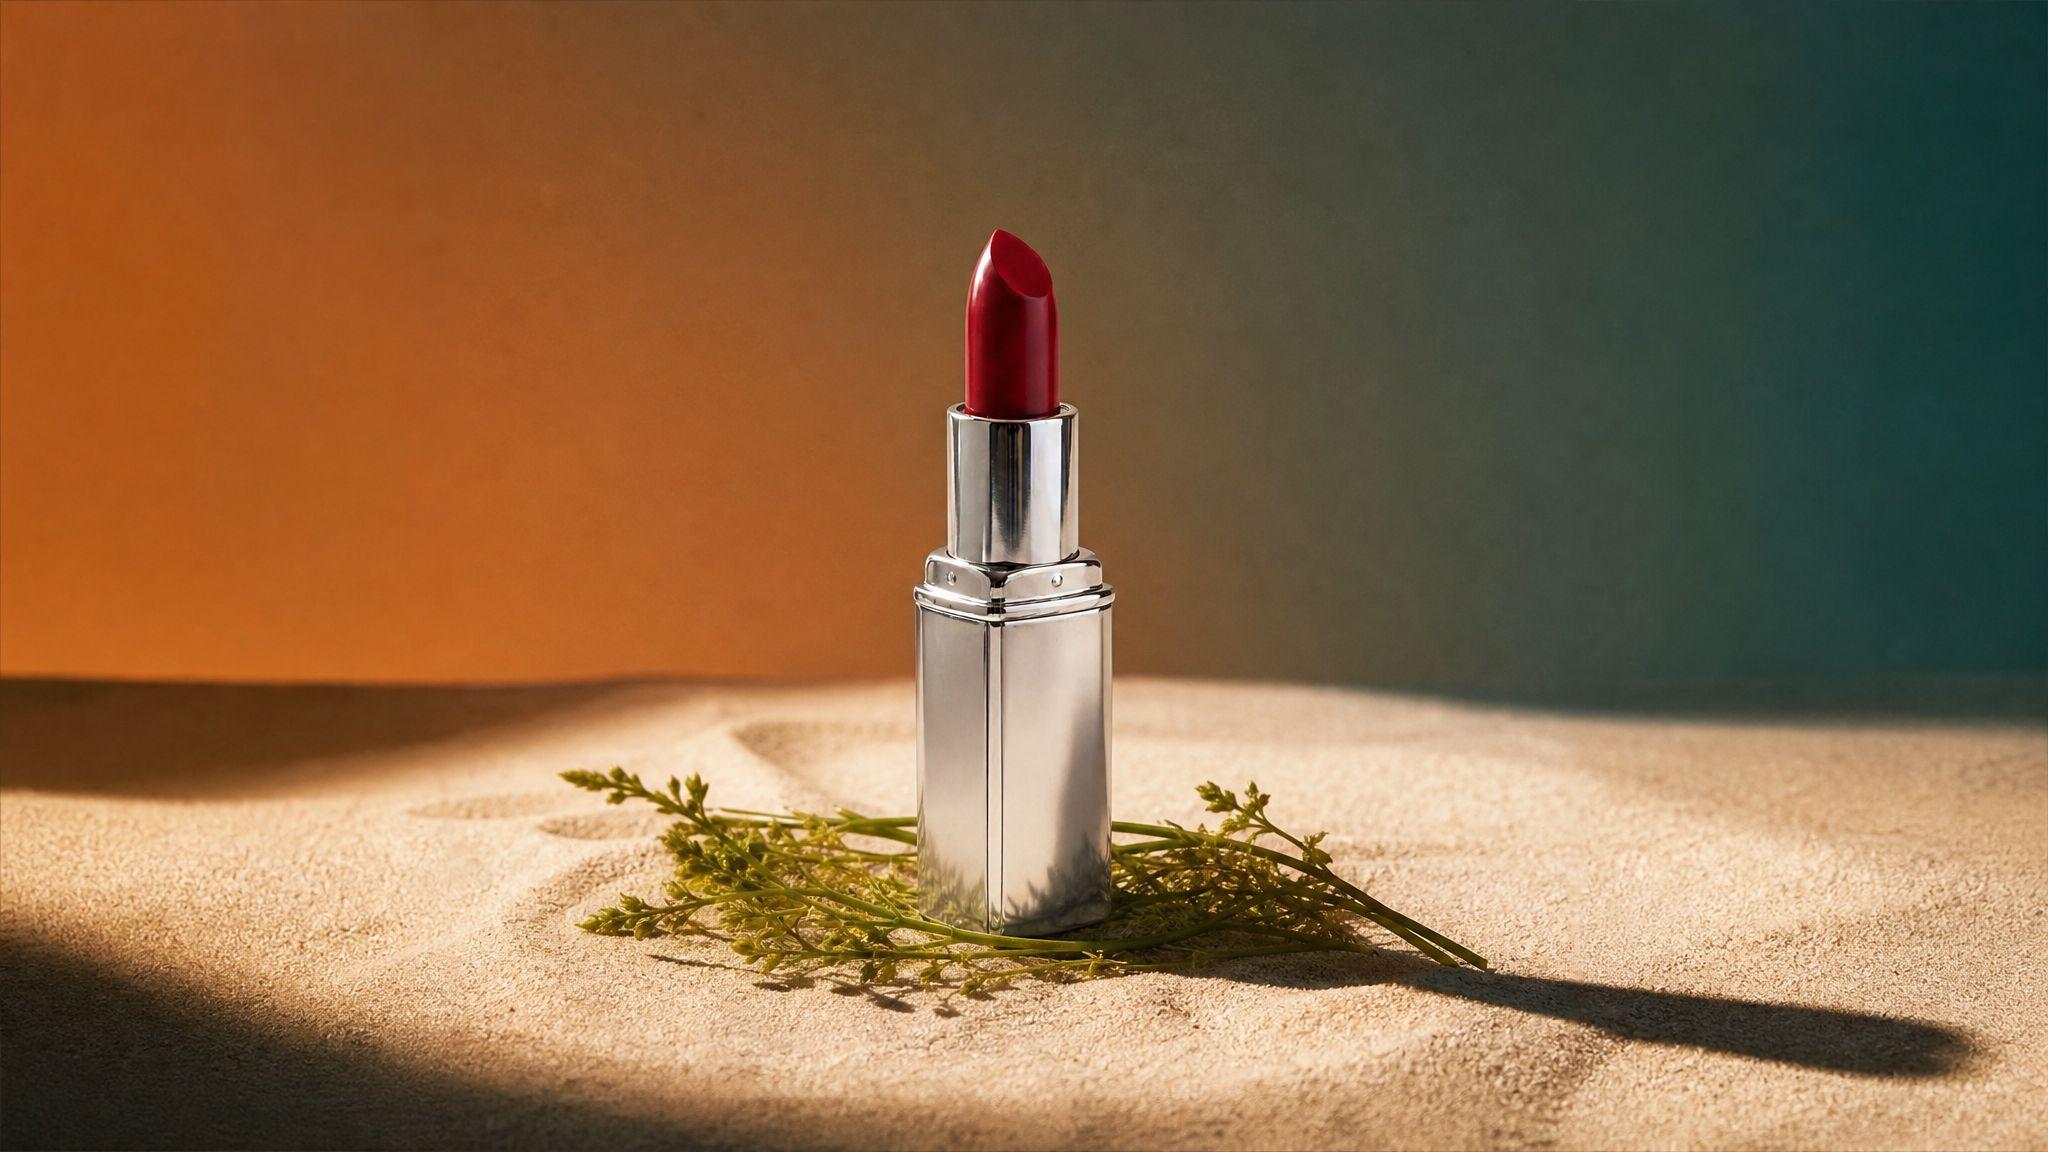

Product photography lighting is the fastest way to judge an AI render, because light is the part that cannot be faked by taste. Shape and colour can be pleasing and still be wrong; light either obeys a consistent set of rules across the frame or it does not. Four checks – shadow direction, shadow edge width, specular behaviour and the contact shadow – catch nearly every render that will not survive a product page.
Shadow direction is the first test
In a scene lit by one dominant source, every shadow in the frame points away from that source. It is the cheapest consistency check there is, and it is the one AI renders fail most visibly when they compose several plausible fragments into one image.
How to run the check in five seconds
Pick two objects that touch the ground plane – the product and any prop. Trace the long axis of each shadow back to where the source would have to be. If those two lines do not converge on the same point, the image contains two suns.
Secondary sources complicate this without breaking it. A fill card or a bounced wall lifts the dark side of the product but does not throw a second full-strength shadow; it lightens, it does not duplicate. Two shadows of equal density pointing different ways is a defect. One dense shadow plus a faint secondary one is just a room.

Edge width tells you the size of the source
The transition between shadow and light – the penumbra – is set by how large the source appears from the subject's point of view. A softbox a foot from a lipstick is enormous relative to the lipstick, so the shadow fades over a wide band. The sun is vast but so distant that it reads as a point, so its shadows have edges you could cut yourself on.
The mismatch that gives renders away
The failure to look for is disagreement between the shadow and the highlight. A hard, narrow shadow edge implies a small source. A small source cannot also produce a broad, soft, wrapping highlight across the top of the product – that requires a large one. When a render shows both, it has borrowed the shadow from one lighting setup and the highlight from another.
This is also why the same product photographed under different sources reads as a different price point. Wide diffusion flatters and conceals; hard light describes and exposes. Choosing between them is a brief decision, not a quality one.
Specular behaviour is material-specific
Diffuse light scatters in all directions and tells you an object's colour. Specular light bounces off the surface and tells you what the object is made of, which is why the highlight is where material accuracy lives or dies.
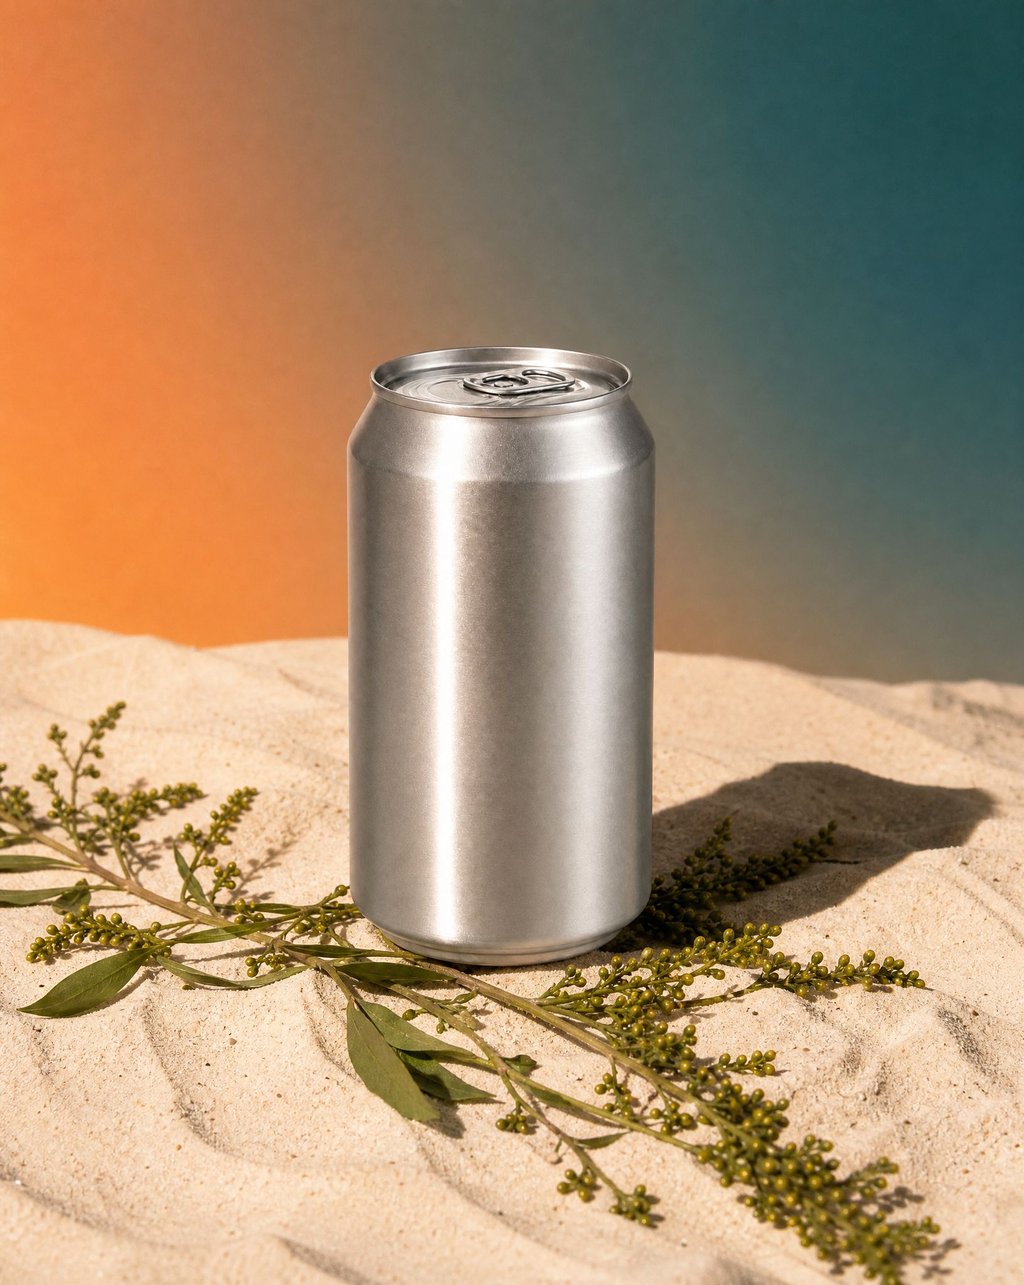
Brushed metal pulls a highlight into a streak running along the direction of the grain. Polished glass does not spread light at all – it bends it, concentrating bright caustics on the surface underneath the bottle. Matte cotton returns almost no specular at all, which is why a t-shirt with a glossy sheen reads as plastic even when its colour is exactly right. Leather sits between: a broad, low-contrast sheen that follows the curve rather than a point.
A render that applies one highlight treatment to every material in the frame is the visual equivalent of one font for every word.

The contact shadow decides whether the product is really there
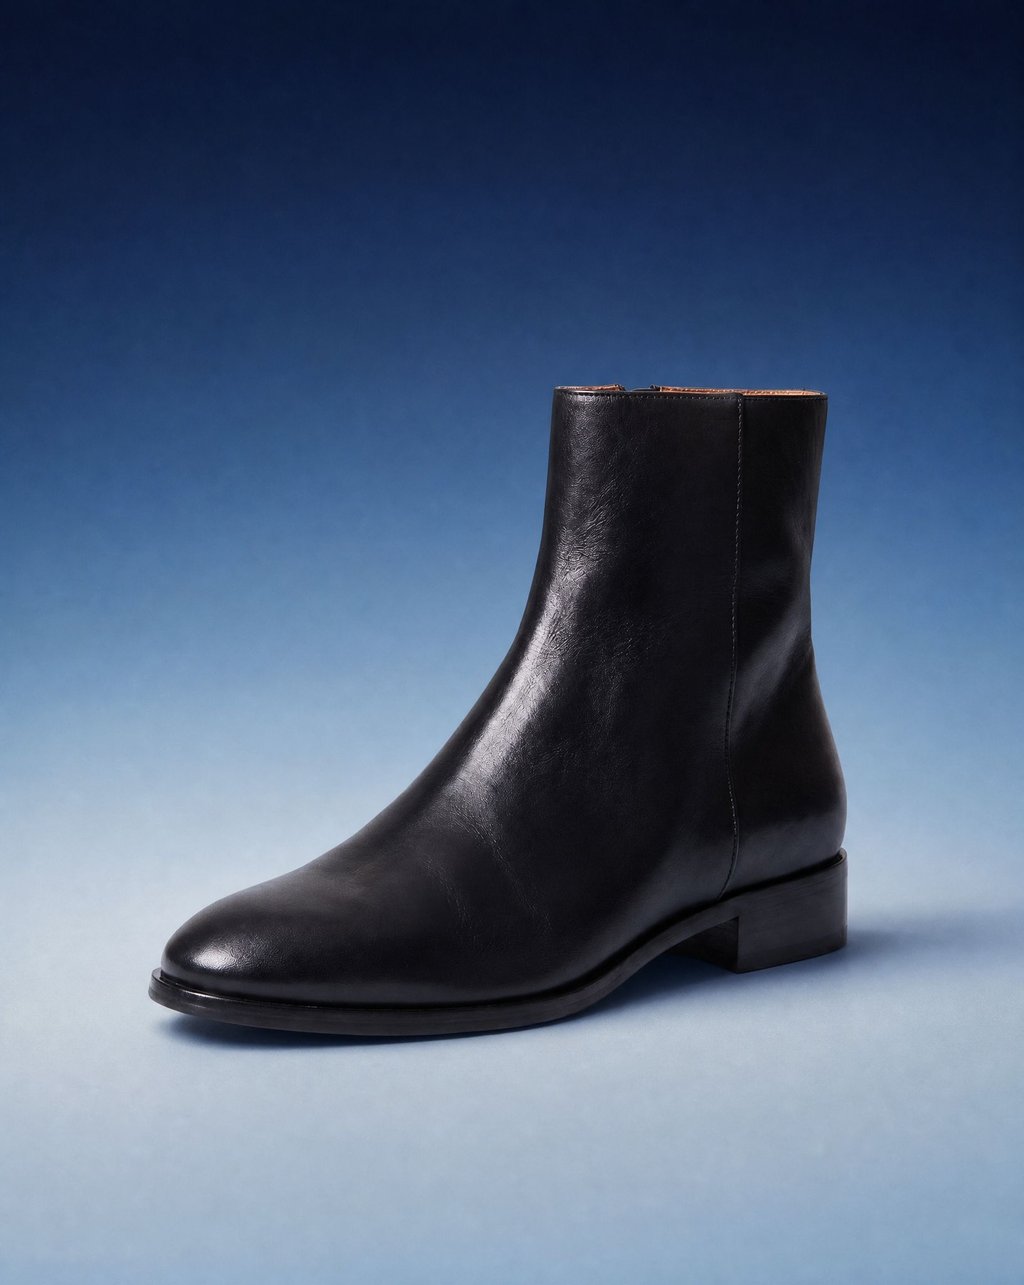
Where an object meets a surface, light cannot reach the join. The result is a tight, dark band right at the contact point, denser and sharper than the cast shadow stretching away from it. It is small, most viewers never consciously notice it, and its absence is the single loudest signal that an image was assembled rather than photographed.
This is the check that matters most for anyone swapping backgrounds. Cut a product out cleanly, drop it on a new surface, and the cast shadow may survive the move while the contact shadow does not. The product then floats a millimetre above the world it is supposed to be standing in.
If you are choosing a preset rather than building a setup, the short descriptions do the work of naming the lighting state – hard direct sun, soft overhead gradient, strong directional shadow, low key spotlighting. Kive's discover page lists them that way, and the writing prompts guide covers how to keep a chosen state from drifting between generations.
None of these four checks require a light meter or a rendering background. They require looking at the image in a specific order: where is the source, how big is it, what is the object made of, and is it touching the ground.
Run them on your own catalogue before you run them on a tool. Most stores have at least one hero image where the shadow points the wrong way, and it has been live for months. For how a saved lighting state gets applied across a whole catalogue rather than one shot, see our explainer on AI studios, and for the colour half of the same problem, brand colour accuracy.
References